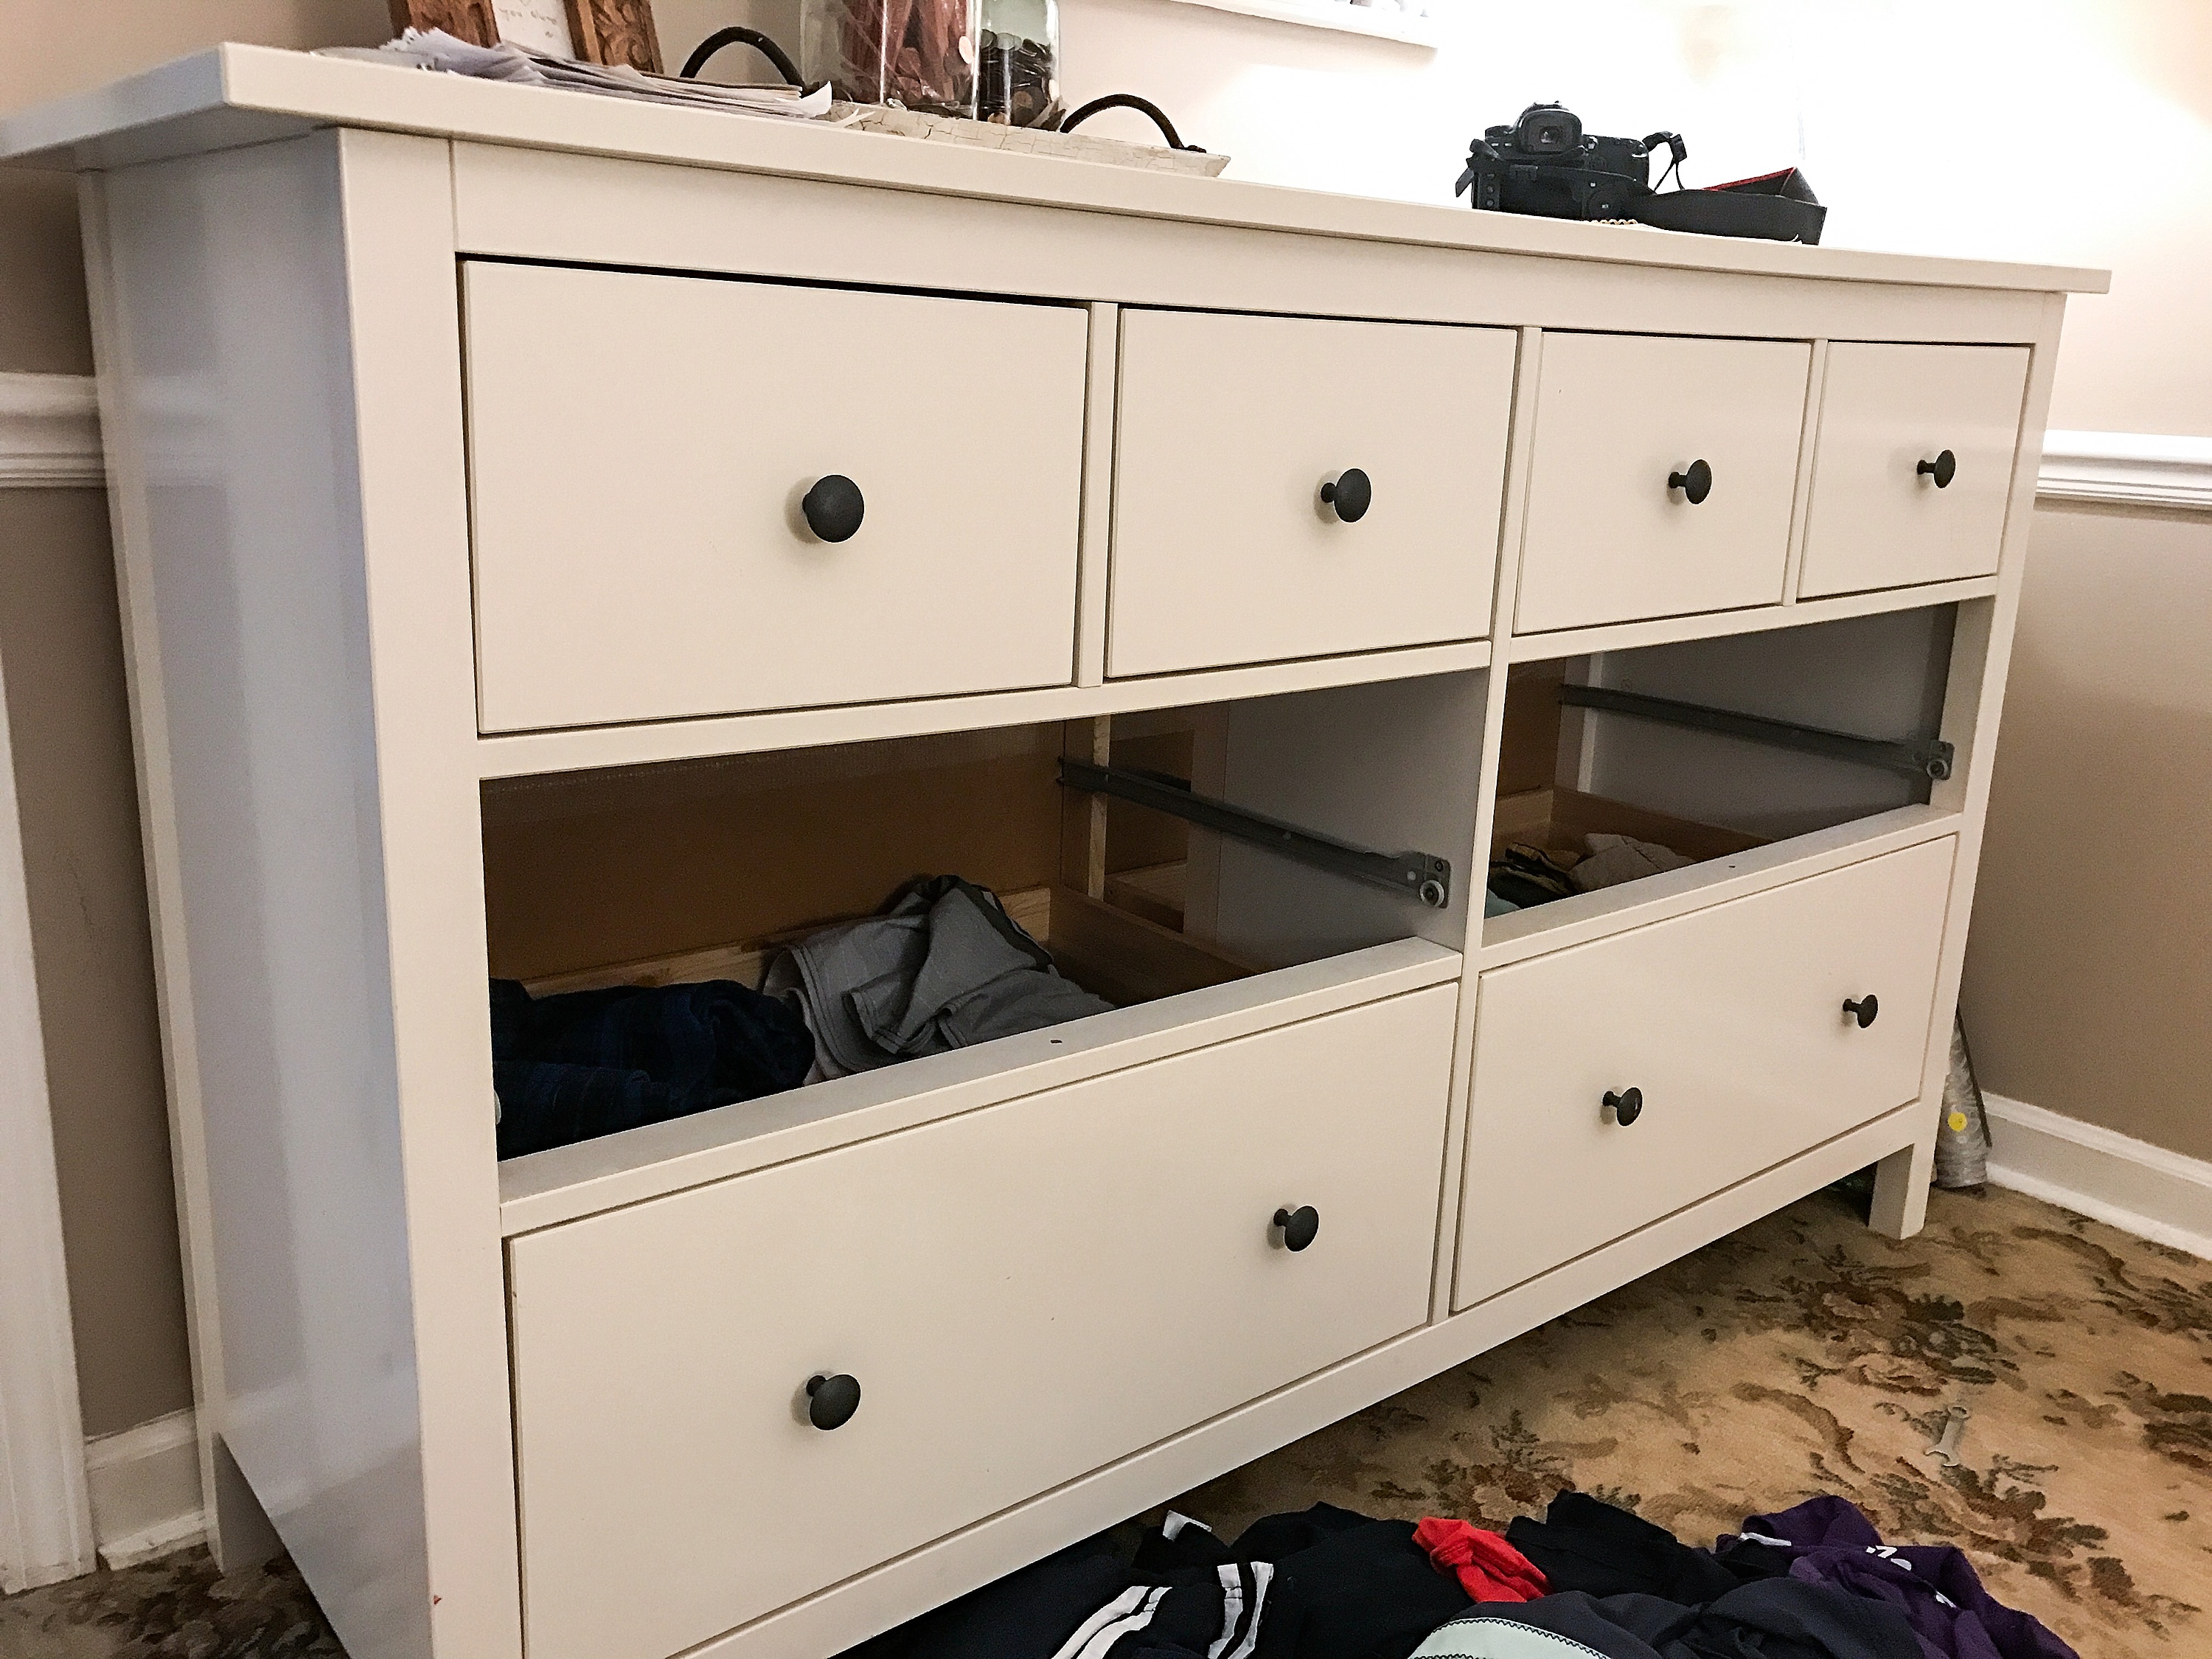
I love this dresser. But there was a time I hated this dresser. I only buy Ikea furniture used, for two reasons; a) Ikea is like 2.5 hours from my house, and b) it is usually half the price and already assembled –> two huge non-negotiables when I spend money on stuff. So we bought this off of craigslist, carried its heavy self into the bedroom and fell in love. Until we fell out of love. I mean the clean lines, the classic white with dark knobs, the fact that the drawers open on rails, the fact that I did not have to assemble it, what’s not to love?! How about plopping a fresh load of folded laundry into the drawer only to have the bottom of the drawer pop out of its place and sag — Yeah, that’s enough to drive any mom batty. I tried glue without success. I tried tightening screws without success. I was just about to list it for sale when I came across these straps on Amazon. Totally worth $20 I told myself. But after thinking it over, I can make that became the resounding thought in my head. So I headed to the depot and asked for some help. I kind-of sort-of found what I was looking for but kind-of sort-of thought this would only be short term solution to a long term problem (same with the straps on Amazon). I needed long term, and that meant wood. And screws. I knew what I needed to do next. Here is my little guide! As always, please ask questions on my Facebook page!
Supplies:
scrap wood – 4 pieces cut to size
4 corner brackets
4 – screws for back of drawer
8 –small-ish screws for bracket-into-scrapwood
8 – short screws for front of drawer – make sure they will not go through the front of the dresser!!!!!!!!!!!!!!!!!!!!!!!!
Drill and a super small drill bit
Step one: flip the drawer over. You are working on the underside of the dresser drawer.
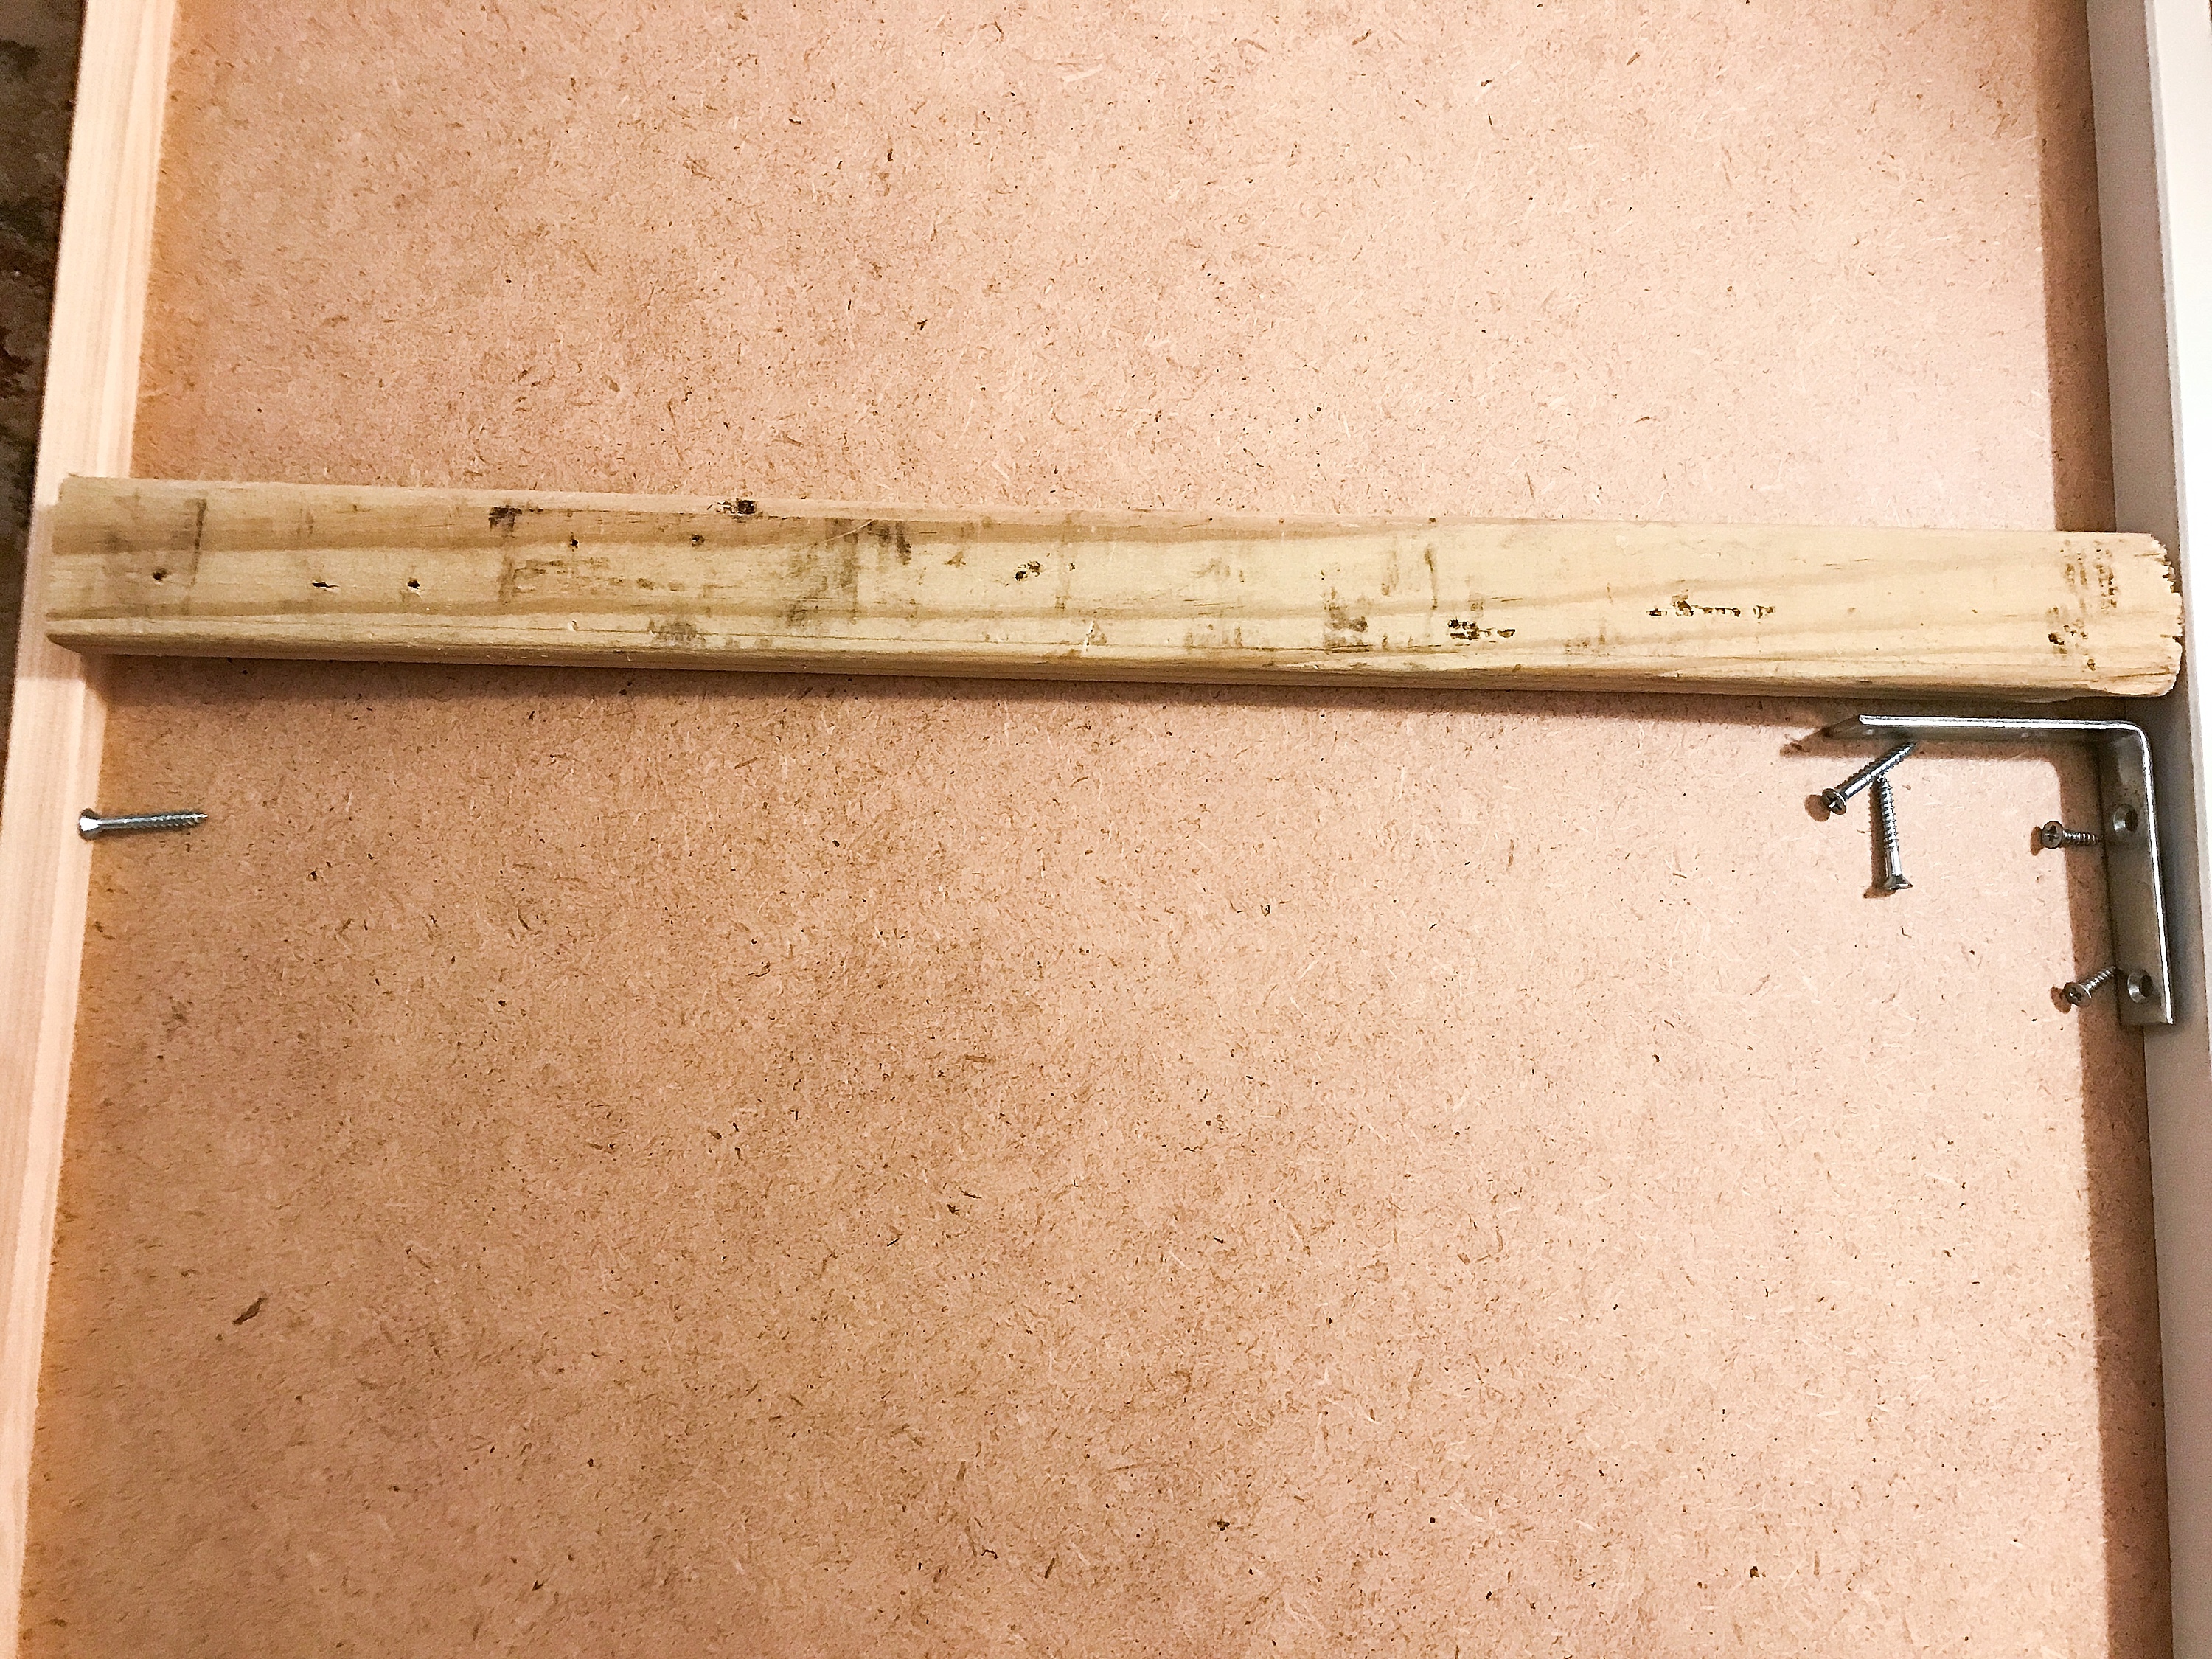
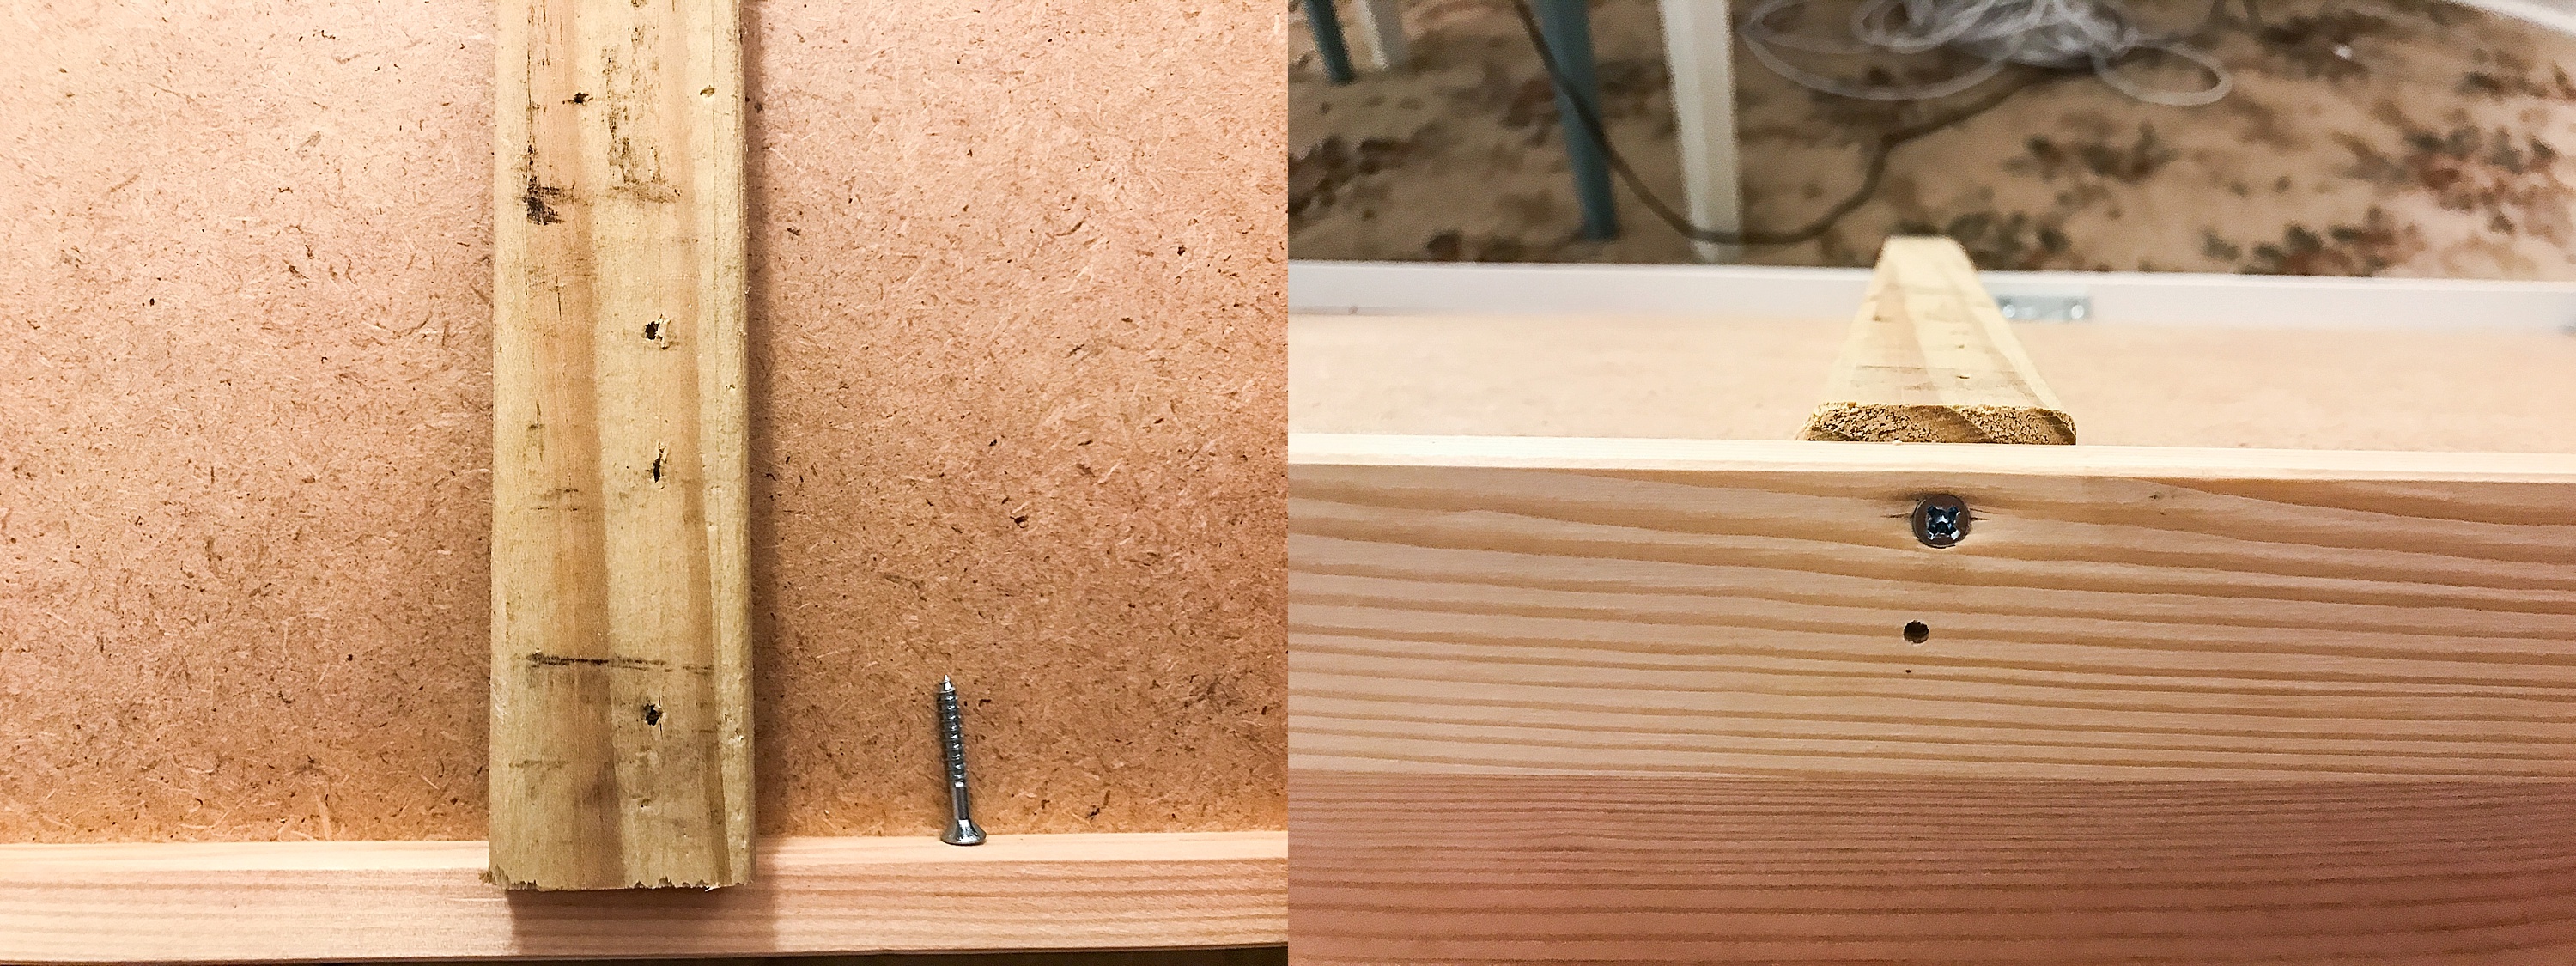
Step two: grab some scrap wood and cut it to fit in-between front and back drawer panels (about 17 1/8″ x four pieces for each large drawer) – it can be a little thicker than the back lip as there is some clearance when the drawer is on the rails (see photo and notice how the scrap wood is thicker than the depth of the back). Place the wood in the center of the drawer going from the front (drawer pull side) to the back. 
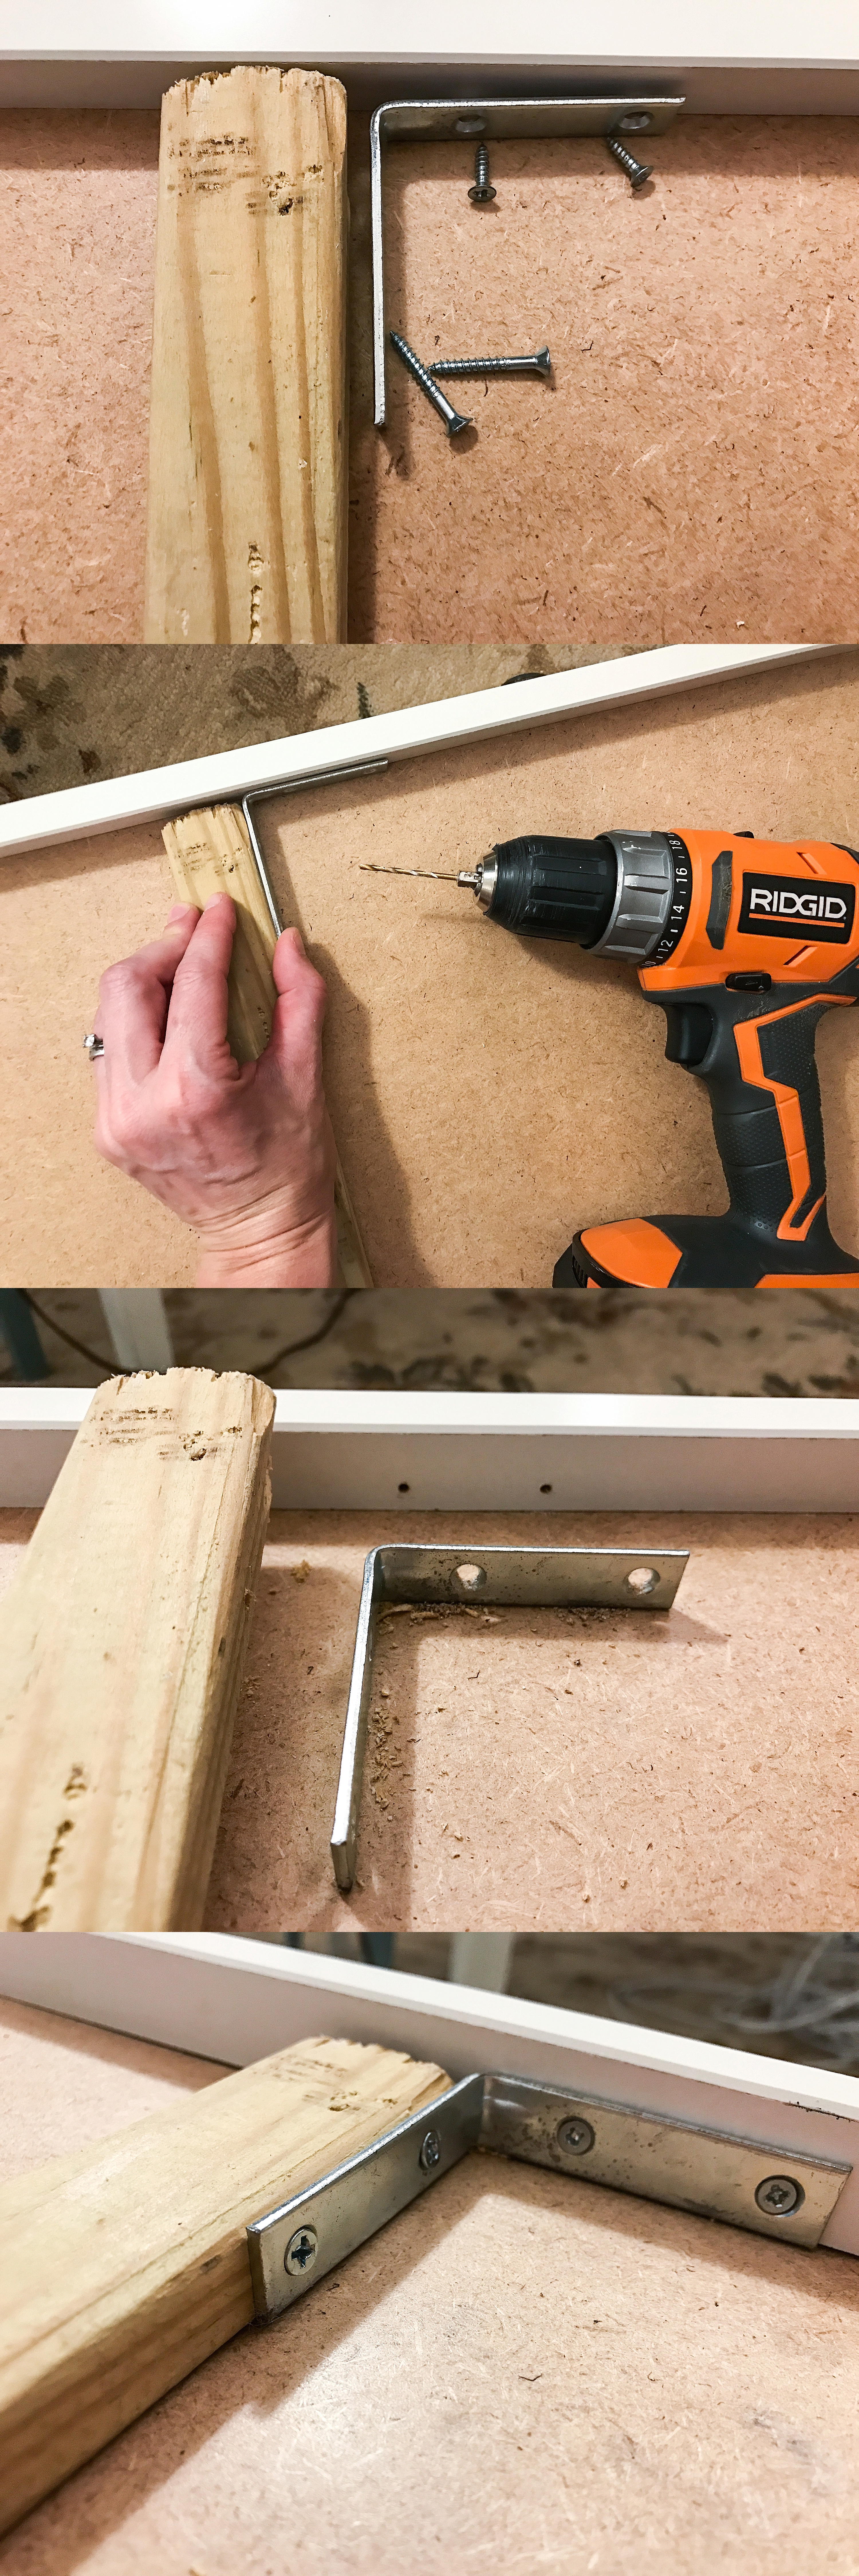
Step three: pre-drill a hole in the back of the drawer into the piece of scrap wood. Use screw to secure. 
Step four: place your ‘L’ bracket in place and pre-drill all four holes. BE CAREFUL NOT TO DRILL THROUGH THE FRONT OF THE DRAWER!!! You just need to drill a small depth! Put painters tape on your drill bit to give yourself a stopping point if you are worried you will drill in too far. Then add your smaller screws to the front of the drawer, the longer screws into the scrap wood. 
That’s it! Repeat for each of the four large drawers and you are all set! You can pile those clothes in to your hearts desire and the drawers will never sag again! Now go fall back in love with your dresser <3


