
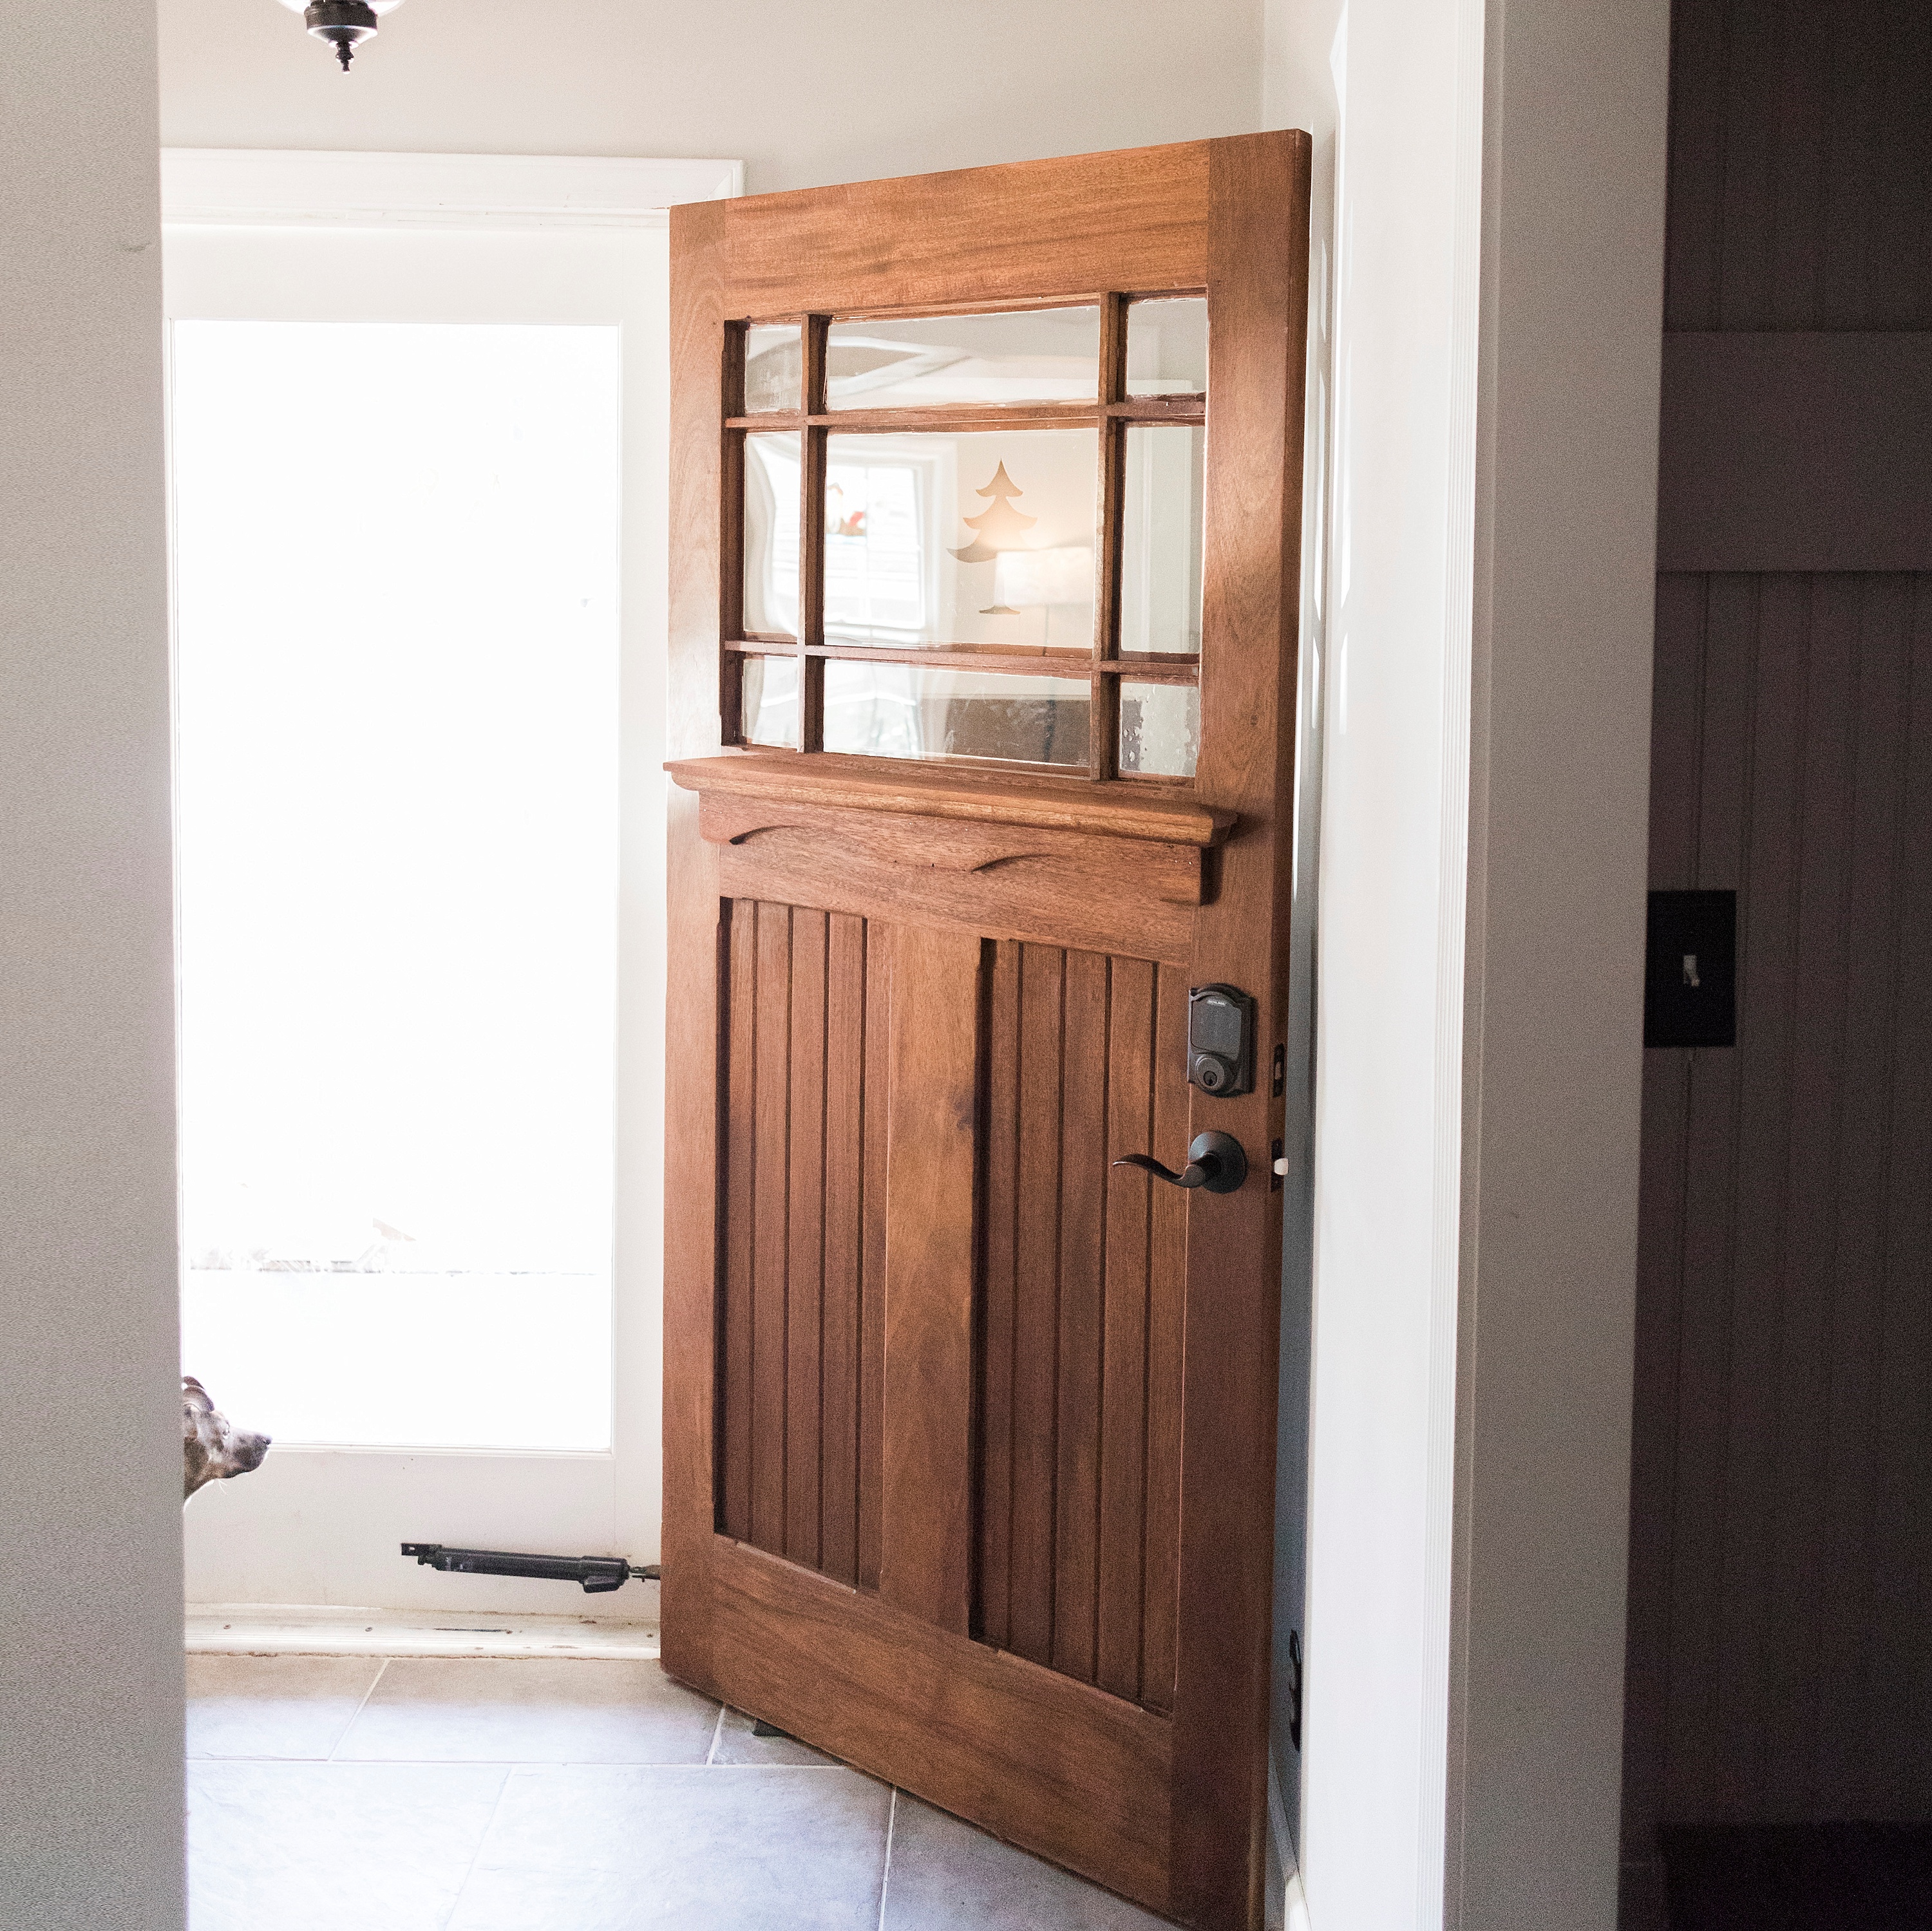
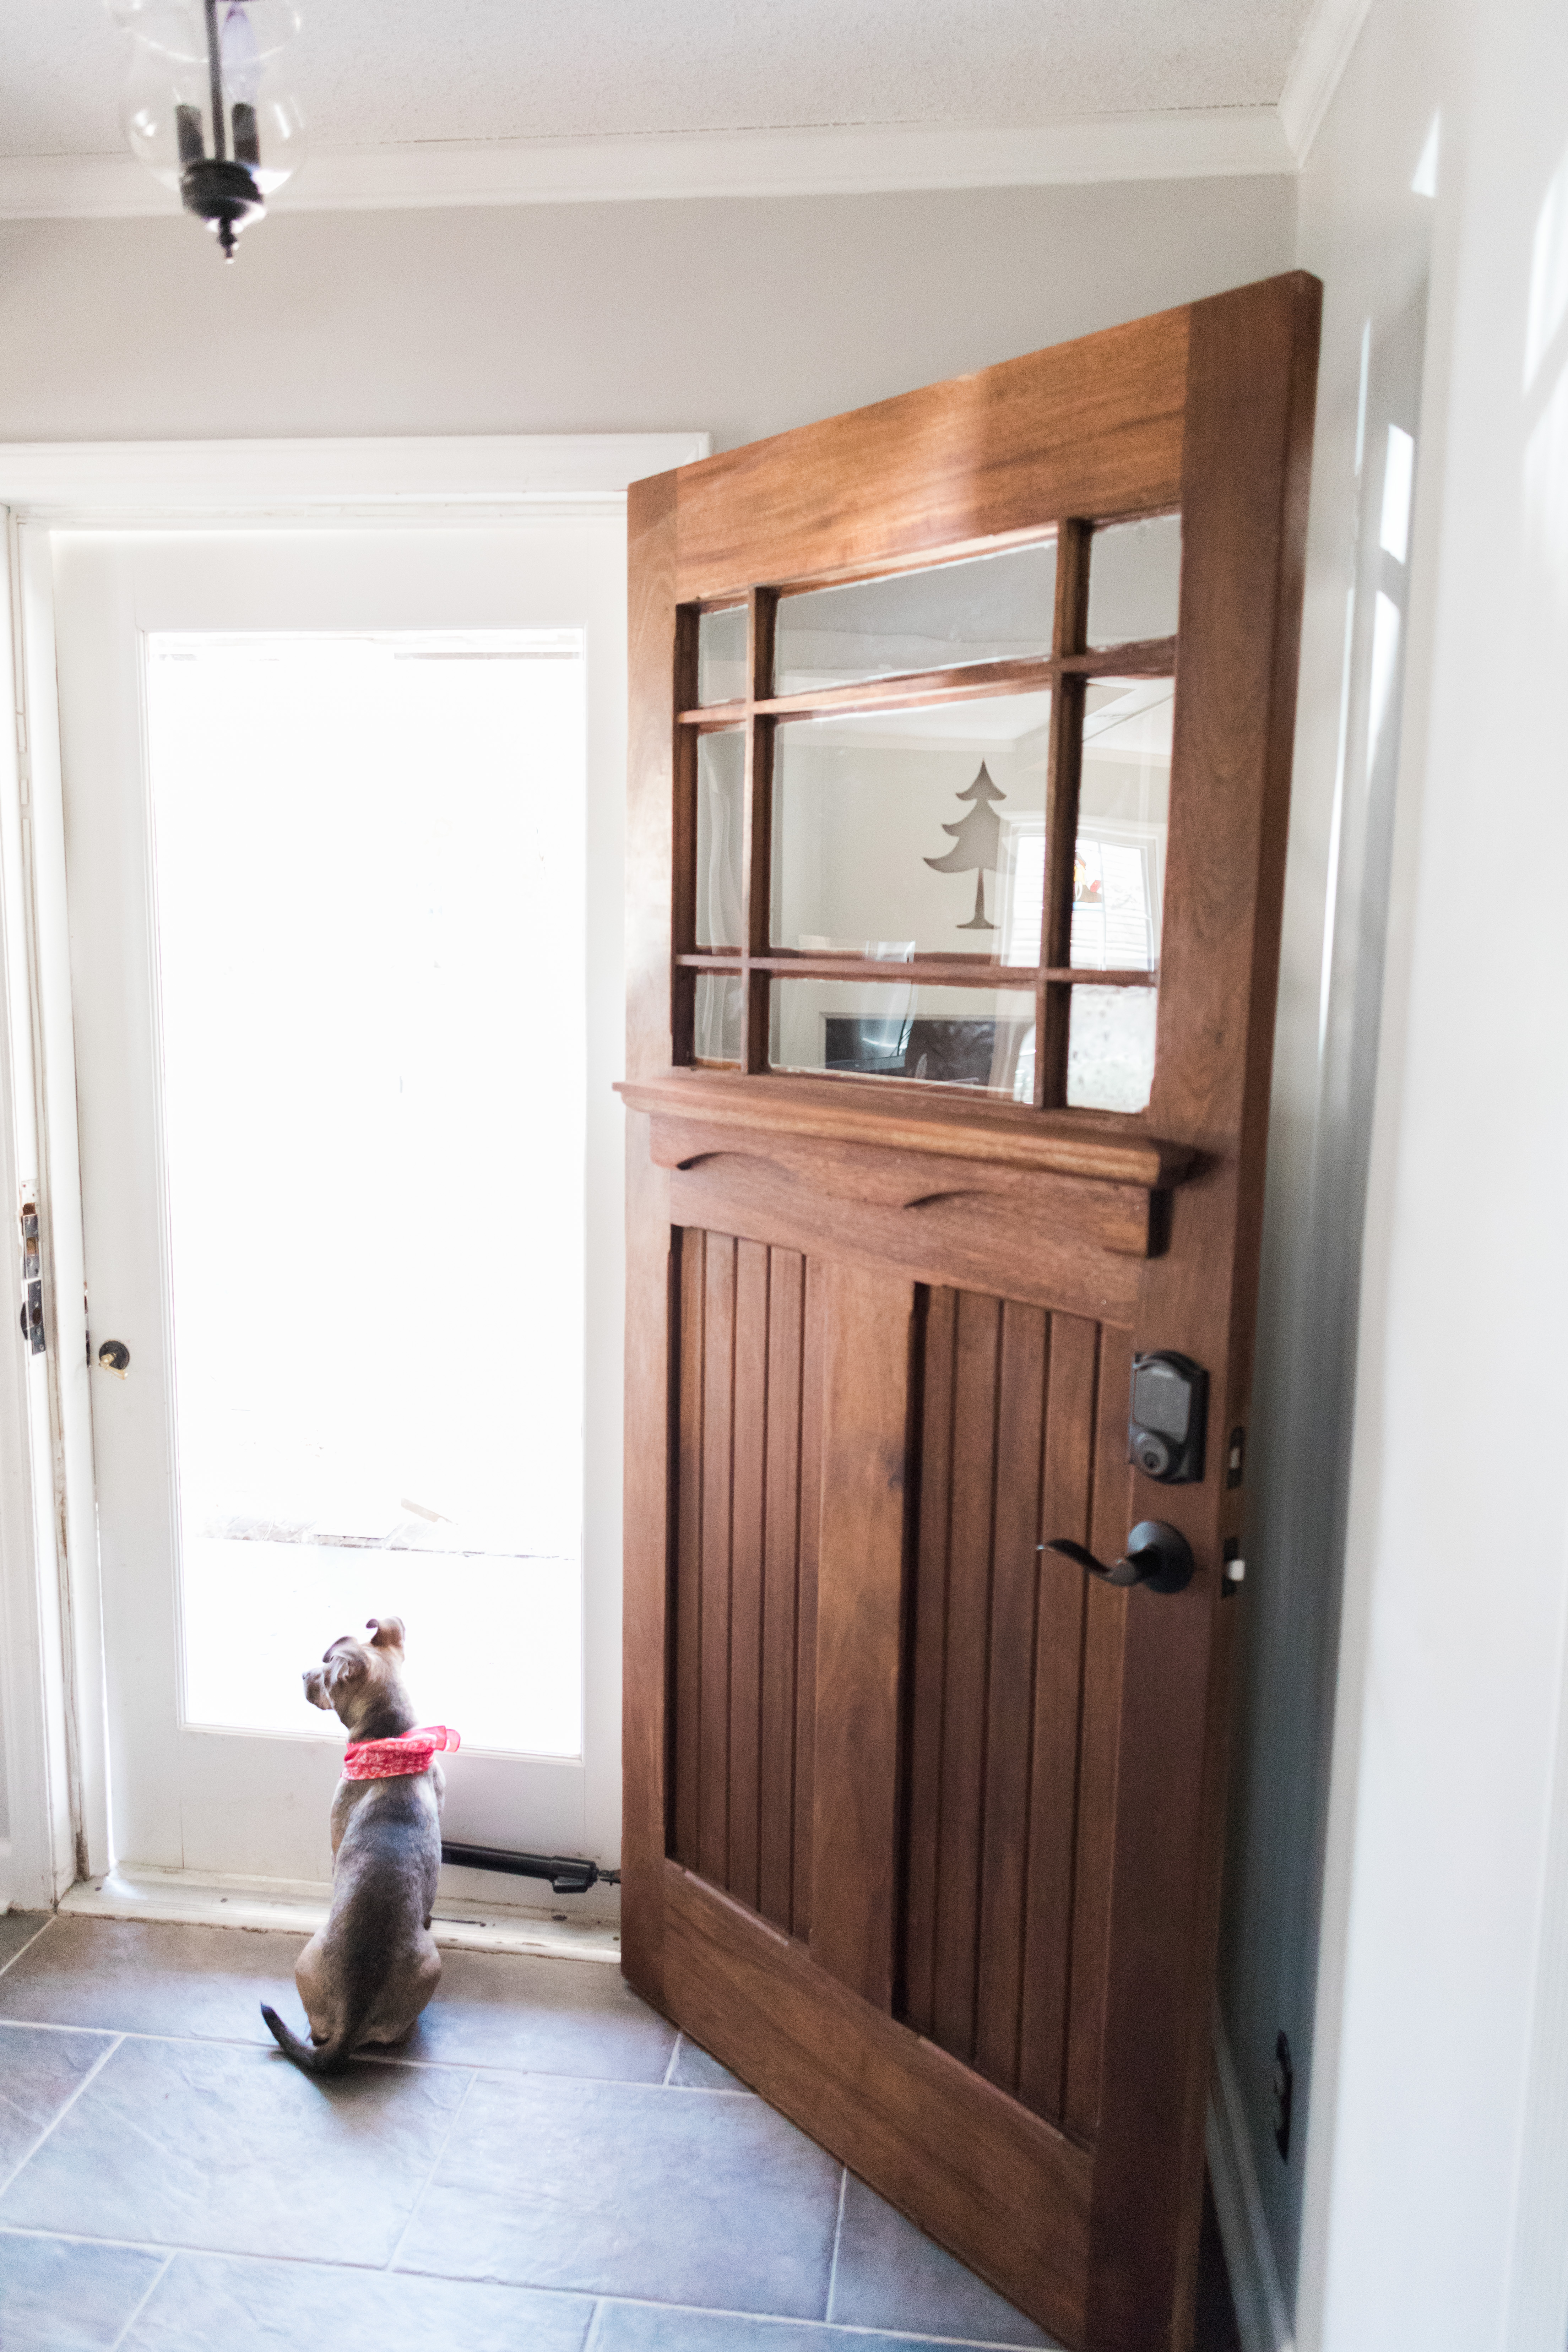
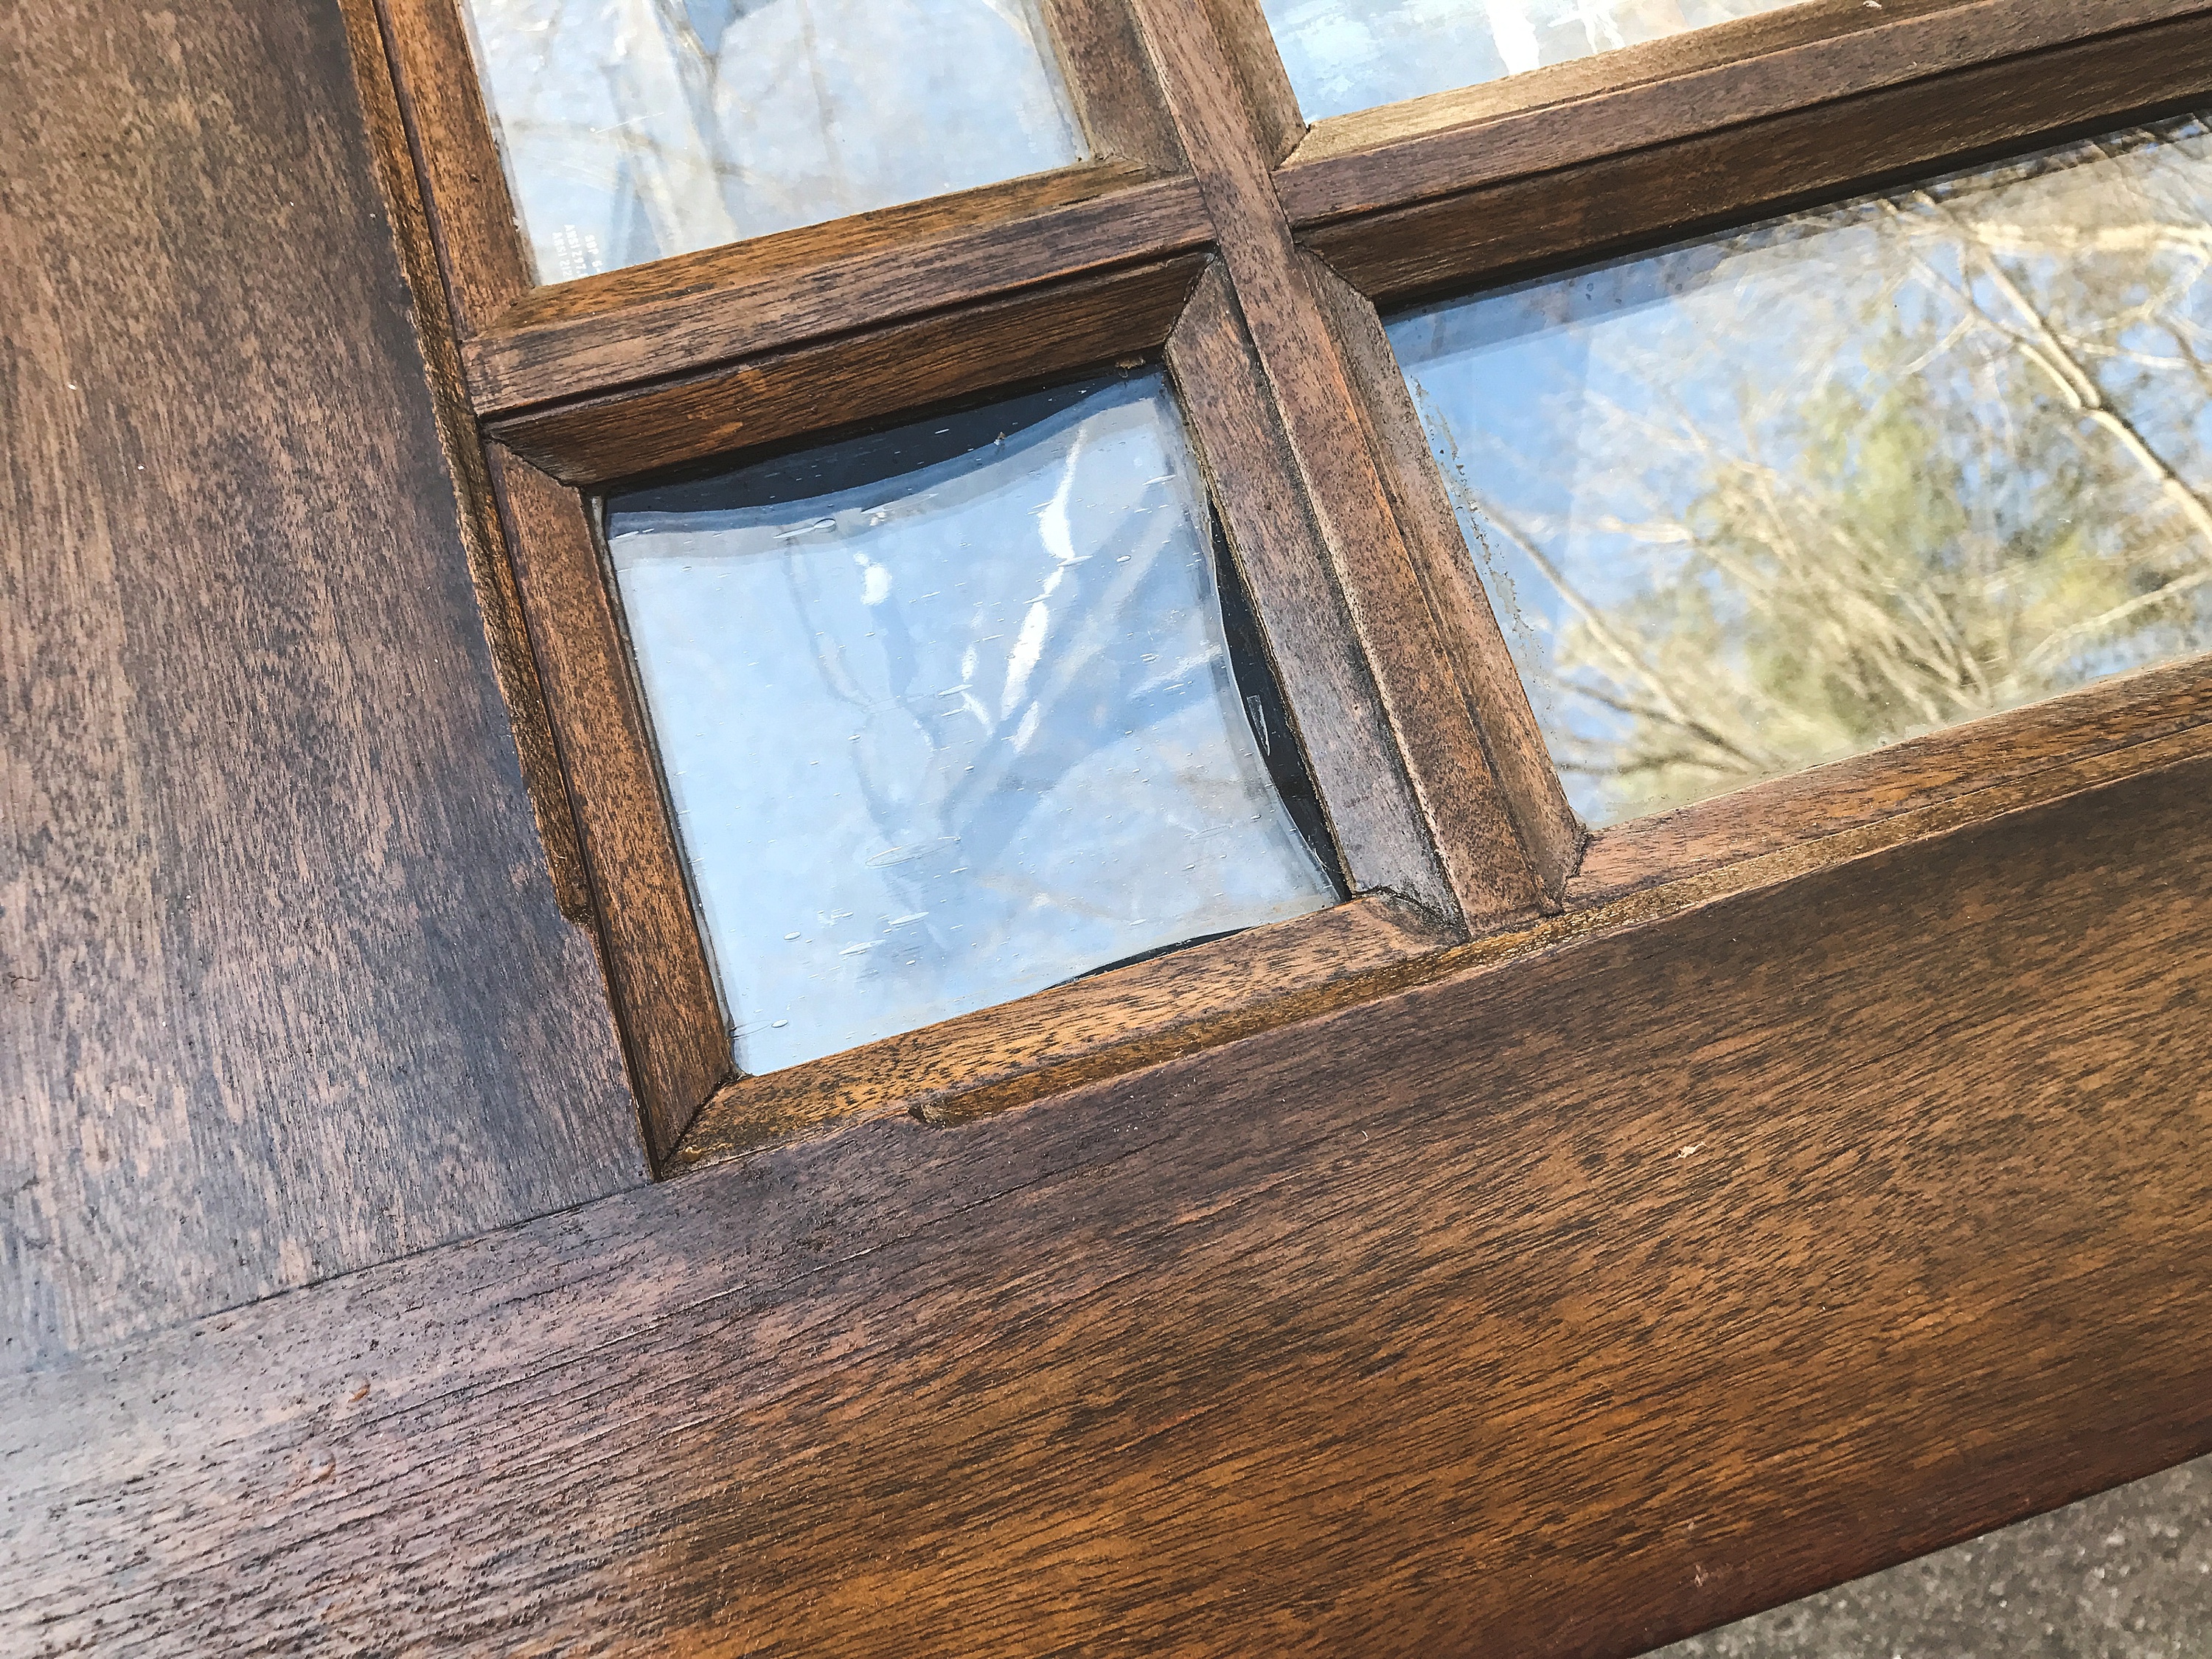
Glass is expensive, folks. This door (link project) was a steal at $30 – the guy was asking $50 but I talked him down, it’s what I do 🙂 Right away I noticed this black ‘insulation’ between the windows sort of ‘melting into view’. I figured I could pop one side of the glass off and ‘push’ it back into place. Wrong. This black ‘insulation’ it is like a sticky, hard tar essentially glueing the two pieces of glass together, and after sitting in the sun for who-knows-how-many-years as their front door, it was basically melting into the center of the glass. Because I loved the door so much, and because it was only thirty bucks, I decided to call a couple of glass guys out to get an estimate of how much to replace the glass. Let’s just take a moment to think about what that might cost. Nine panes of glass, the smallest being 5″x5″… Go ahead, guess how much?
WRONG!!
The correct answer is $650.00.
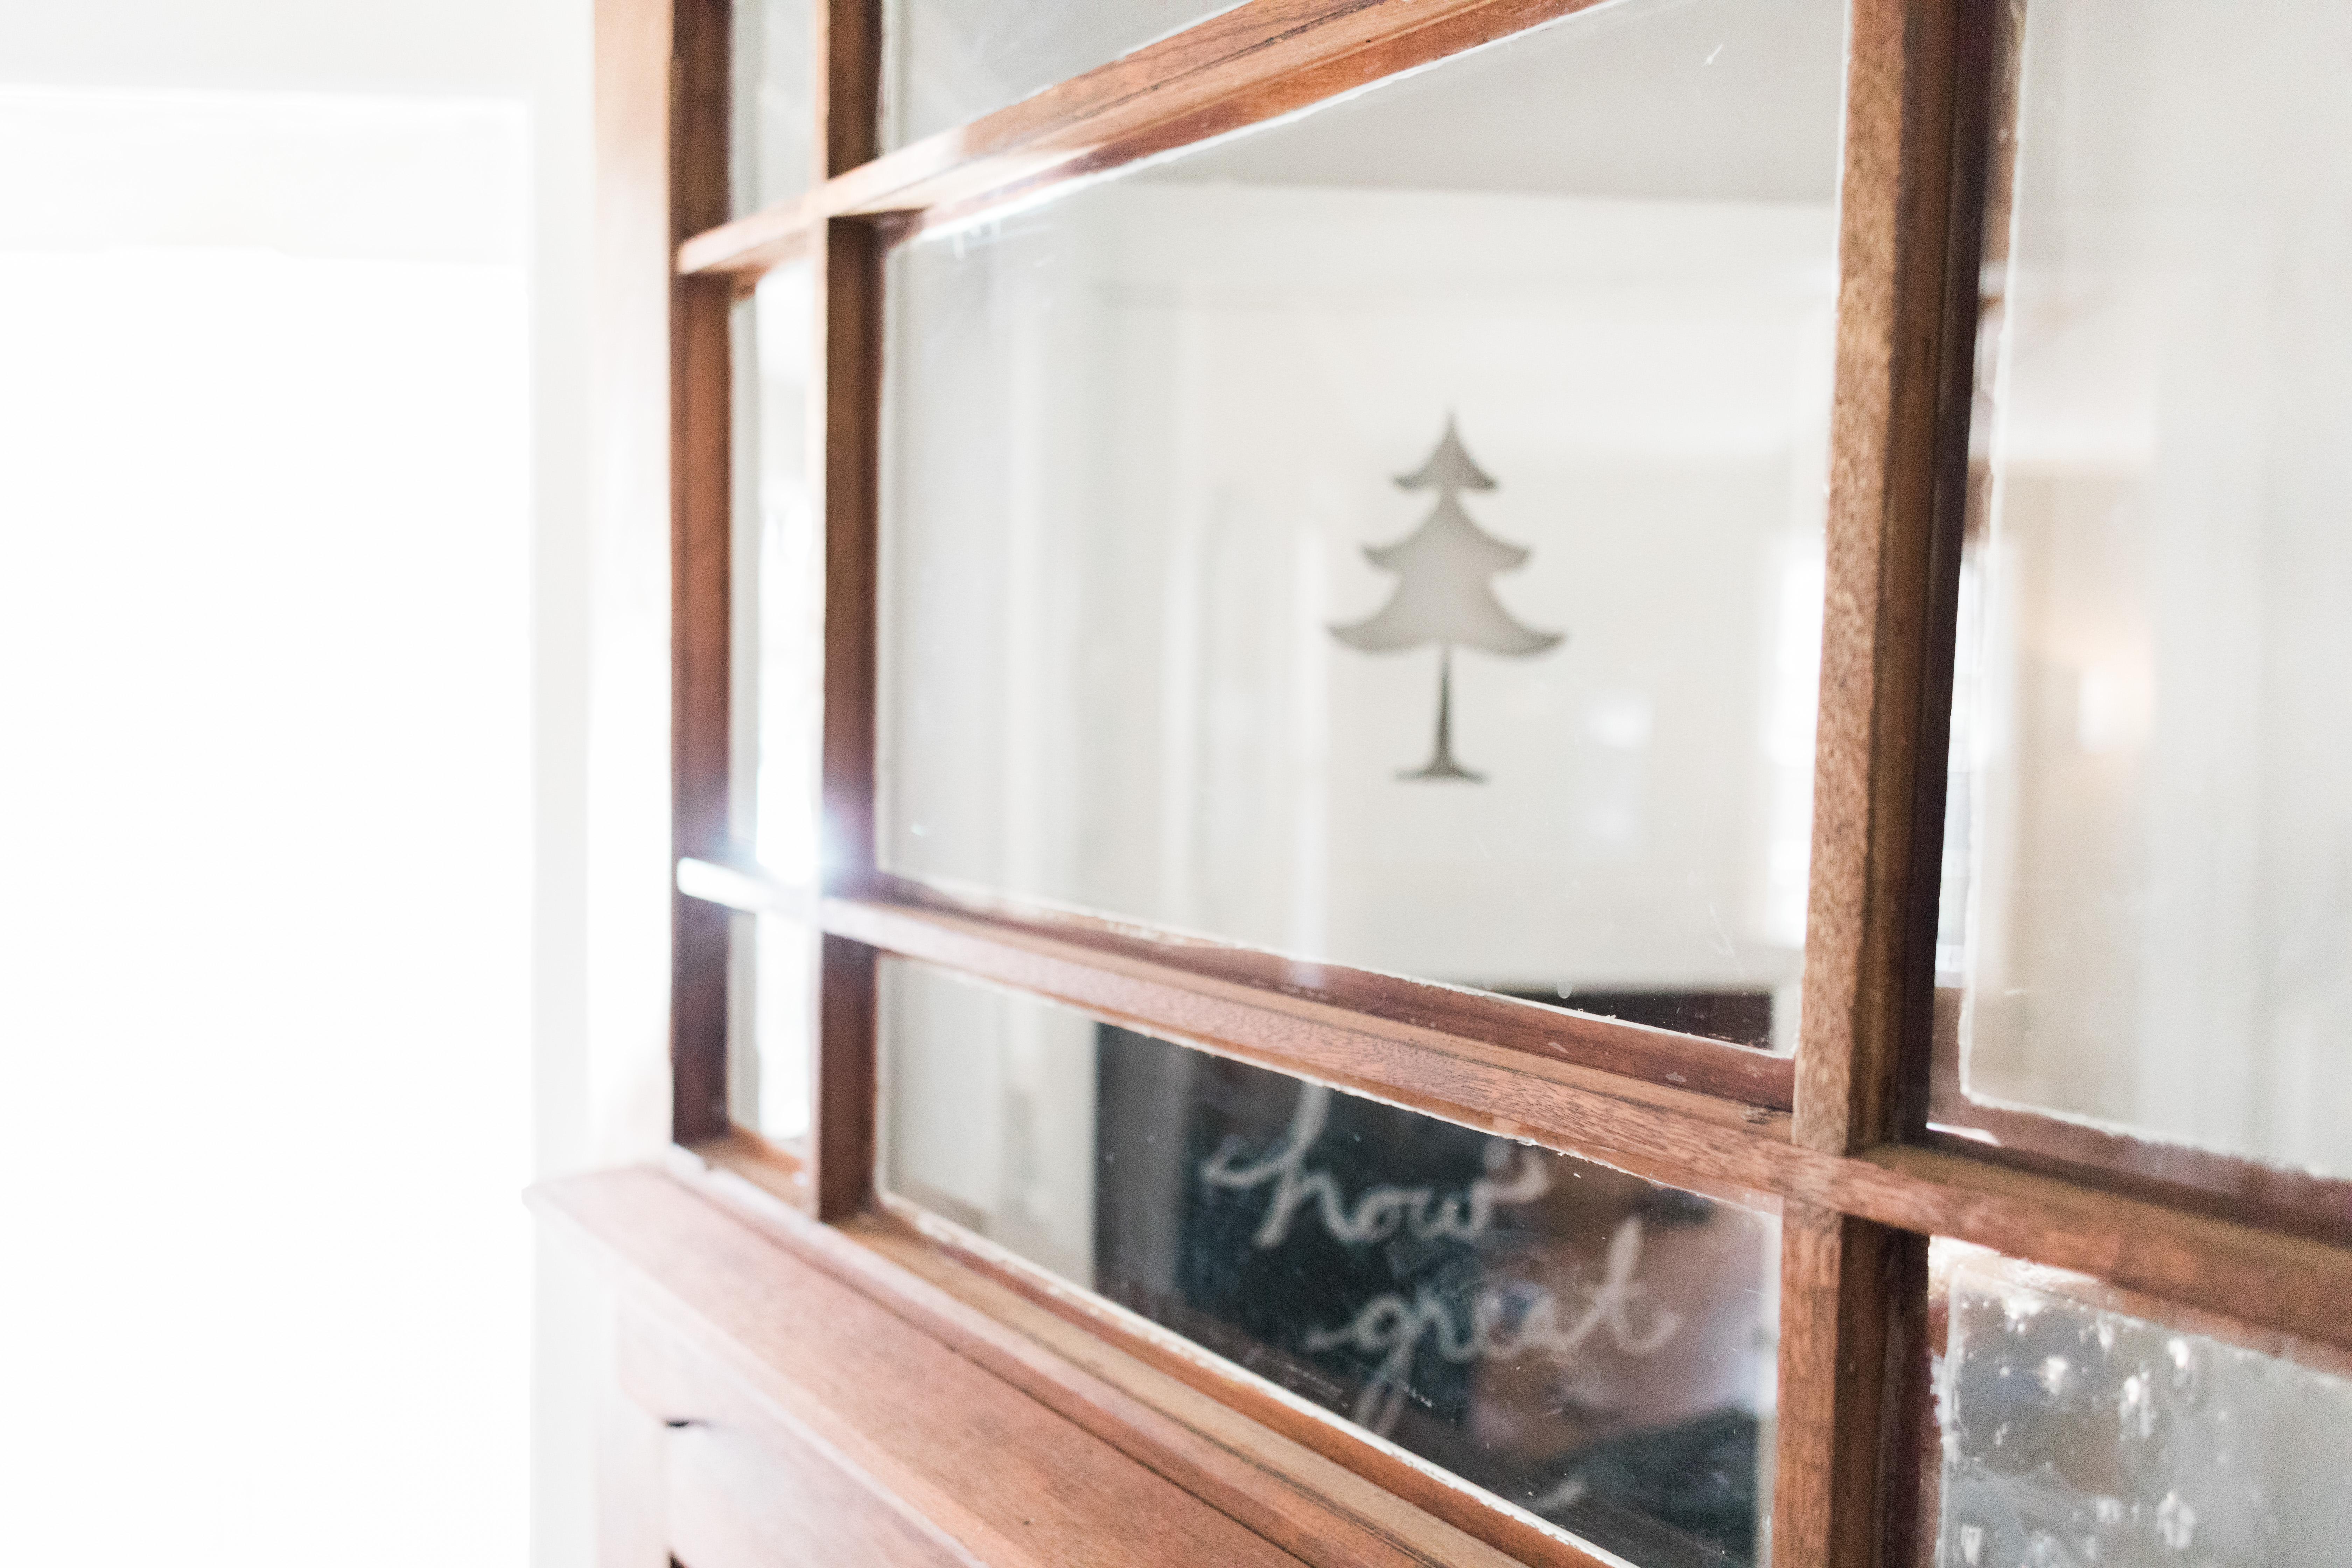
That’s right. $650 smackeroos to change the glass out of a $30 door. I think the answer to that is pass. I mean, I was practically $30 over budget at this point considering replacing the door was not needed, just something I wanted to do to bring a little light into the entry way. At that point I think I considered putting it back up for sale on Craigslist. I leaned it against the garage door and moved on to the next project. BUT, a few days later I decided to just take the glass out. I mean, why not. It was going to have to be replaced no matter what, so why not test it out. I am not sure at what point I thought, hey, how about I just take the glass apart and use one piece to create a single pane? but I am thankful for that moment and that wonderful idea! Since I was an expert at using heat to remove wallpaper (link) I knew that heat was the solution for this project, too. I pulled out my hairdryer (which has never actually been used on my hair) and warmed up the ‘tar’ until it was melty enough to carefully pull the two pieces of glass apart. Once apart, I used a glass scraper (Home Depot $3 or Dollar Store for $1) to clean up the glass. Then I used this waterproof silicone to glue the single pane back into place! I still need to replace the trim, I just have not had time to get to the specialty lumber store downtown to find a better match that will take the stain correctly.
VERY CAREFULLY remove the trim around each pane and pop the glass out of the door – I broke a few pieces trying to get them out, but since each panel had two pieces of glass, I knew I had some wiggle room.
Step one: heat up the ‘tar’ with the hair dryer – be sure to wear gloves and goggles!
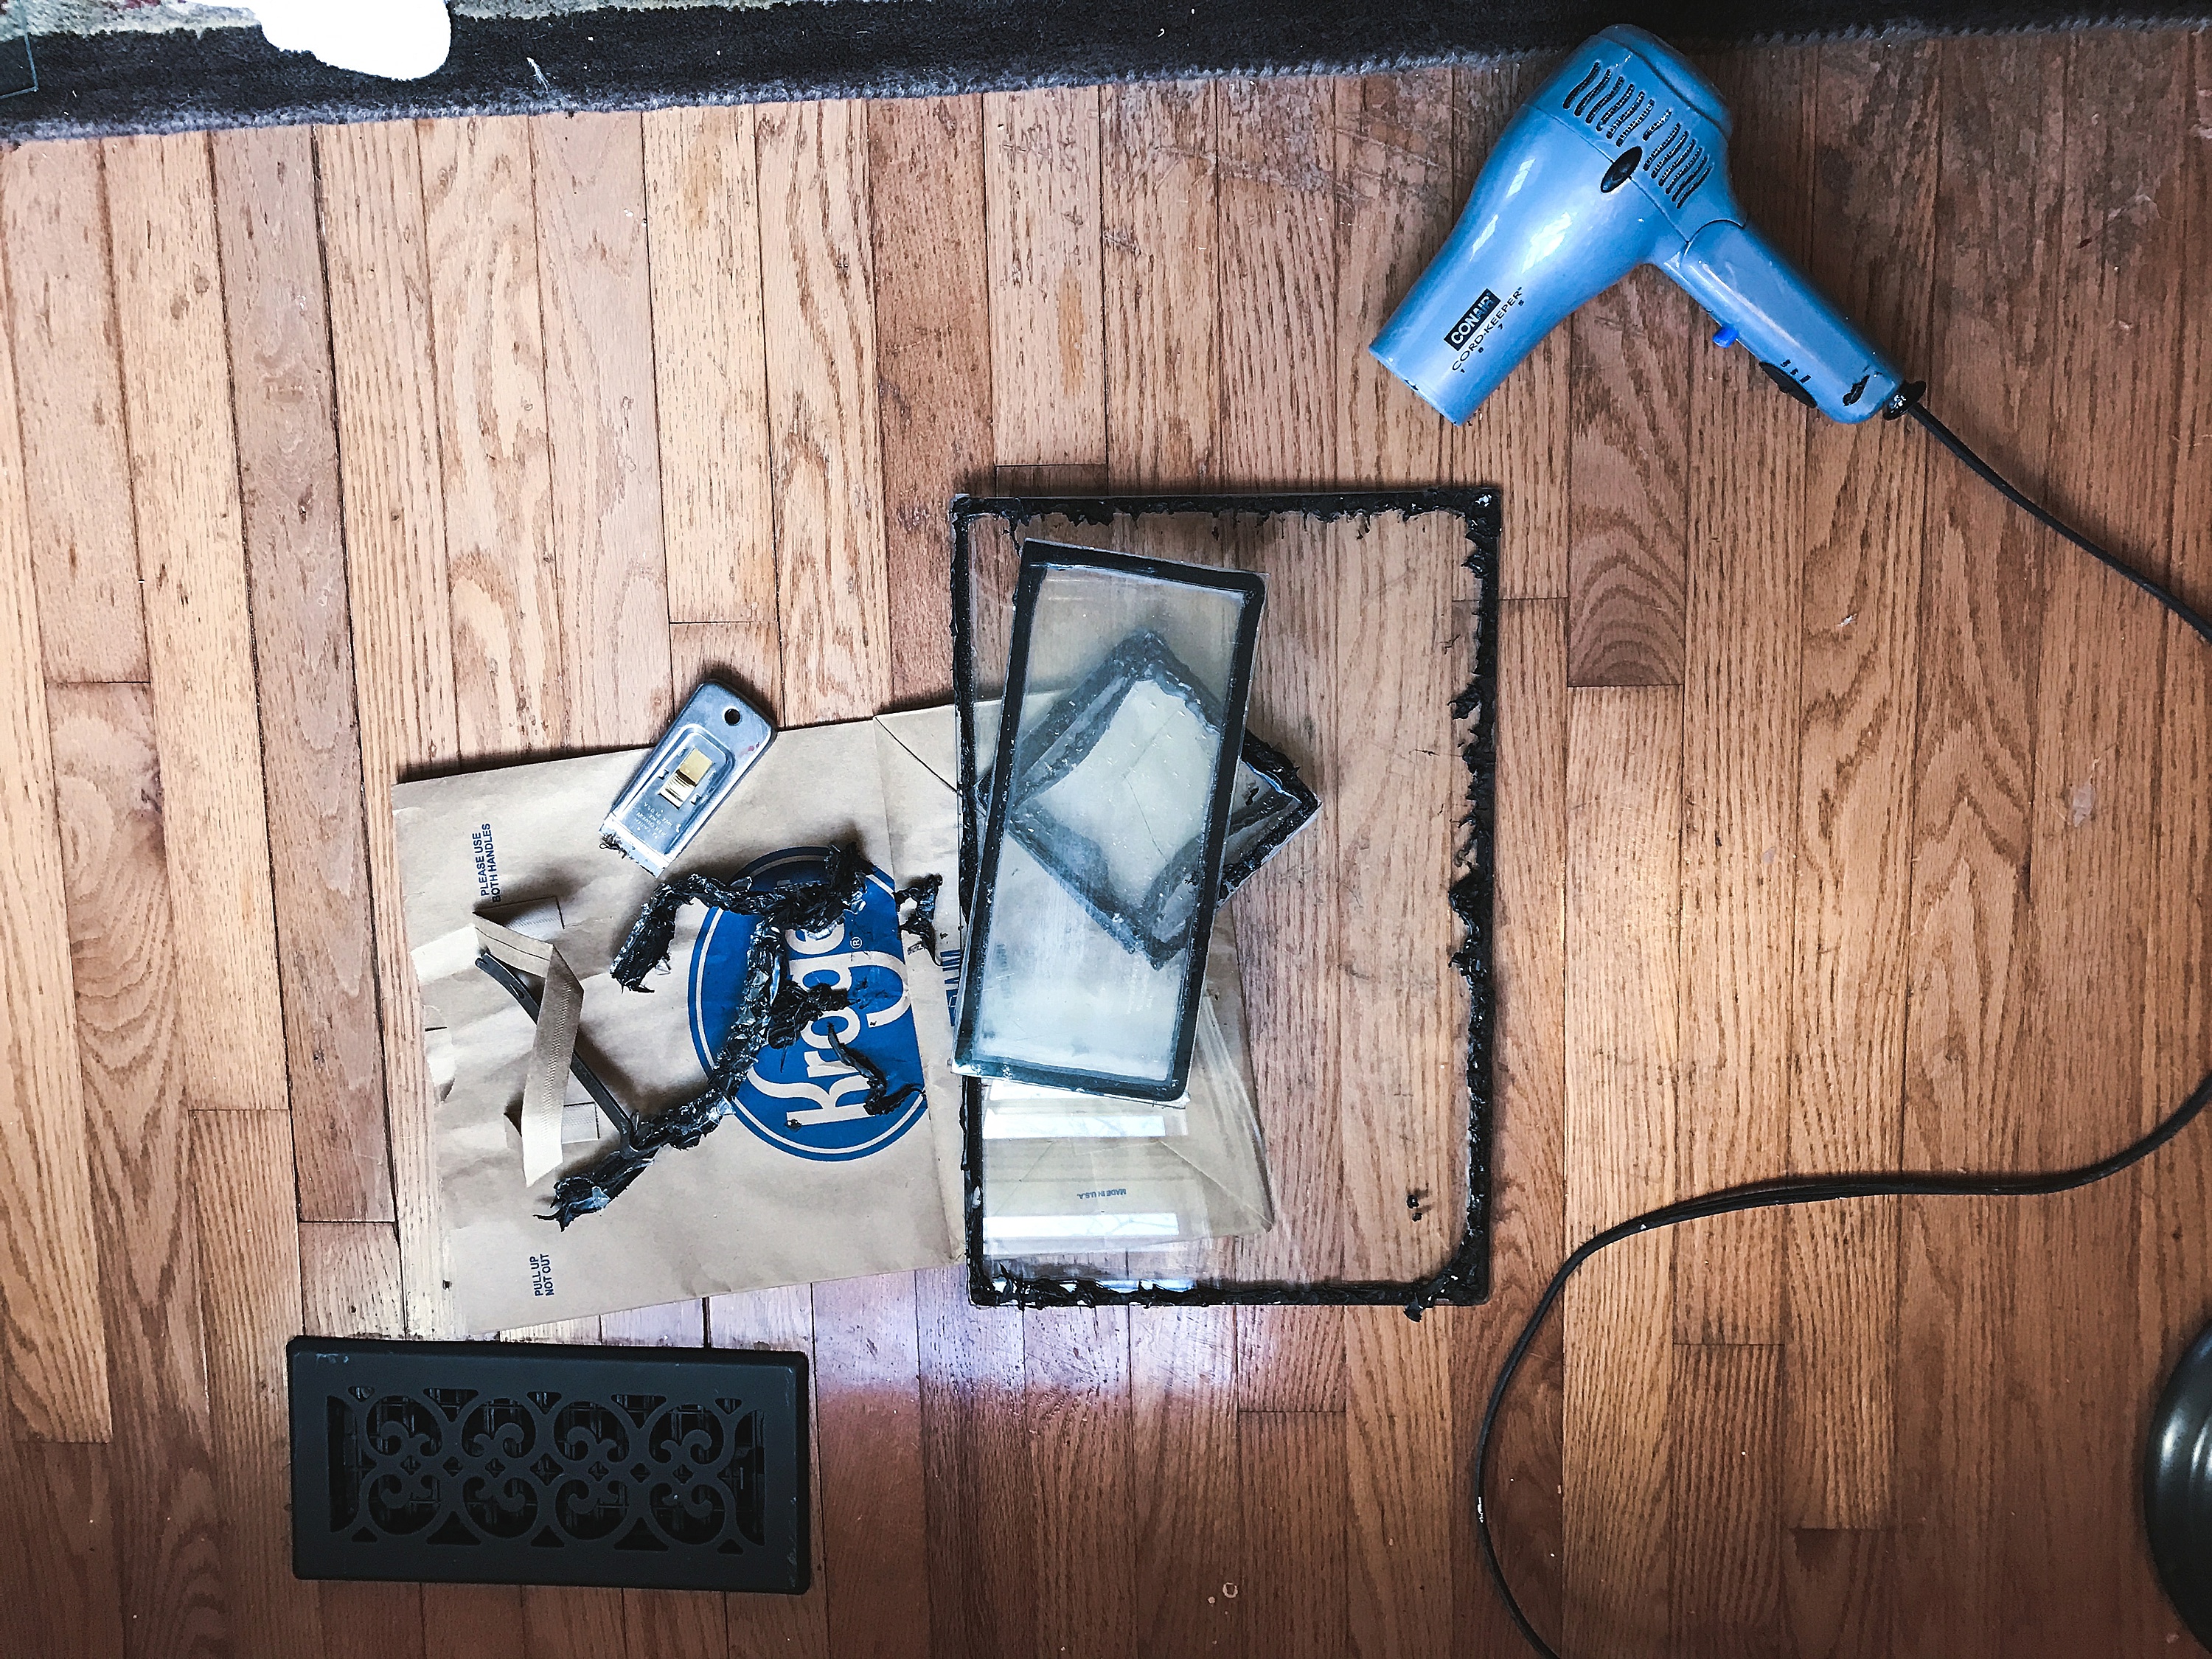
Step 2: carefully pull apart the two pieces of glass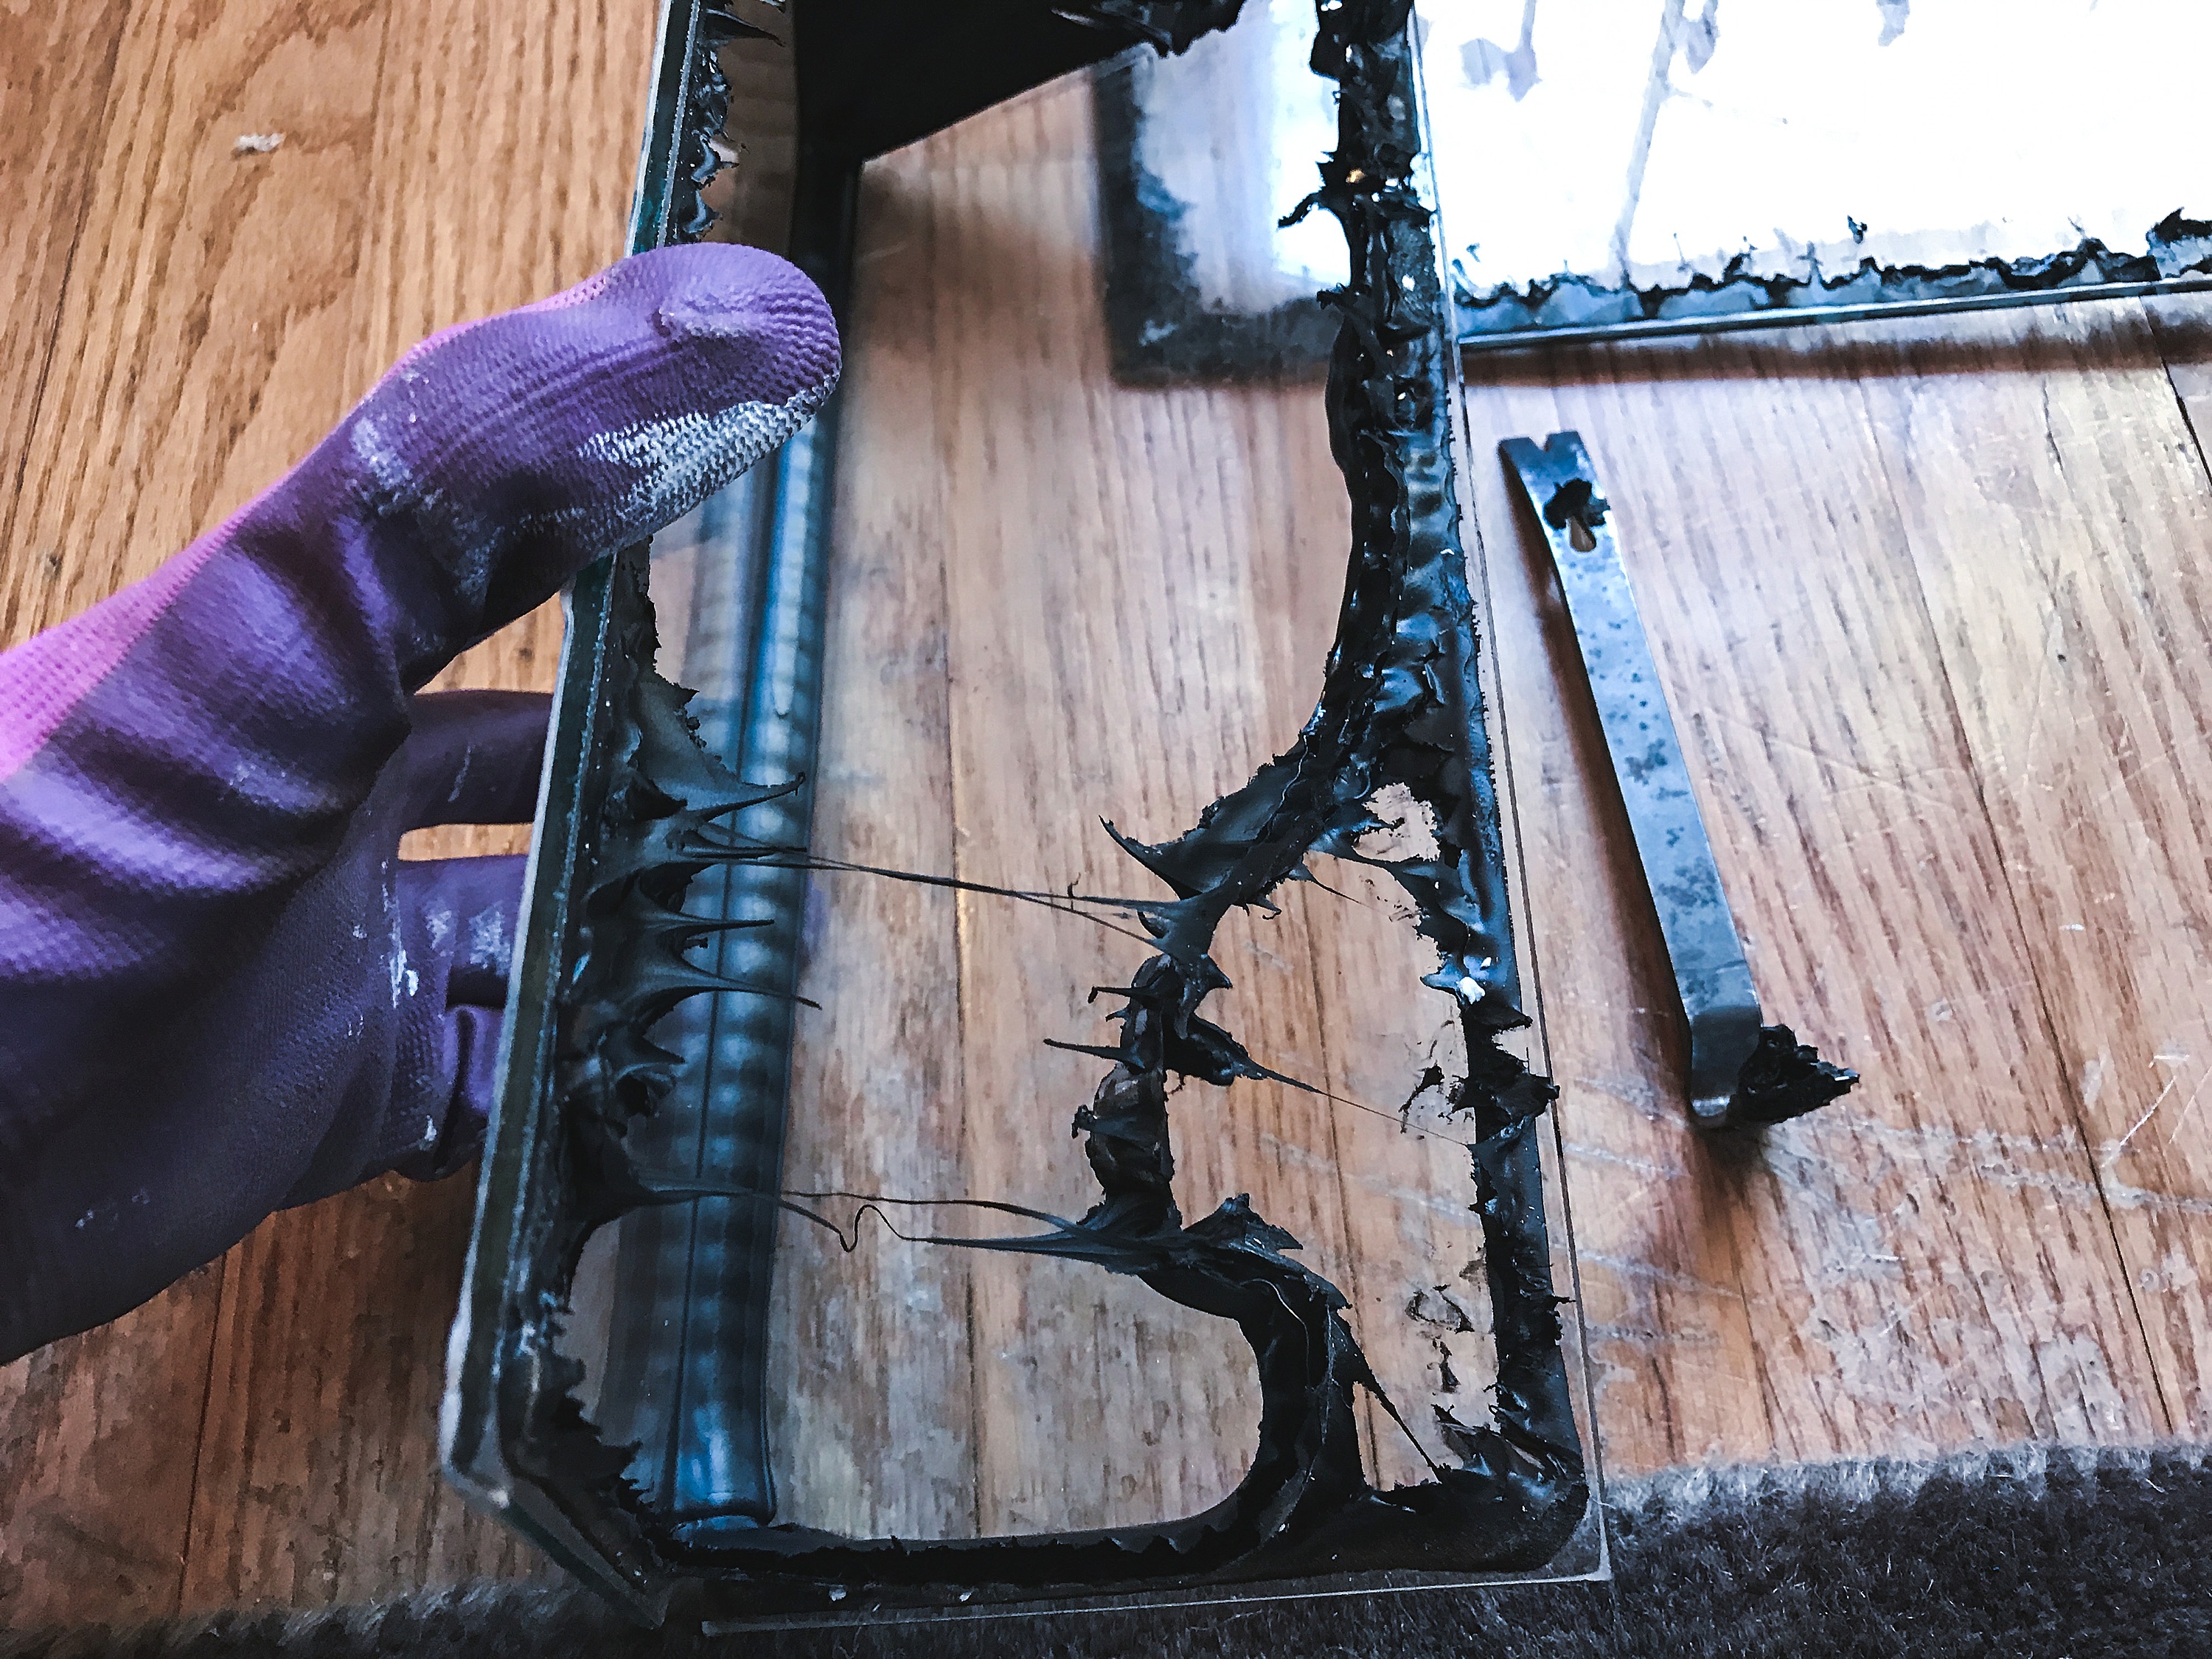
Step three: remove as much of the ‘tar’ as possible while it is still warm
Step four: use a glass scraper to scrape off all of the excess ‘tar’ 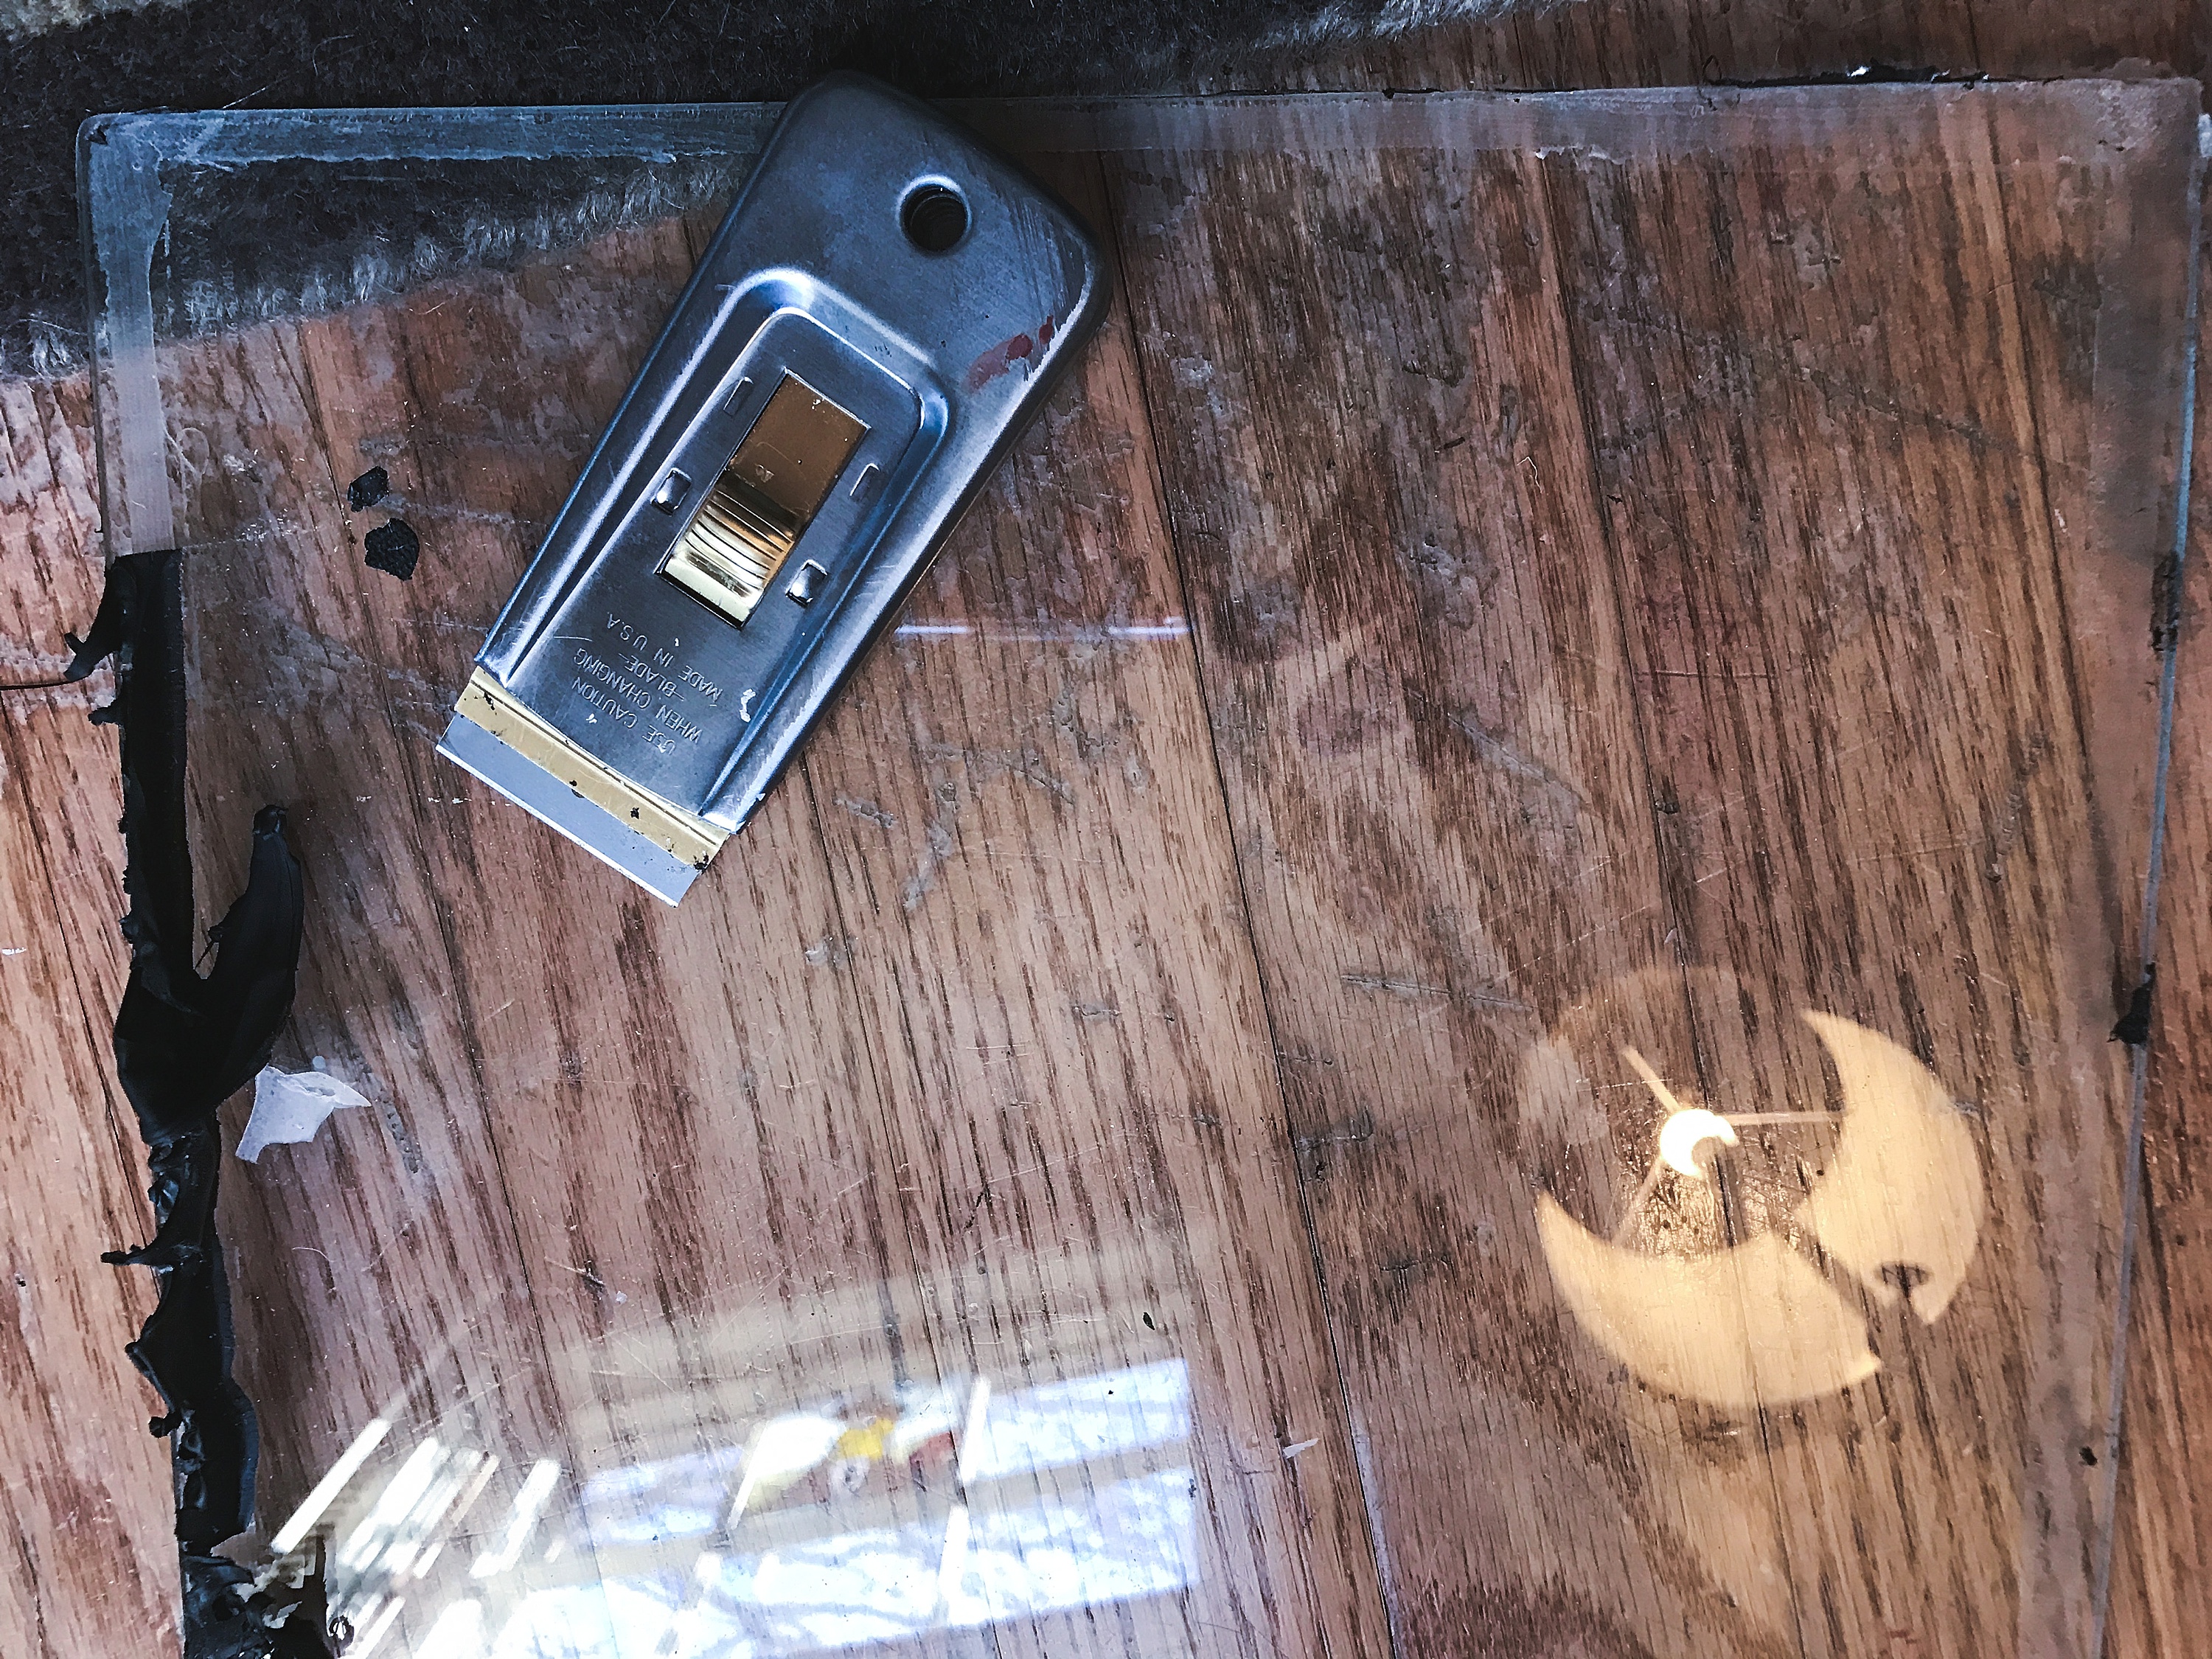
Step five: use the silicone caulking to glue the single pane of glass back into place, then add trim!
This project is definitely up there on strangest DIY projects, but it was also the biggest money saver by far! Don’t be afraid to take a risk and try something new, and definitely do not let professional opinions keep you from doing it yourself 🙂
The door was way too pretty to hide it behind the storm door that was currently installed (which I love!), so I found an equally gorgeous all-glass door, also on Craigslist, for $20! See how I refinished that one, here (link). <— coming soon 🙂