My very-first-real-life-big-girl building project! I was still using an old drill that had to be plugged in and required a key to change the bit, but hey, we all start somewhere!
You know that feeling when you strike on an idea and you run with it, realizing that all along this is the thing you’d be looking for? That is building for me. This project was so inspiring. I realized my love for building things, for solving problems in the moment, for creating something big. It had me jumping out of bed before the sun, skipping meals, and totally and completely neglecting my mom chores (laundry. piling. up.) .
On to building.
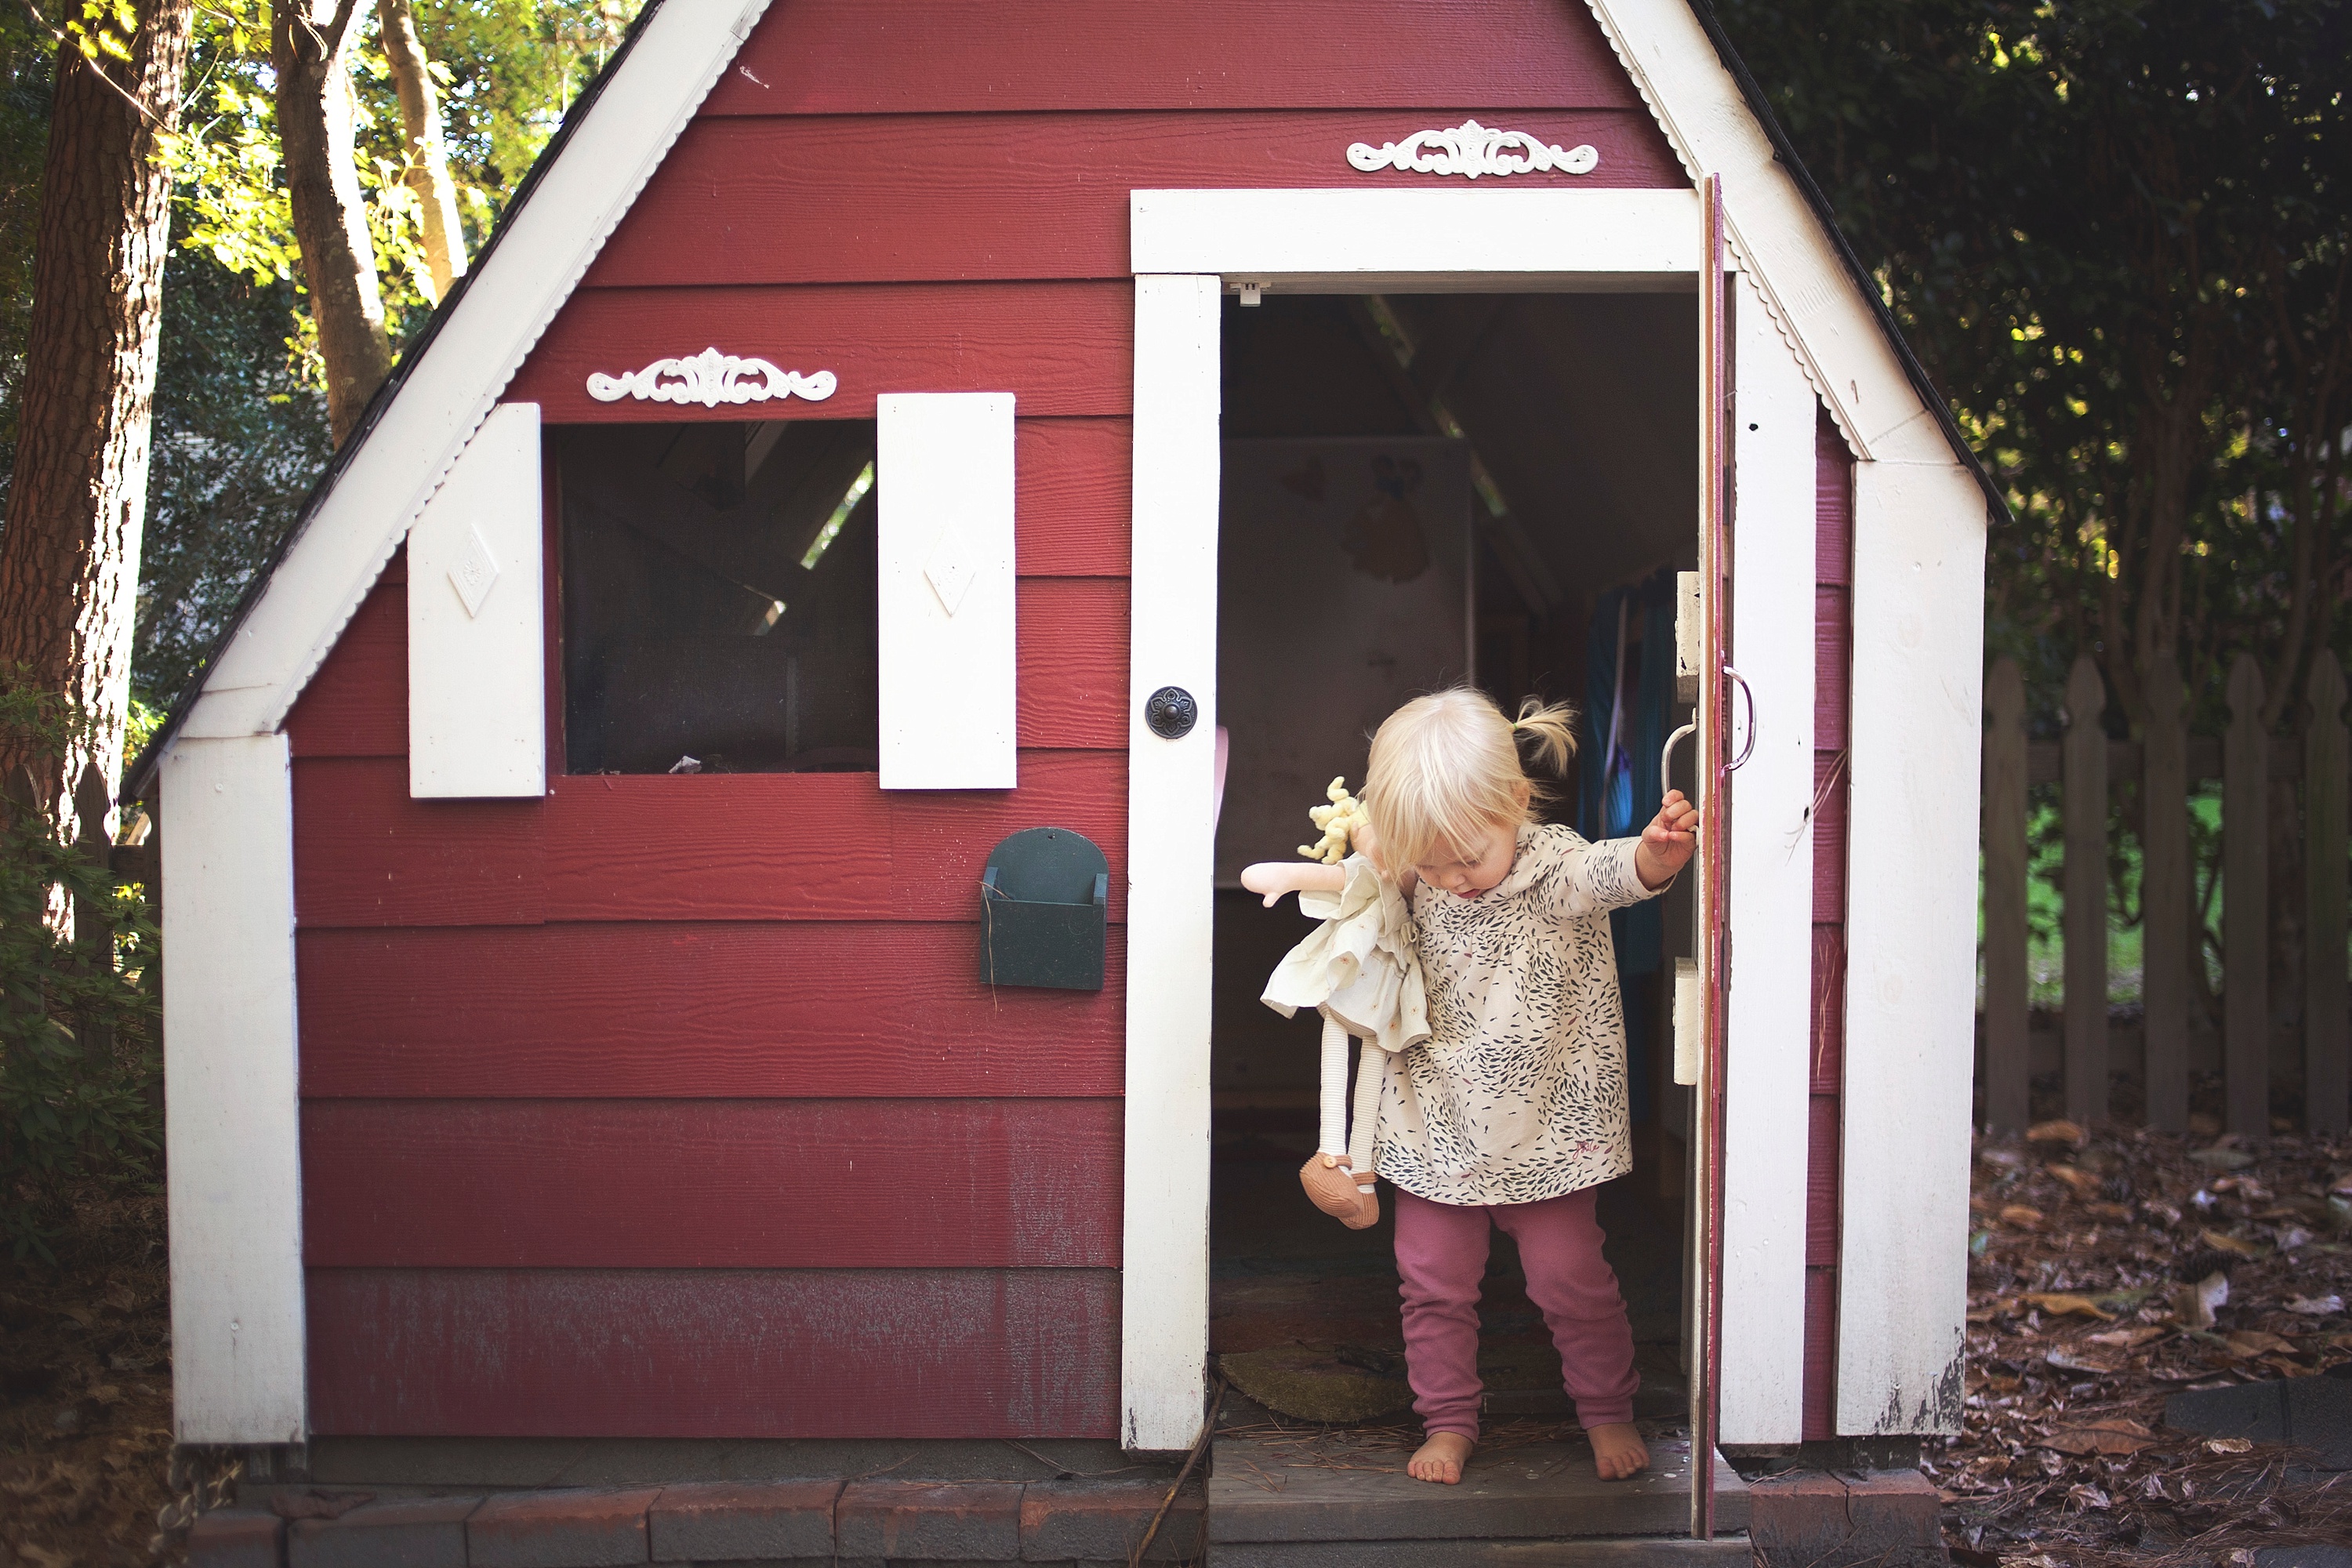
I won’t be putting up each detailed step because I was honestly winging it. I had blue prints, I had a sister who helped me read them, I had a husband for Home Depot runs, and I had all things HGTV stored in my brain, and I had neighbors with willing hands and needed tools. And as thrilled as I was with the final project, I made that! it wasn’t exactly what I wanted and a year later I renovated this little house into this dream home. I will try to add more details and update periodically, but please don’t hesitate to ask questions on my facebook page!
Step One: scour Pinterest and create a board of your ideas, Here is my board for the first and second playhouses! I ended up purchasing some blueprints, that I didn’t realize would be actual blueprints, online. But honestly, knowing what I know now, Ana White has some great free building plans with step by step instructions. So even if you do not build an exact replica of her playhouse, you definitely get an idea for framing and supplies!
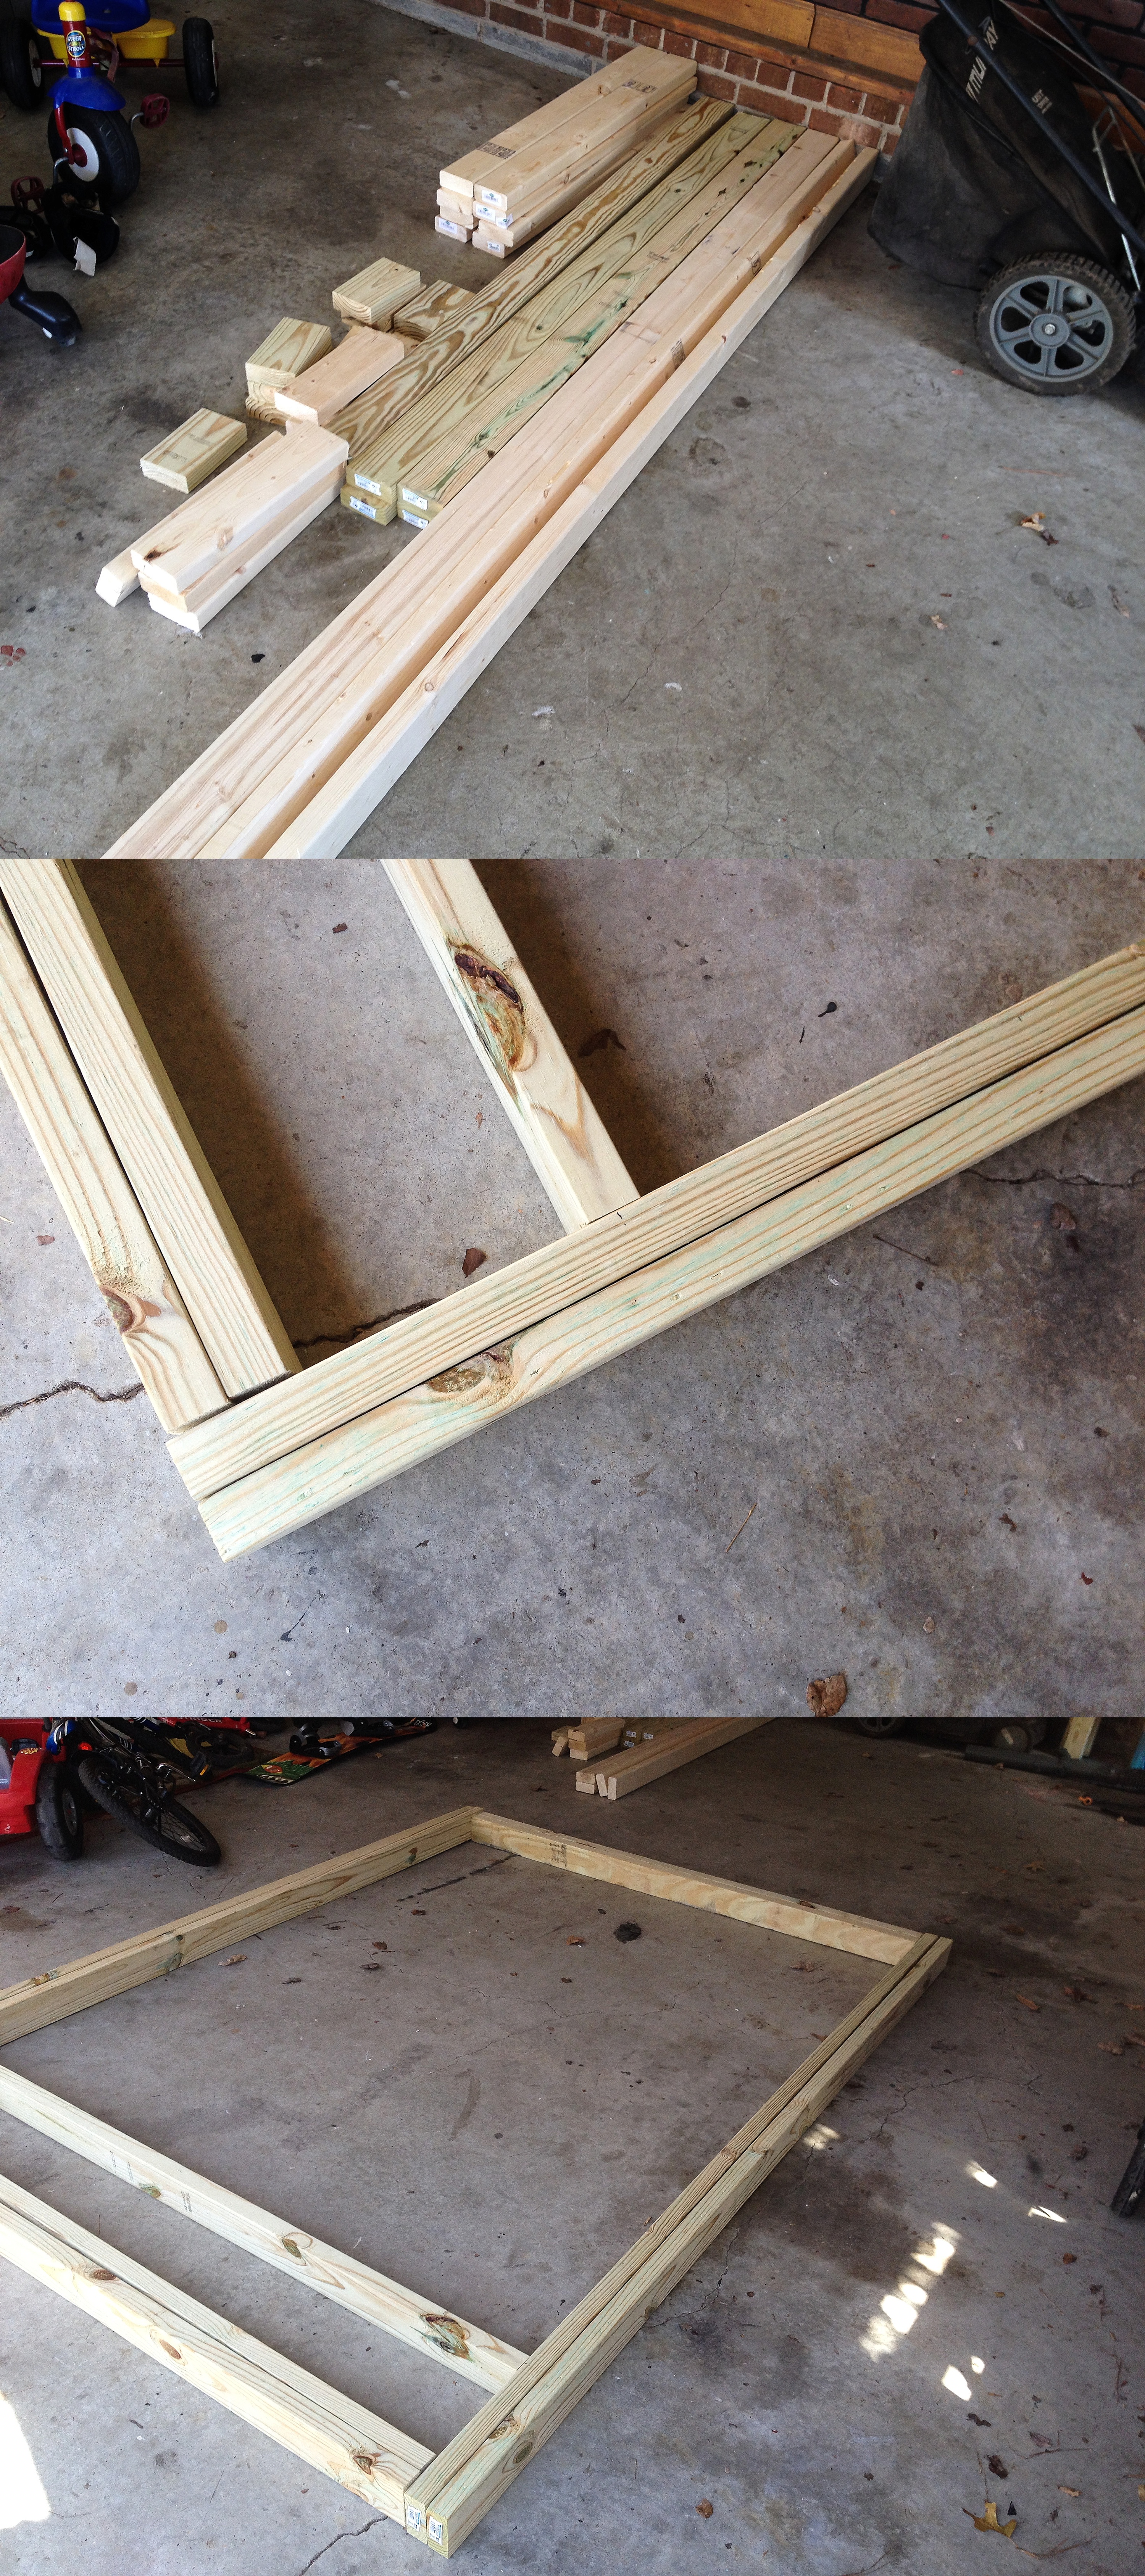
Step Two: Home Depot run and cut your wood to size (measure twice, cut once, always!). I used deck screws throughout the project. Just grab a bunch of them, you’ll use them! awe probably made 40 trips to the depot. Luckily it is one mile away.
Step Three: framing the floor was the easiest part and gave me an unrealistic expectation for how ‘easy’ this project would be! I used floor joists and 2x4s to make my 6’x8′ floor. I used 2x6s for the plank floors. I used treated wood for almost everything, especially the floor. A few pieces were untreated, as you can see by the lighter color (greenish=treated).
Step Four: remember, it is a playhouse; it does not need to be perfect! It is okay to make a mistake, pull out nails, and start over. It is okay to take a risk and try something new! It is okay to make a wrong cut and have to spend another $2 on a 2×4. Don’t take it too seriously. And just like me, you may not like the final project, but you can always renovate!
Step Five: start making the walls! Use 2x4s to frame out the length of each wall and use the floor to help guide measurements. Use two screws for each wall stud otherwise they will spin in place. Lay out, measure, measure, cut, repeat. Remember, it is a playhouse; it does not need to be perfect!

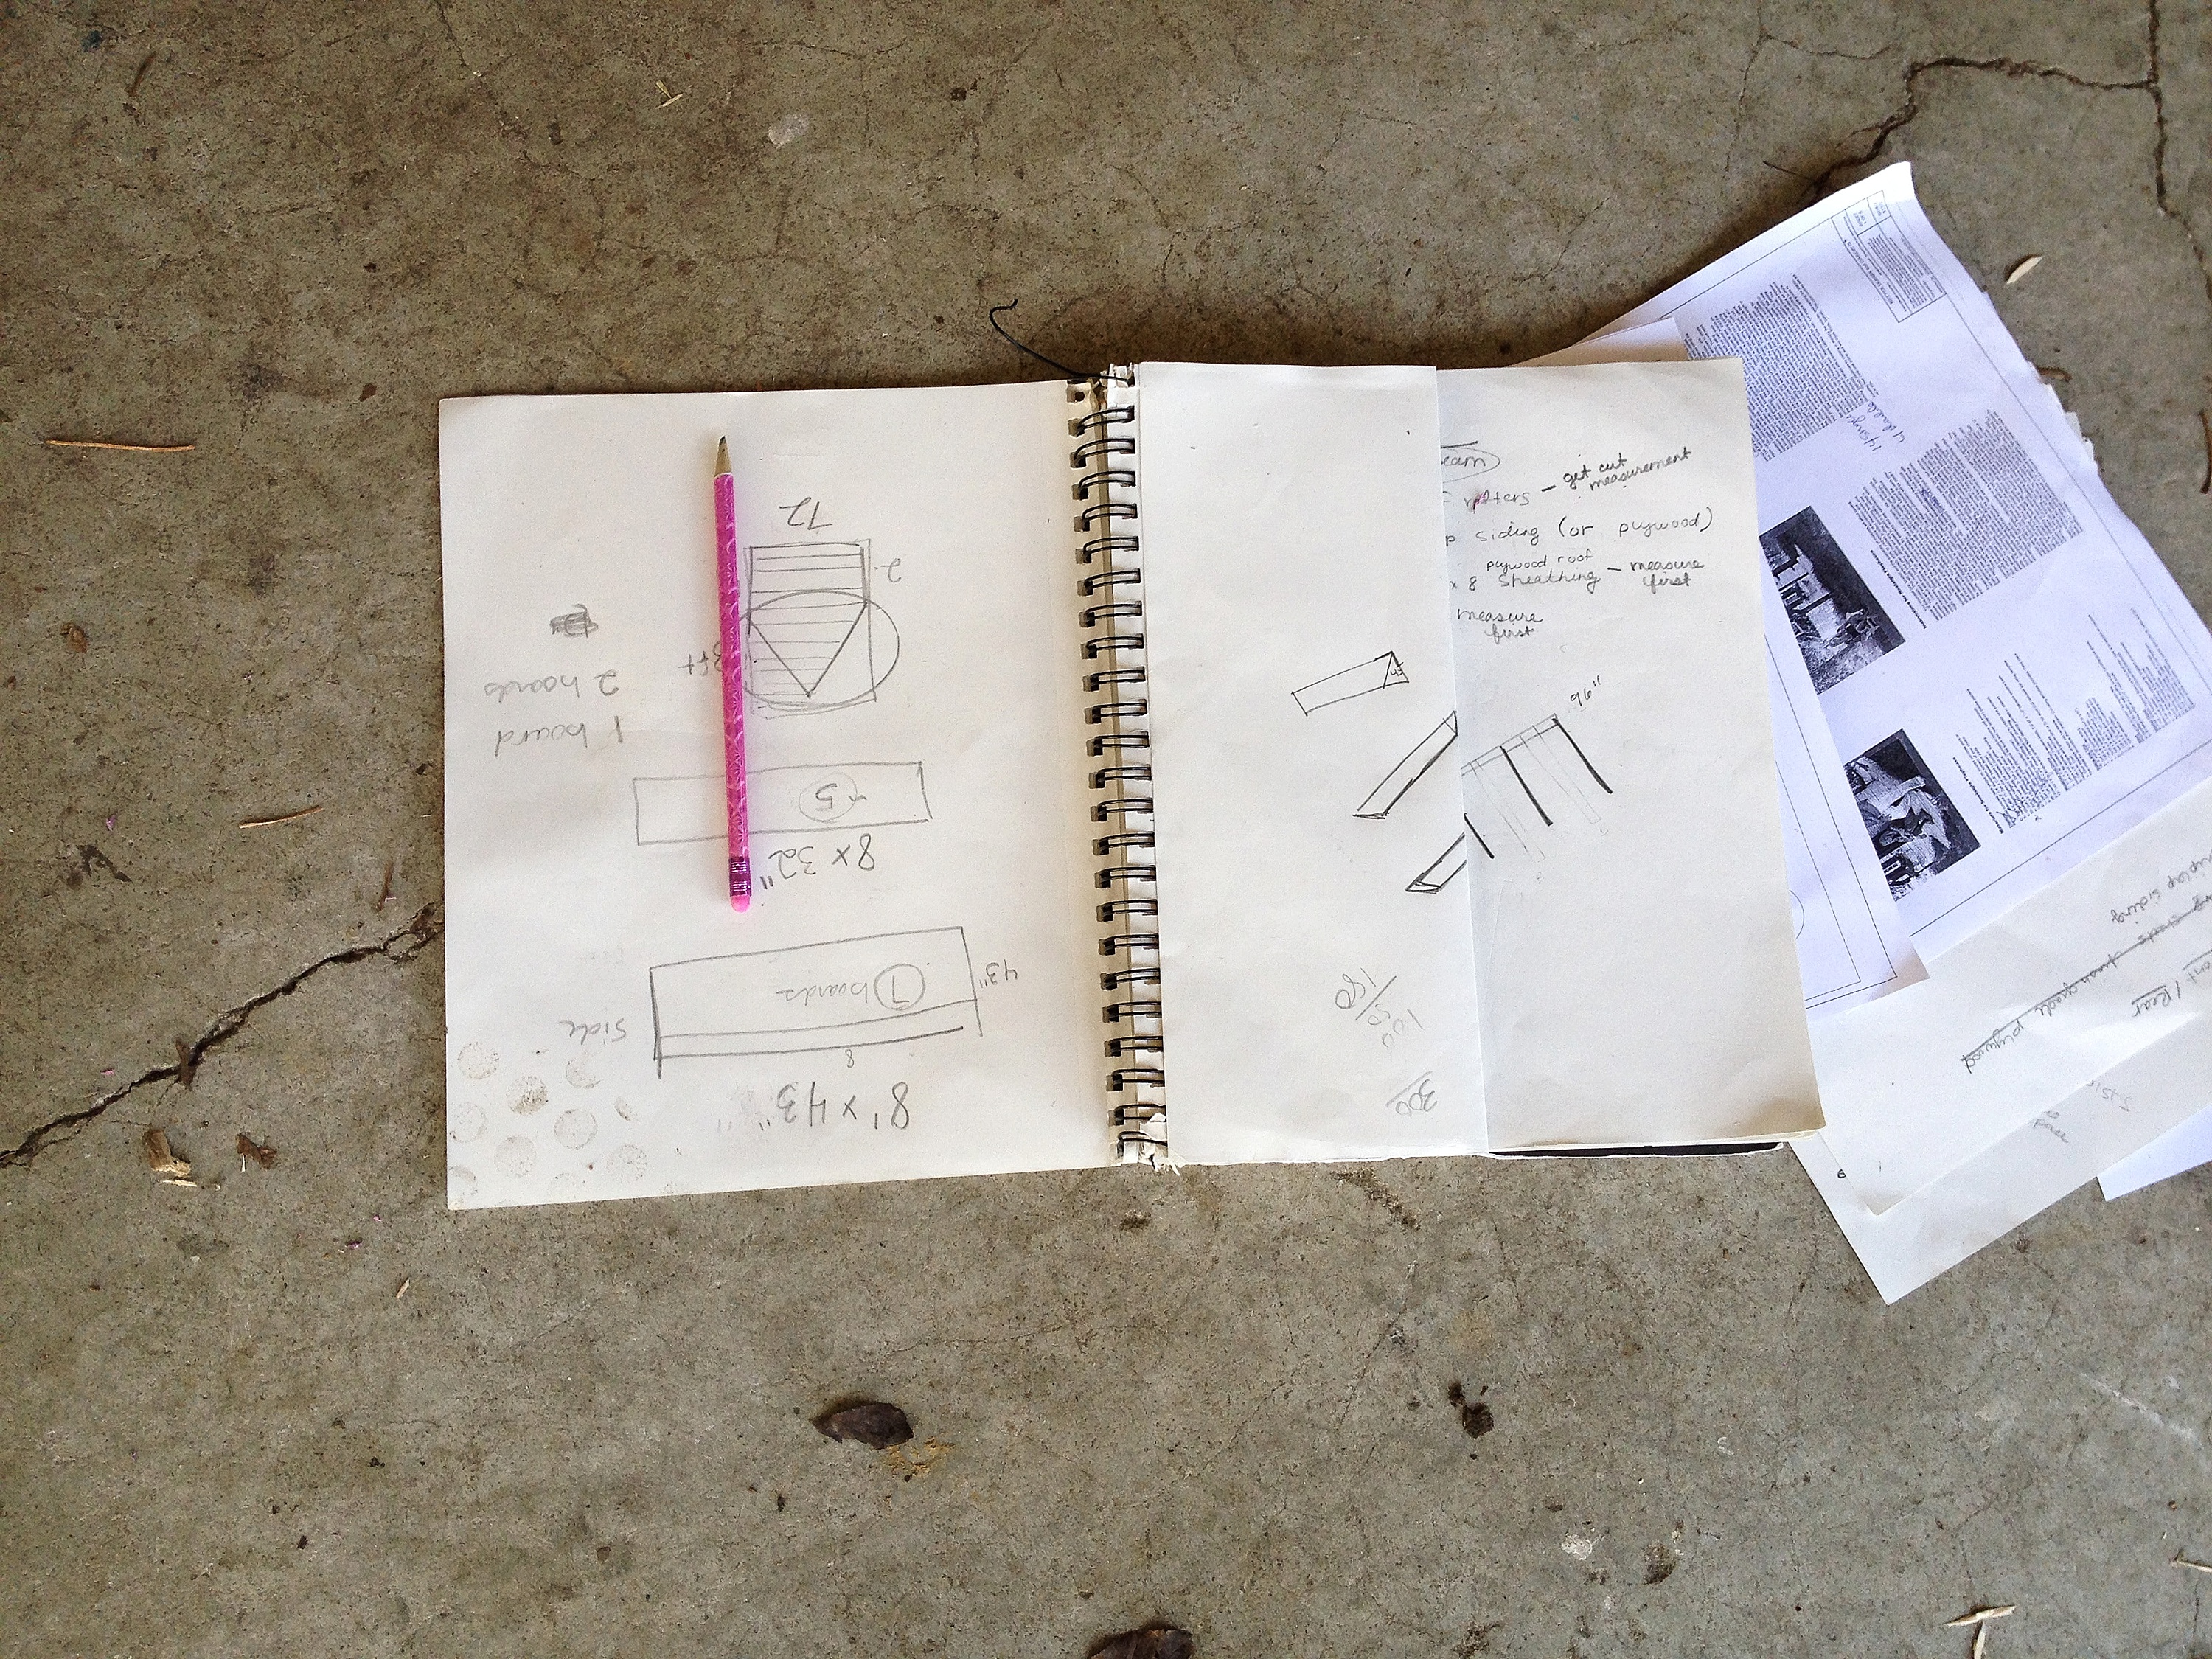
*I had a sketch book for the project. It helped me keep all of my ideas and measurements in one place, and since I am a visual learner, I was able to sketch to double check measurements. I also made my lists for Home Depot and was able to keep track of everything. I highly recommend it!
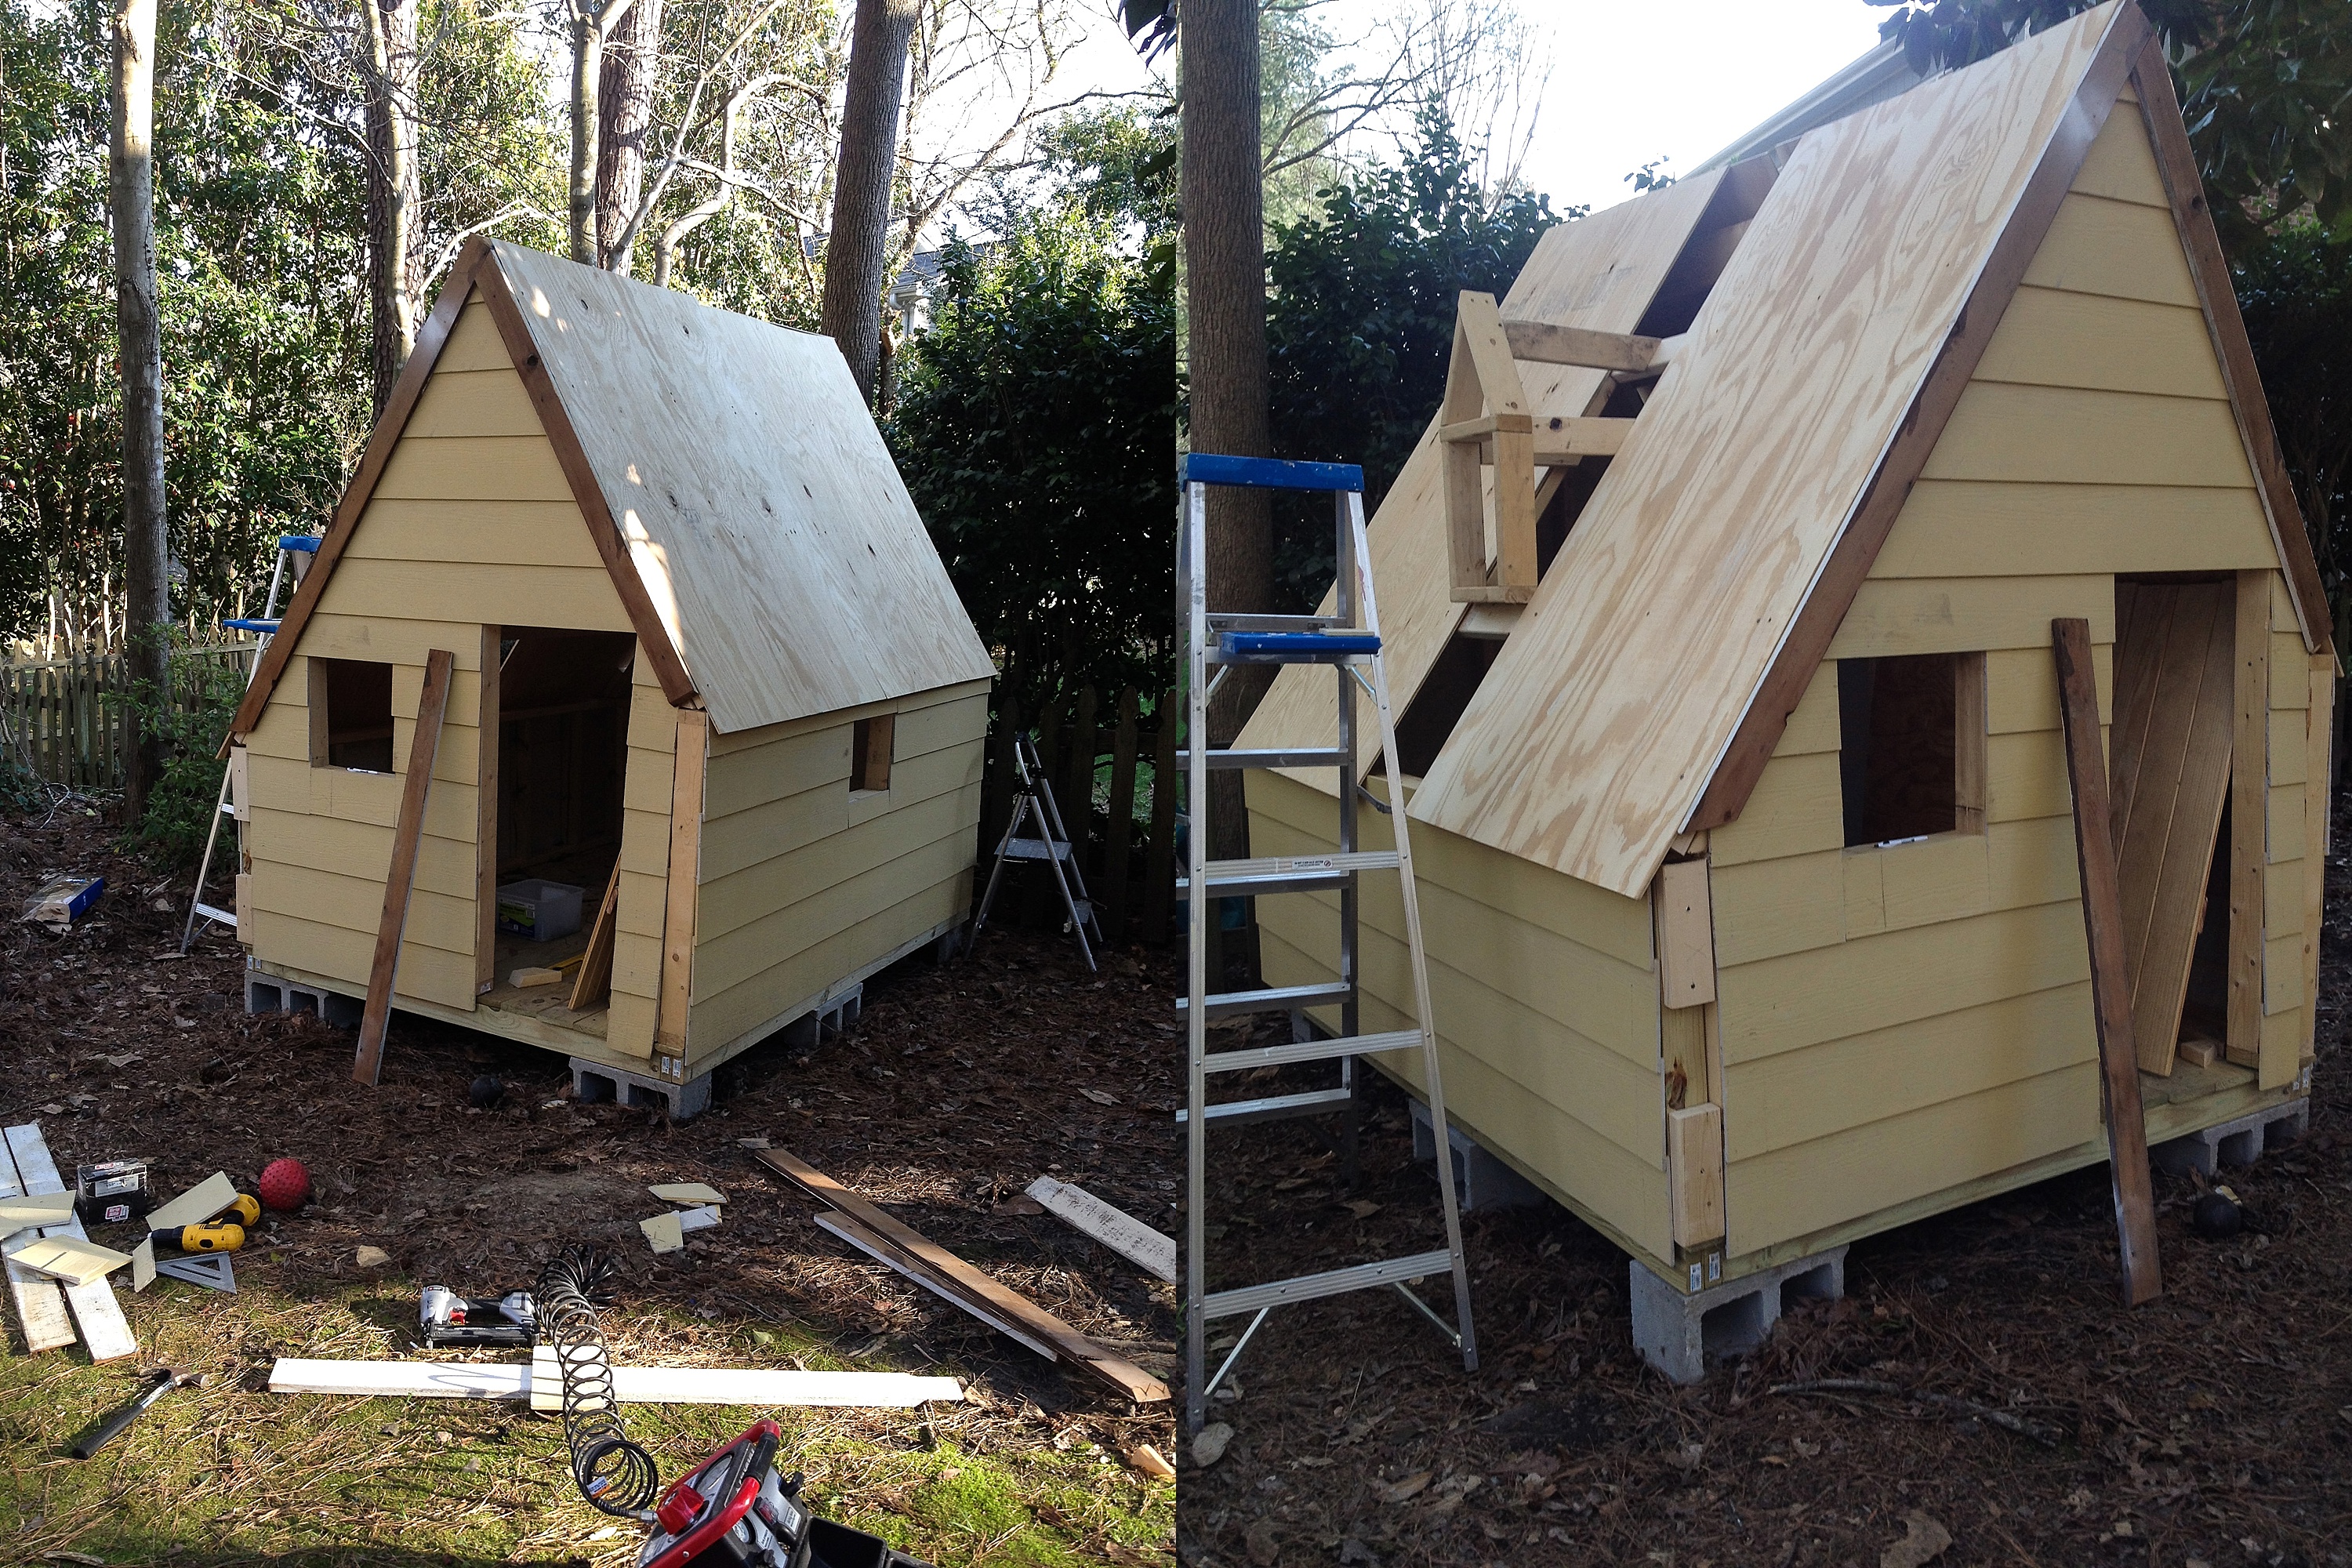
Step Six: Siding. I would never do siding again. In my playhouse remodel, windows really keep the cost down and are super easy to install. I was very proud of myself though for figuring out how to do all of this! Notice the finished floor in the picture below 🙂 Also, remind me what I was thinking when I decided to make an asymmetrical house – good grief!

Step Seven: I used cinder blocks to level out the floor before moving it out. I used six of them in total, and used a long 2×4 and a level to help level the area before putting the floor in place. I simply kept moving the board from brick to brick, side to side, font to back, etc, placing the level on top of the wood and then digging the brick deeper into the ground until it was level all the way around. This probably took a 1/2 hour.
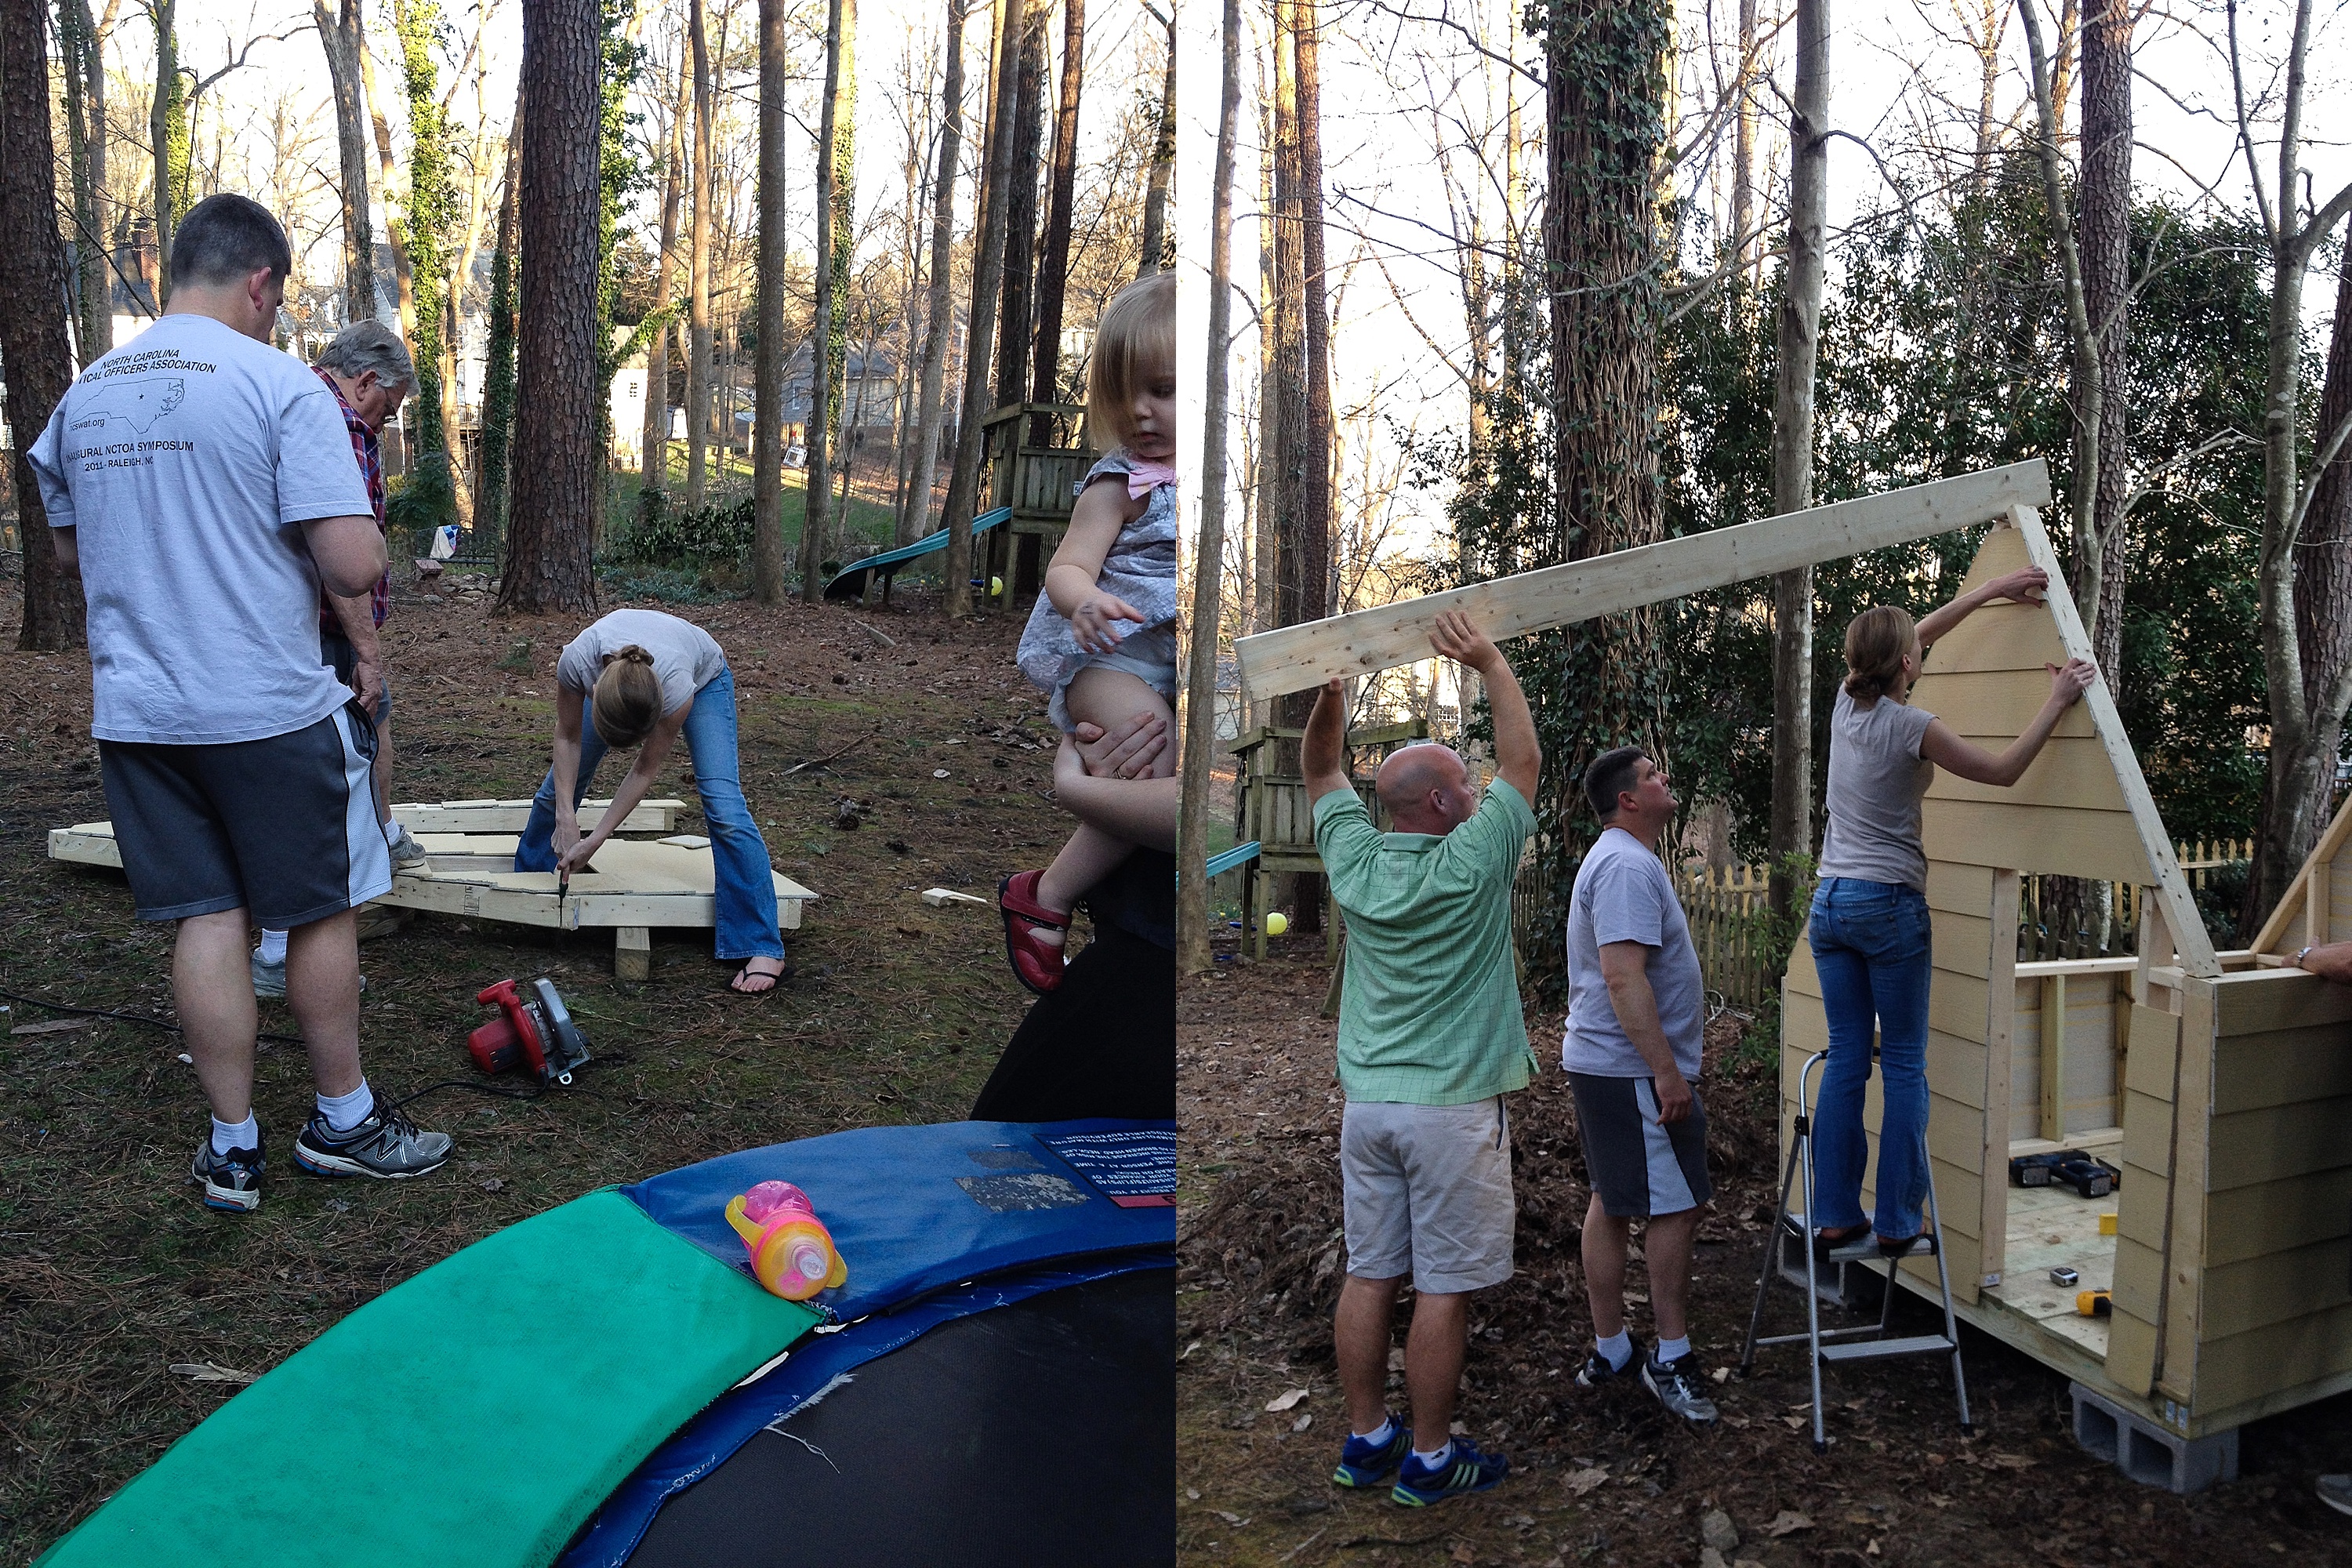
Step Eight: Enlist the neighbors for help! They are most important part of every project. They have helping hands, tools I don’t, free babysitting, and are always so encouraging! Since this was built over several weeks ( I had a three month old in the house, along with the three older siblings!) and since the weather is unpredictable, I built it in the garage and we moved it to the yard in one afternoon. *If I were to do it again, I would plan 2-3 days of nice weather and build in in place. I made a few mistakes and the house did not line up perfectly. I think if I had built in in place I could have avoided these mistakes!

Assembly, tweaking (because things never fit together like they should no matter how many times you measure!). Adding a header (which eventually warped, but is still strong enough for me to hang on!).
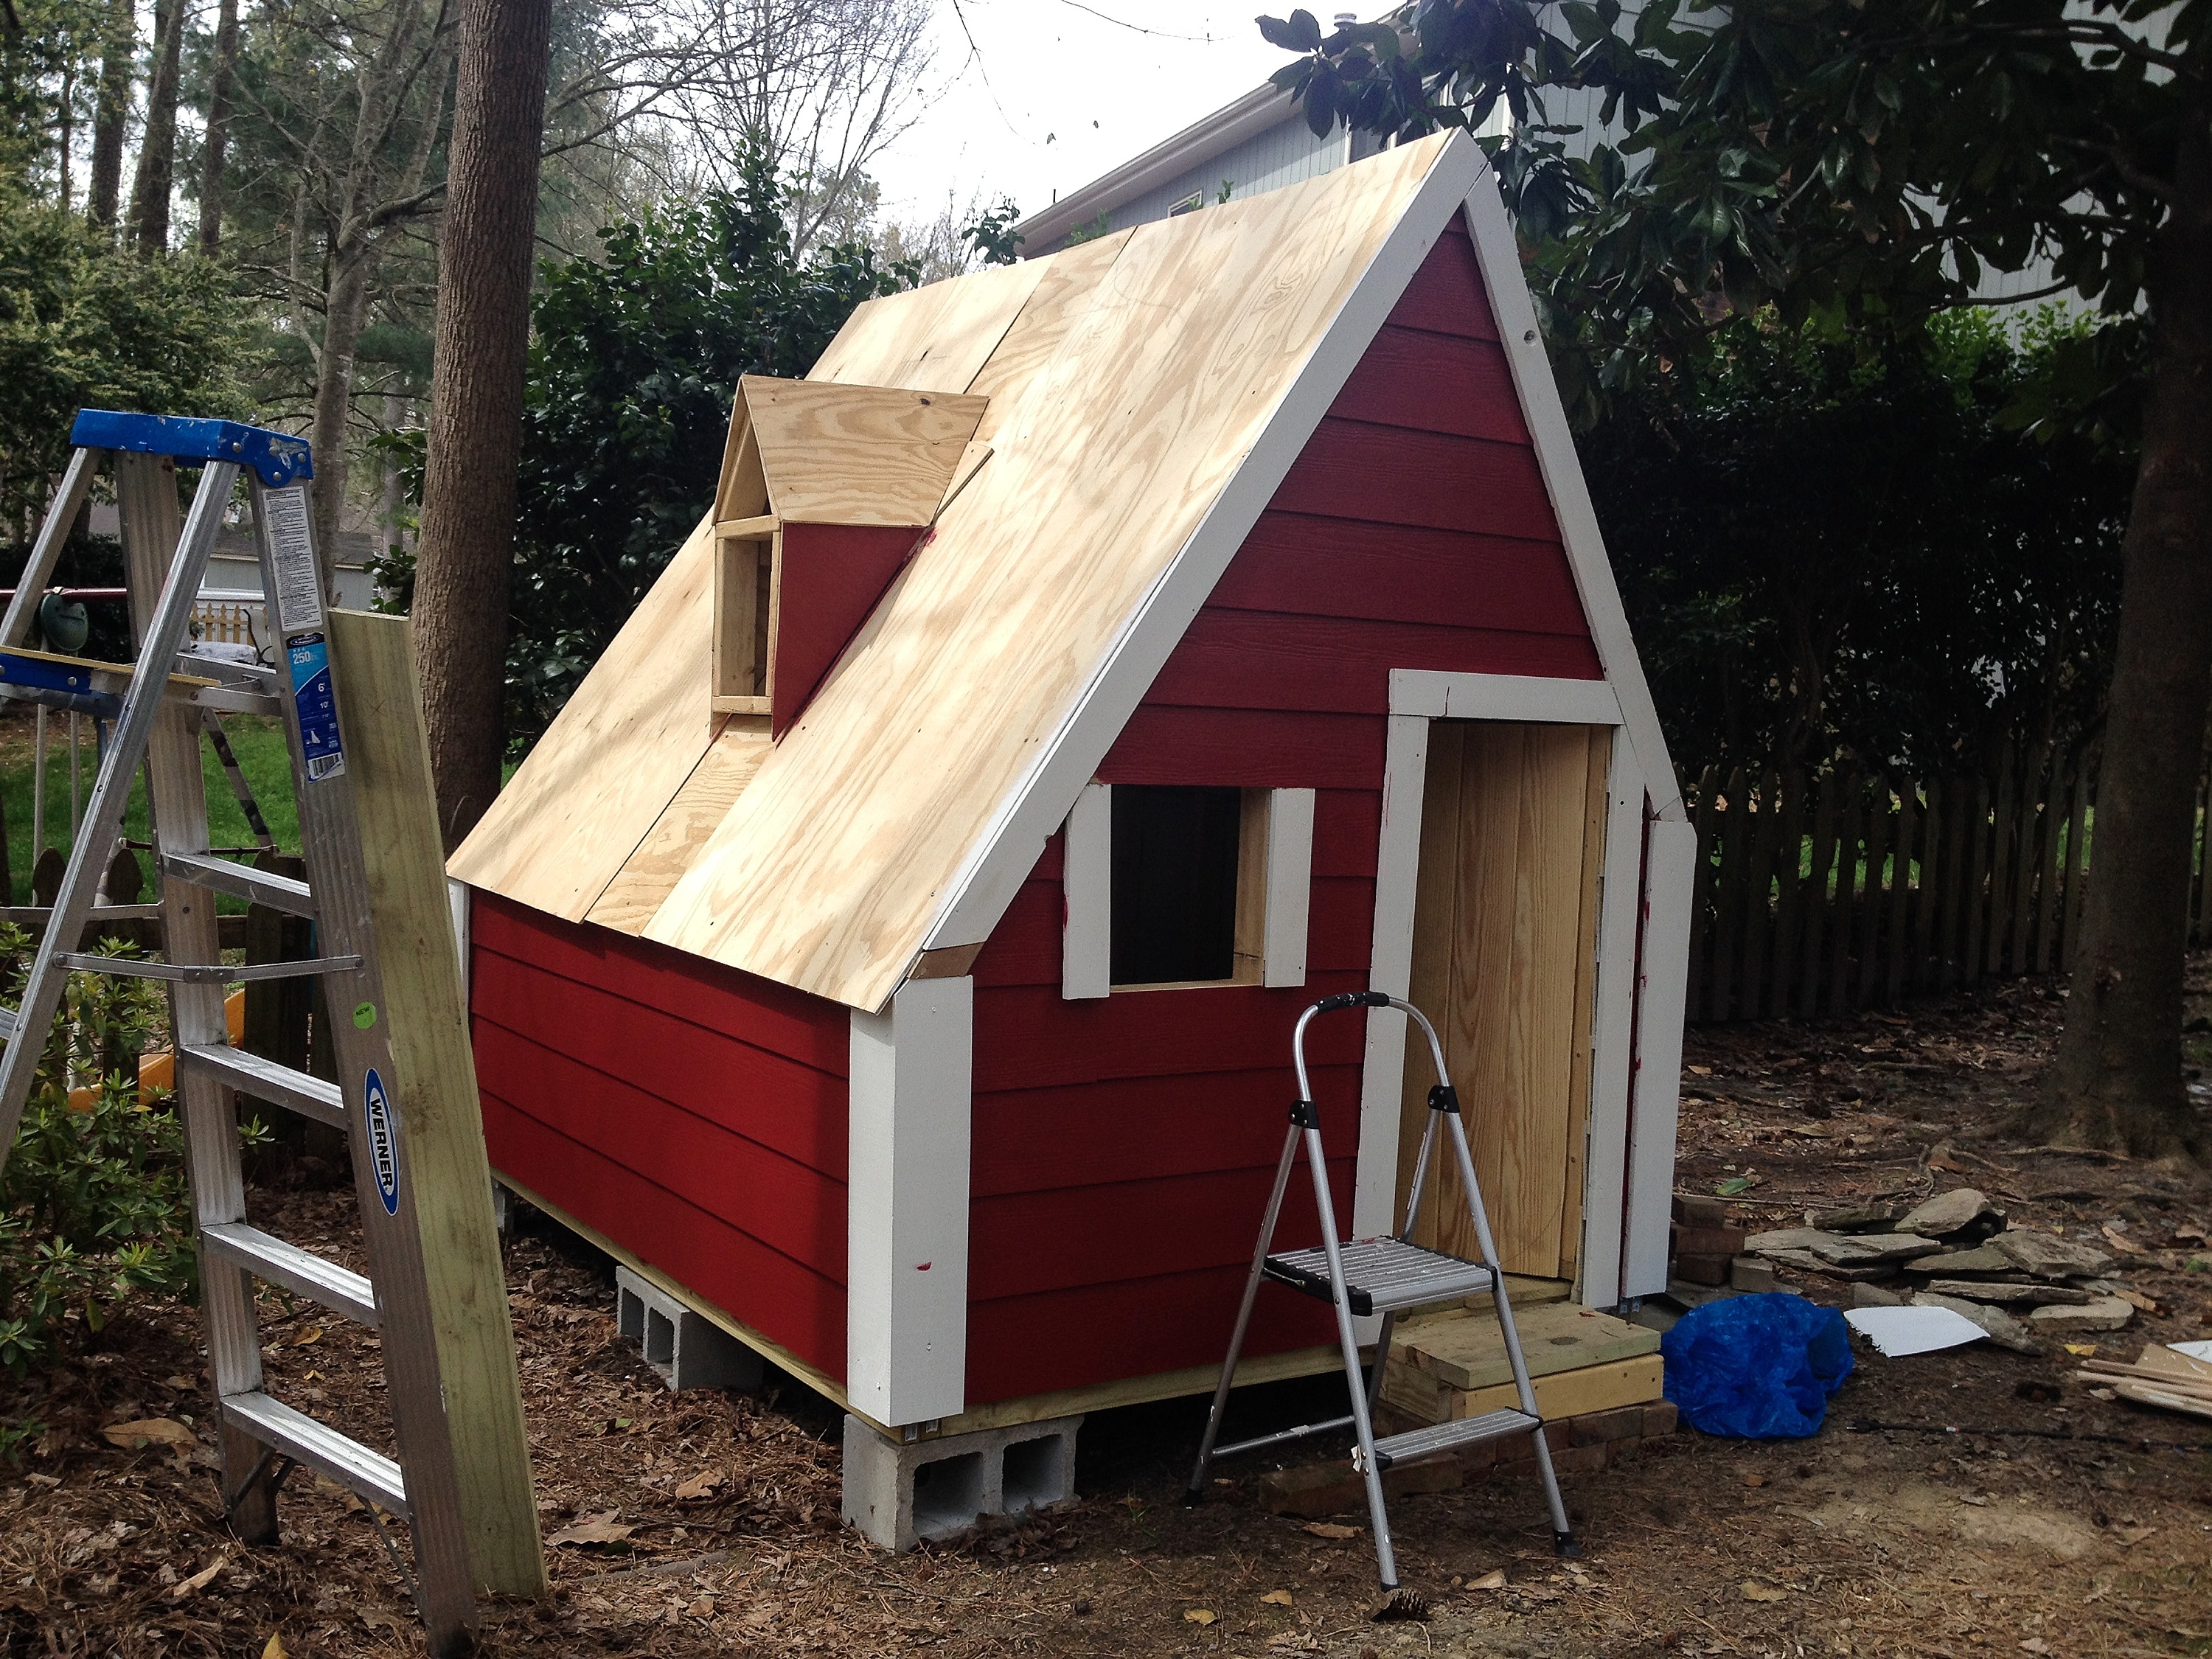
Step Nine: Adding a roof*, a dormer window (because I will still high on baby hormones, apparently), trim to cover up all the ugly spots, and then get all the neighbor girls to come over and help paint!
*Do not add a shingled roof. A tin roof is so much easier.