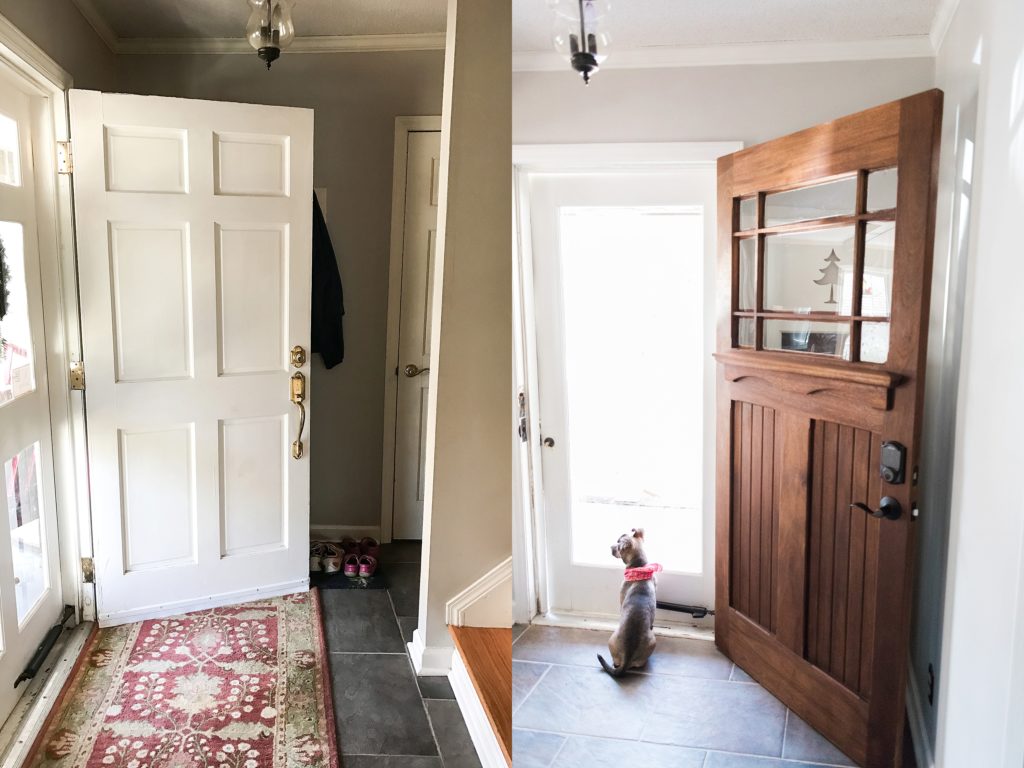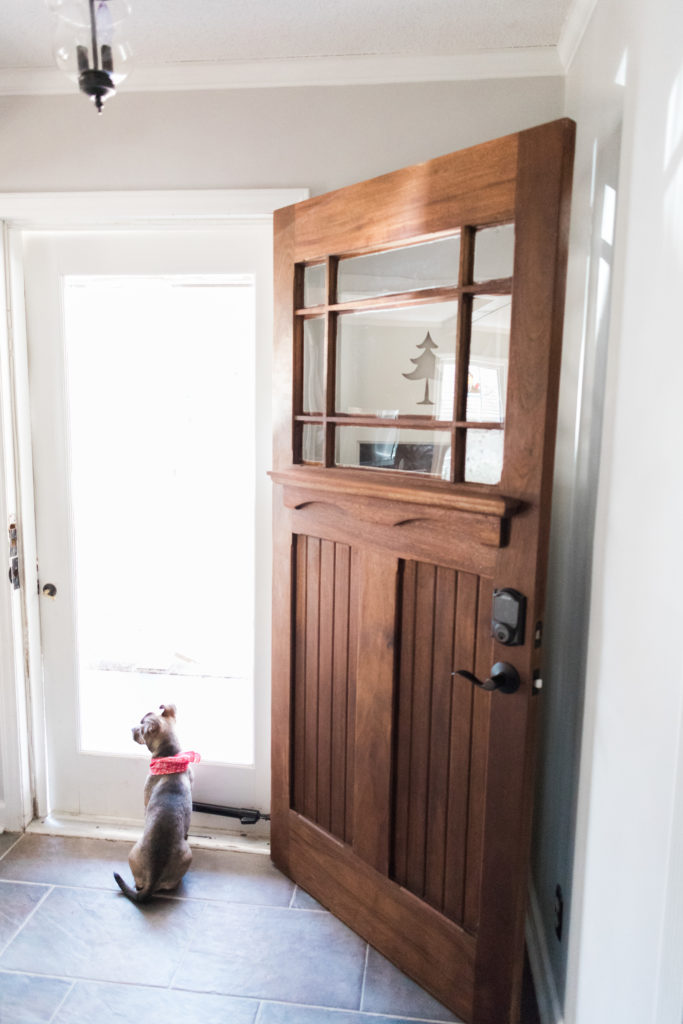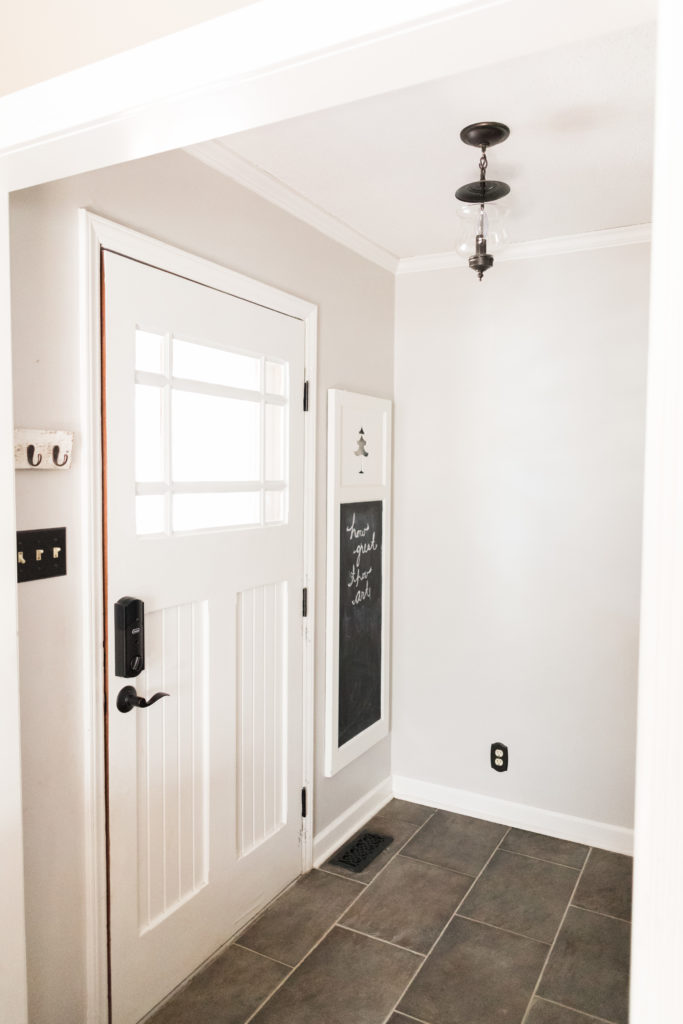
I had no idea how much light we were missing out on by having a solid wood entry door. Once the mudroom was finished, it felt like a little light might give the space the final touch, and it definitely did!
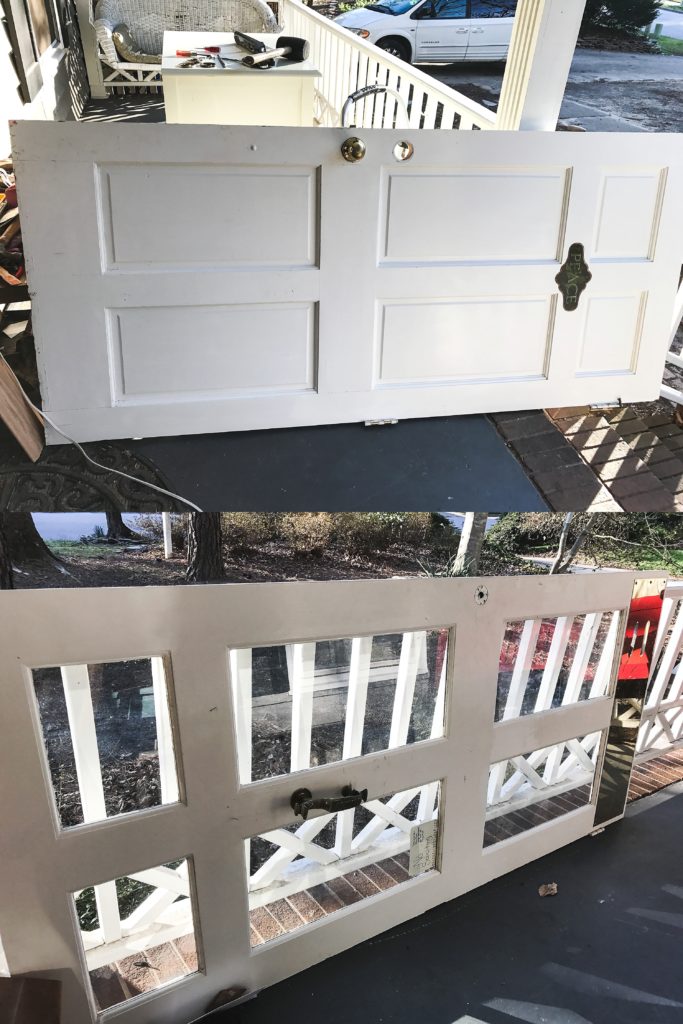
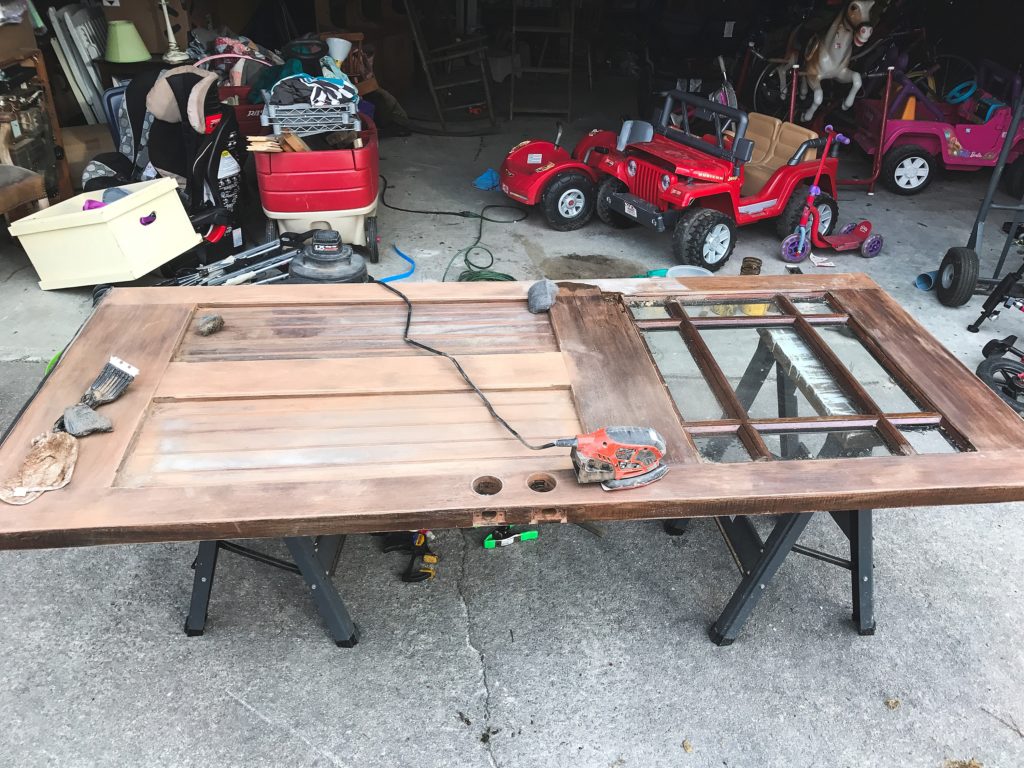
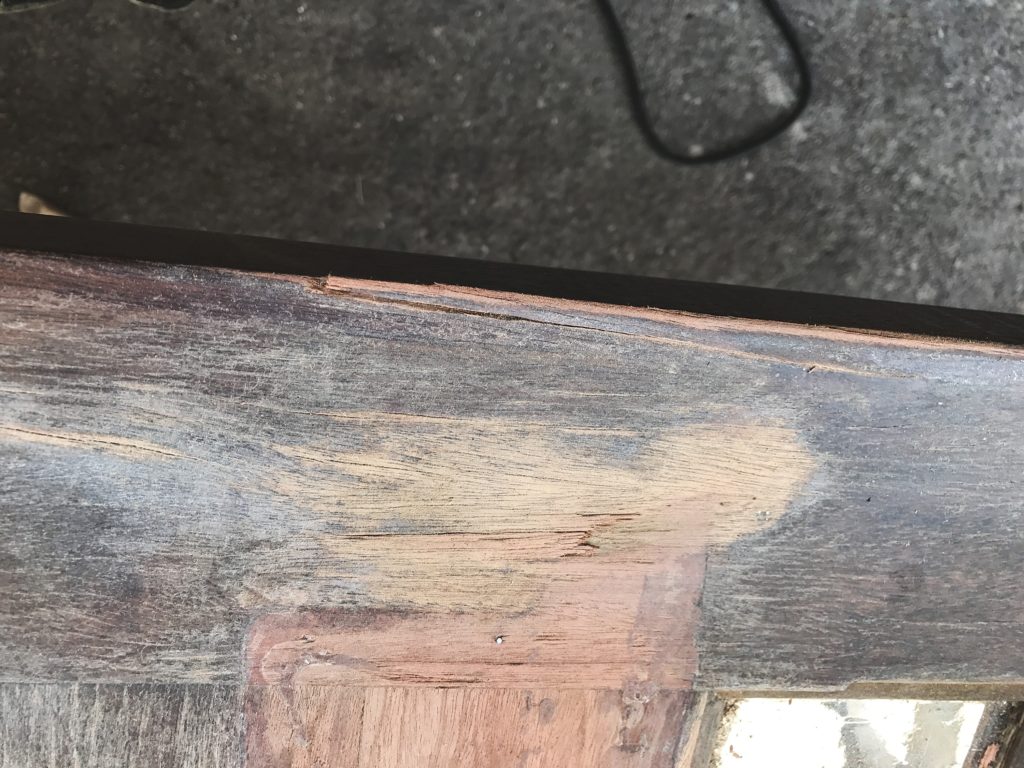
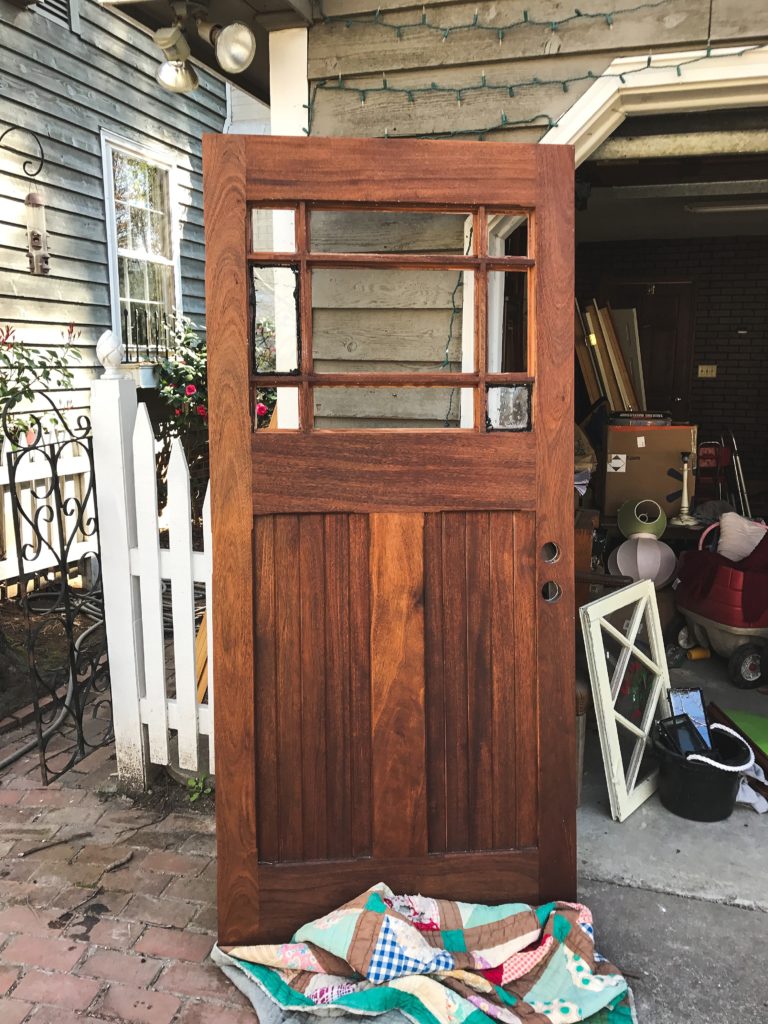
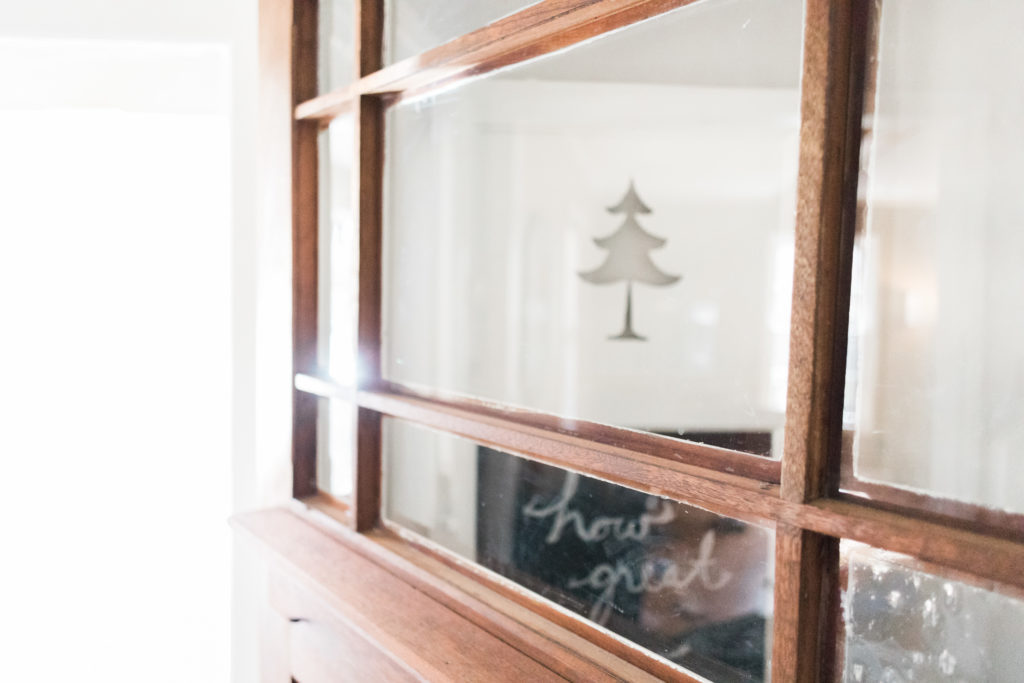
I bought this solid Mahogany Craftsman door on craiglist for $30. It definitely needed some work, and there was a point when I thought it was not going to work at all (see my post on fixing the glass here). The first thing I had to do, after the glass issue, was flip the door. The old outside would be my new inside, and vise versa, since my door hinges are on the left side and it originally hung on the right. This worked out perfectly since I wanted the outside to be stained and the inside to be white. The side that faced outside (aka the old outside) was ruined from sitting in direct sunlight for so many years, but some sanding, wood glue, filler and then white paint would hide almost all of the sun damage. The new outside, or the old inside, was perfectly preserved and just needed updated stain.
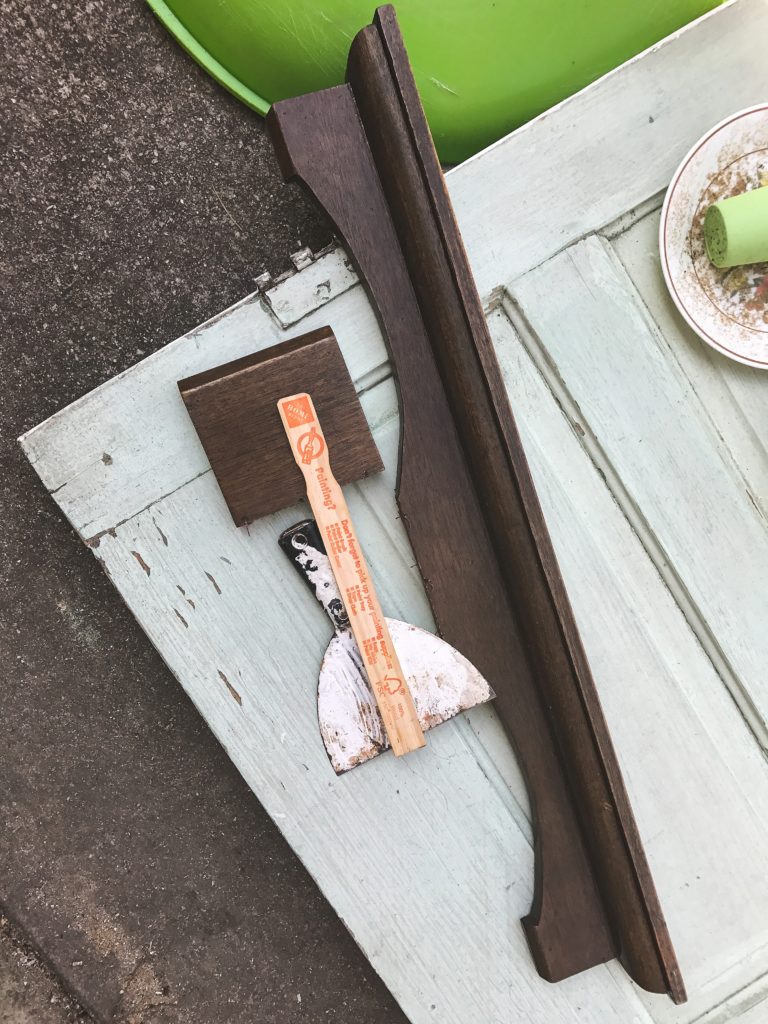
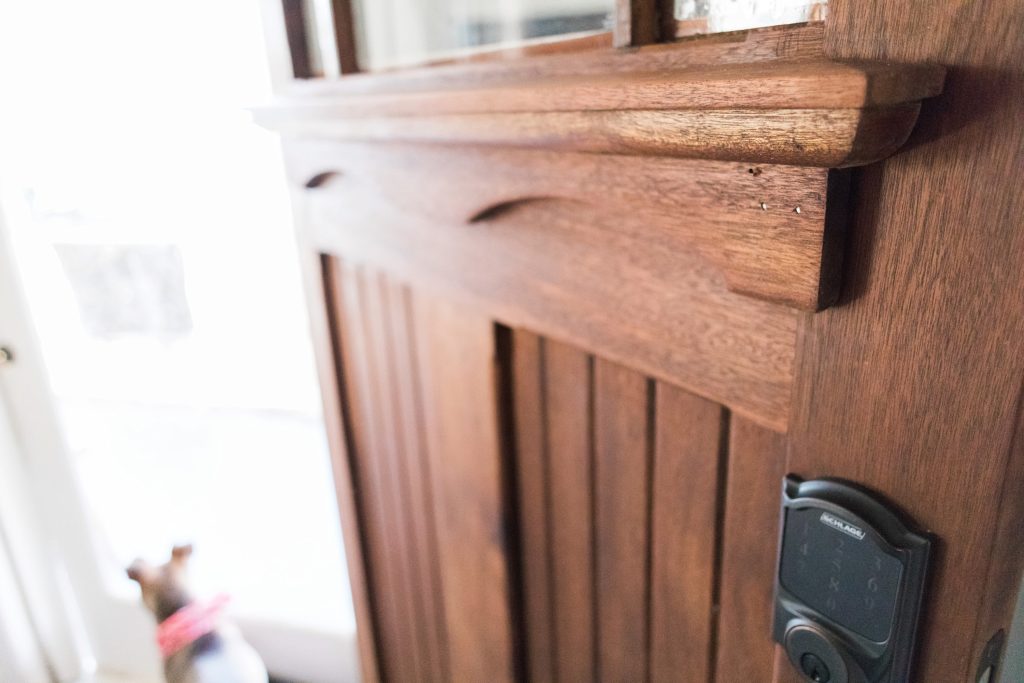
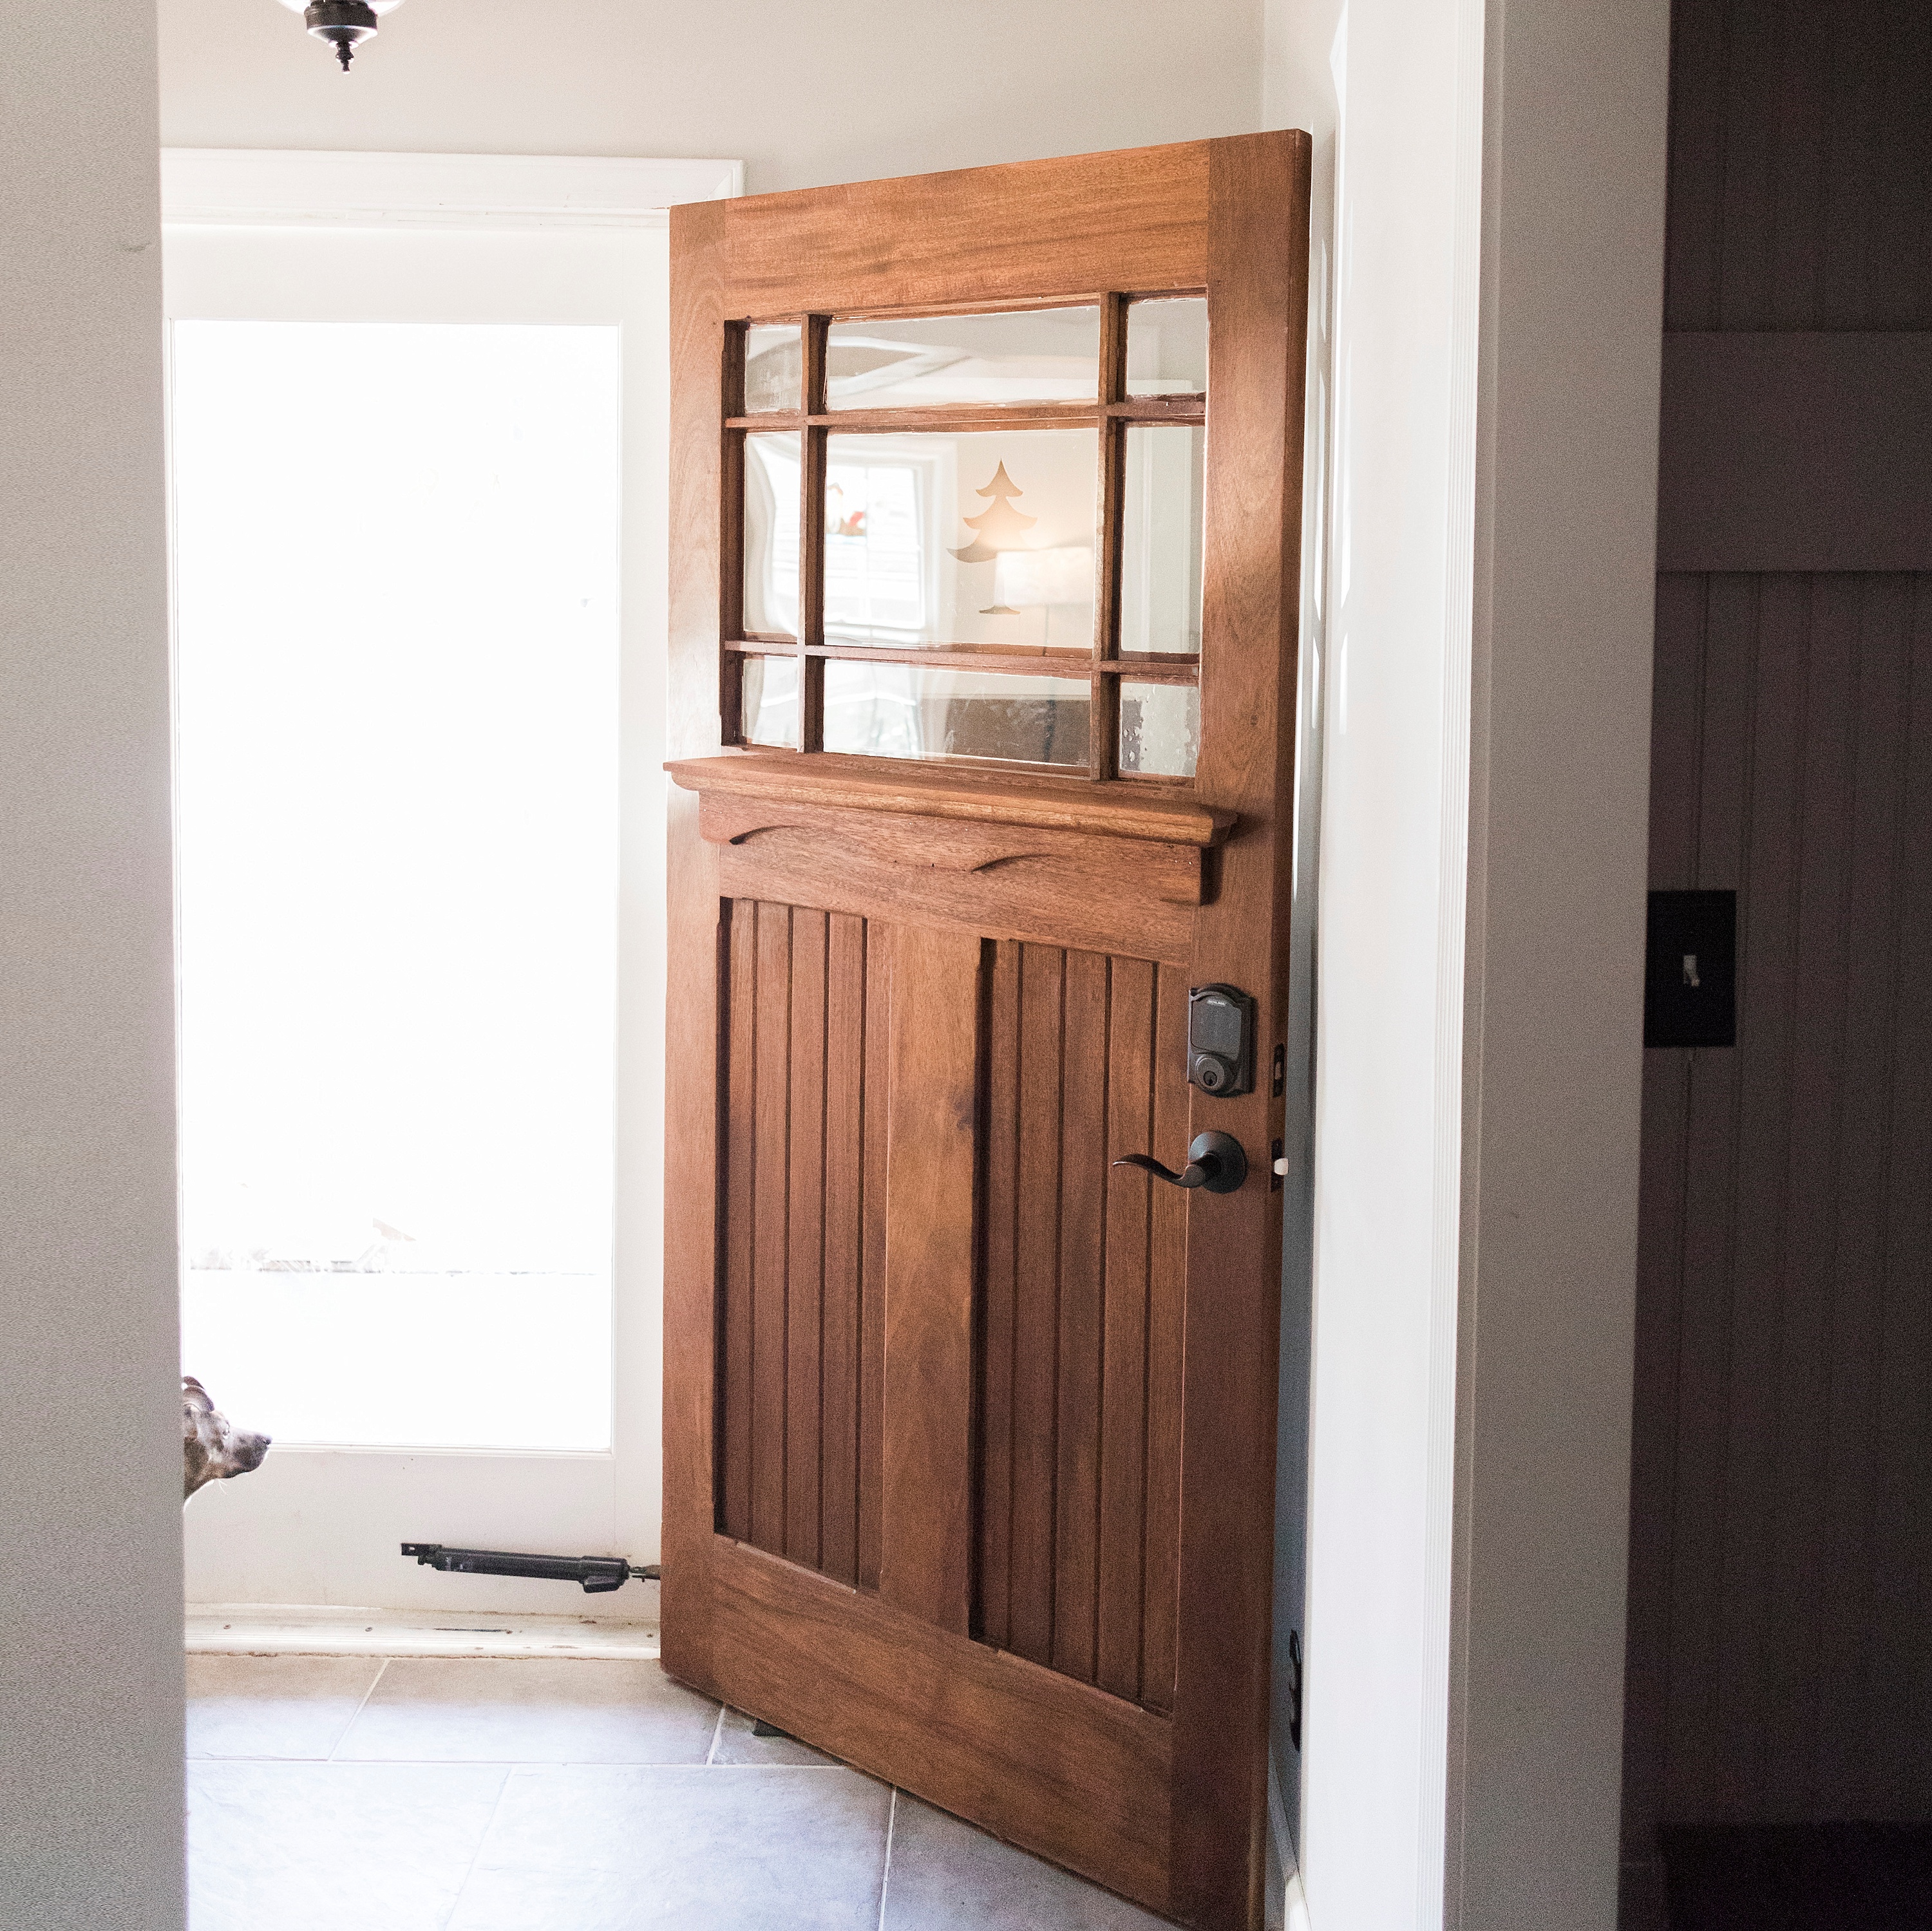
I stripped and sanded everything on both sides of the door. I removed the shelf because I would have to move it to the other side of the door (the new outside). I glued and filled the damaged areas and then painted the entire inside of the door. While there is still some evidence of the previous damage, it looks amazing and much better than the beat up door that it was replacing.
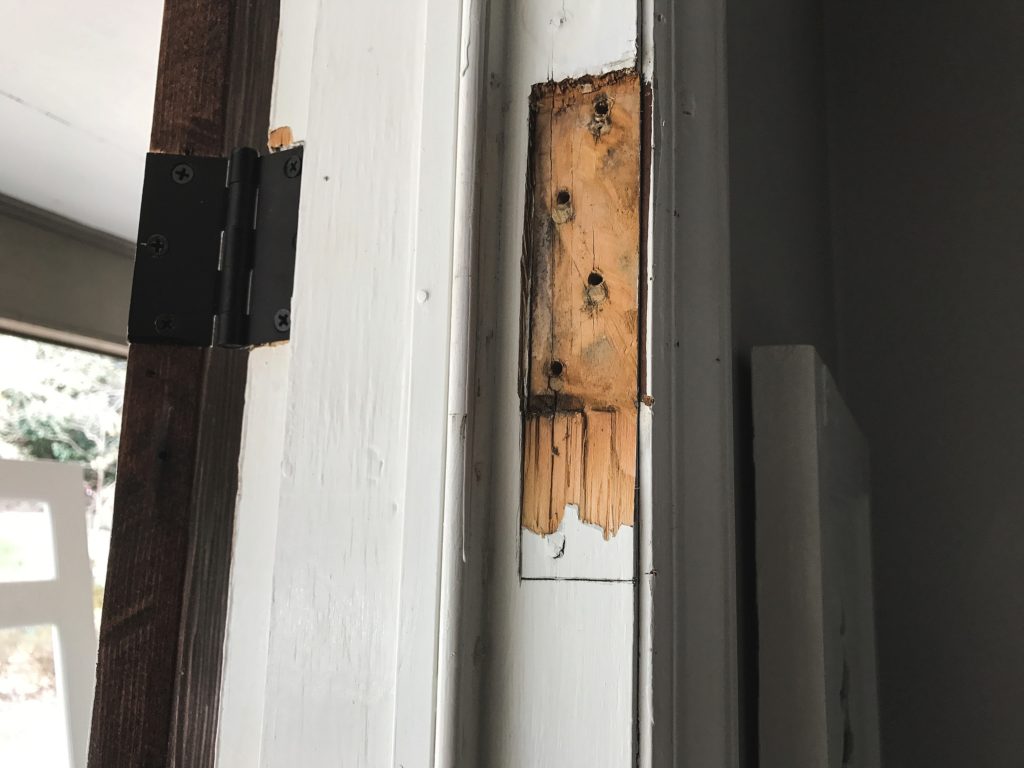
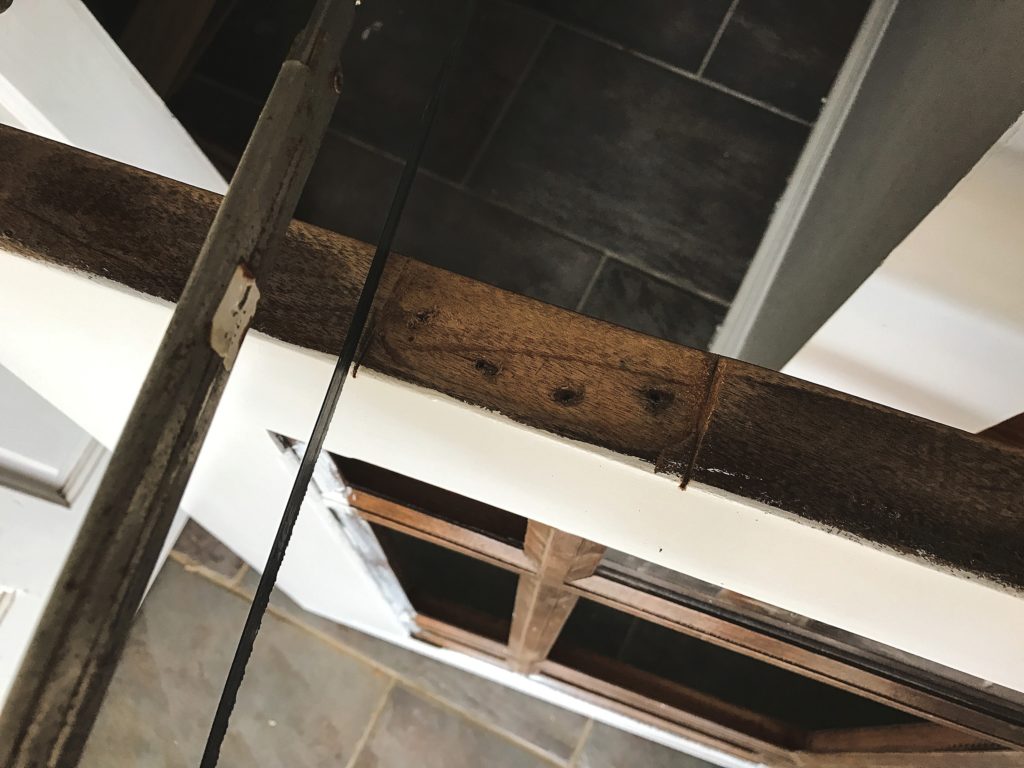
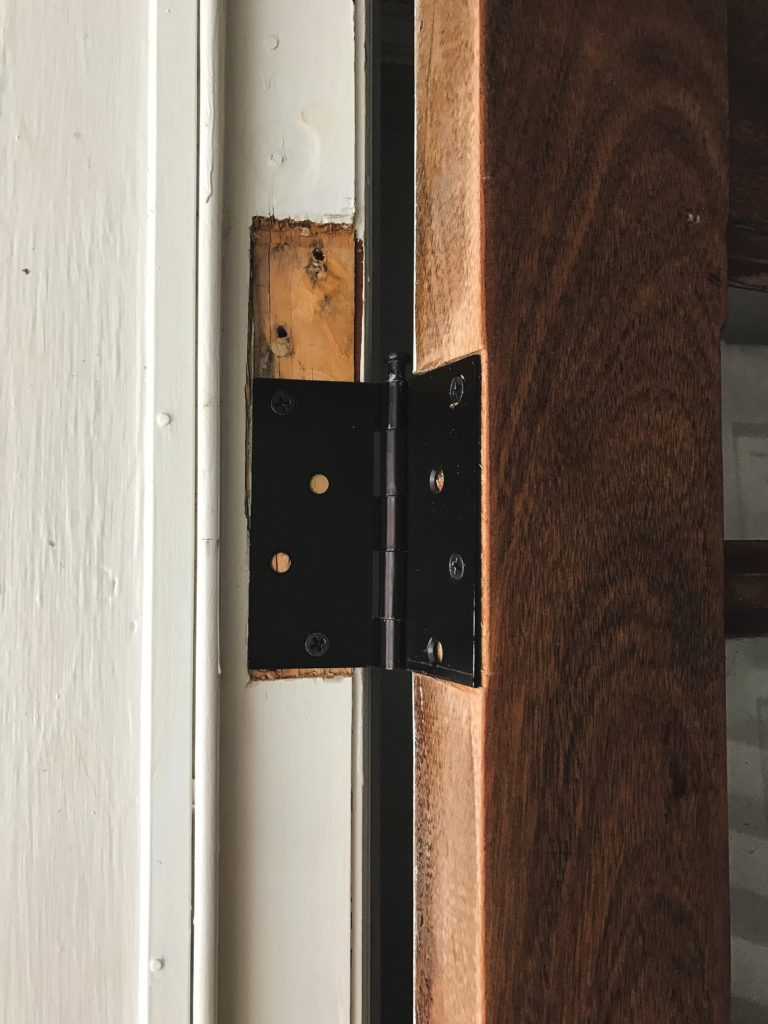
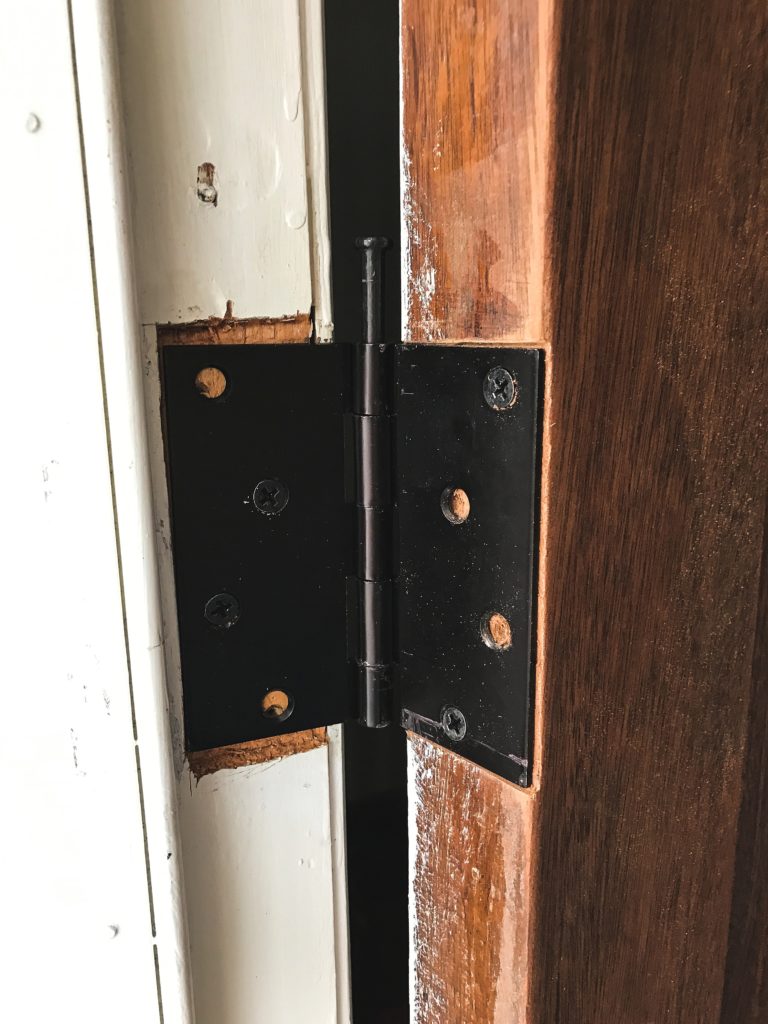
Hanging the door was not hard, but it was tedious work. I had to cut new grooves for the hinges to sit flush, and work the lock hole a bit, but eventually it all came together that works perfectly!
The old doors, removed: