
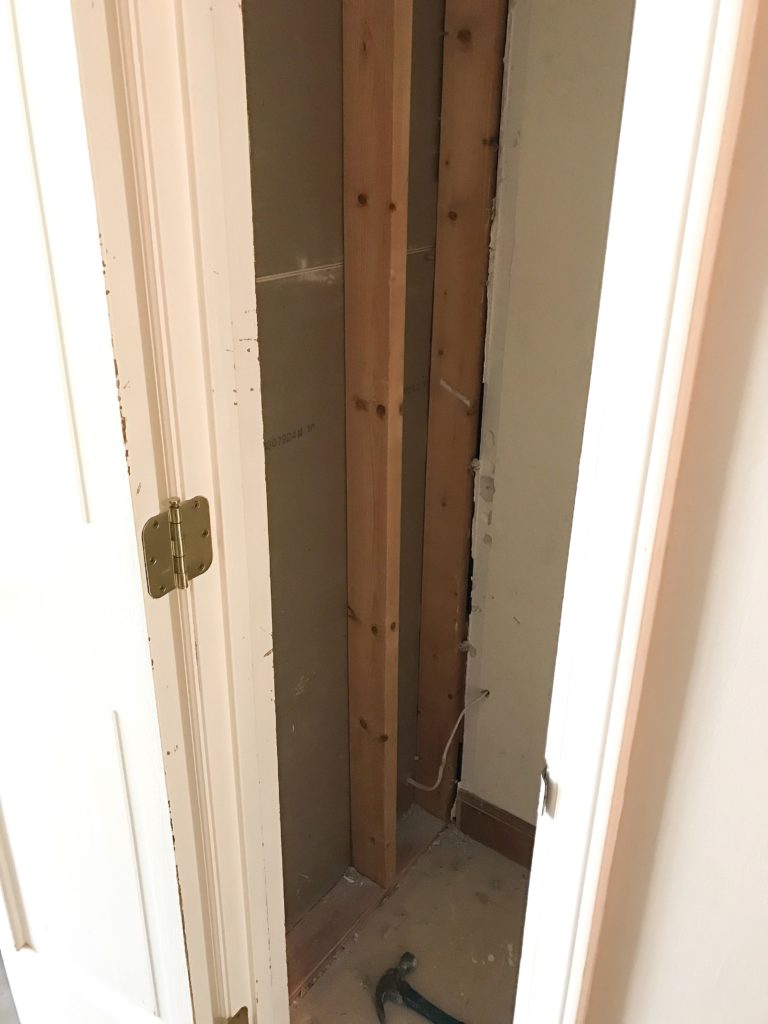
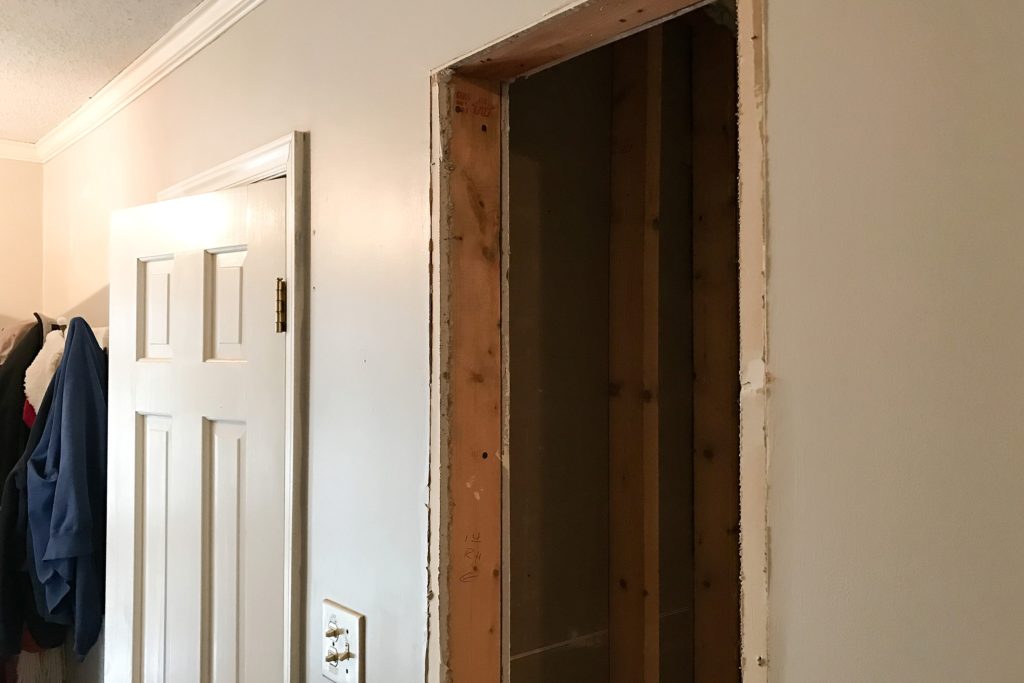
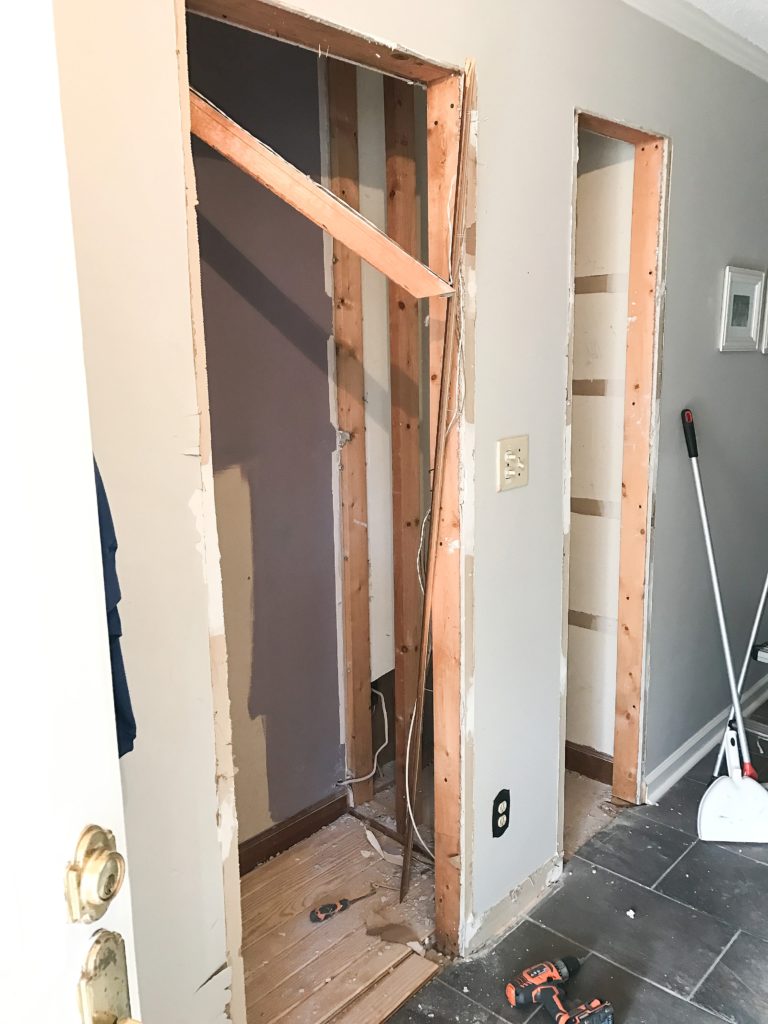
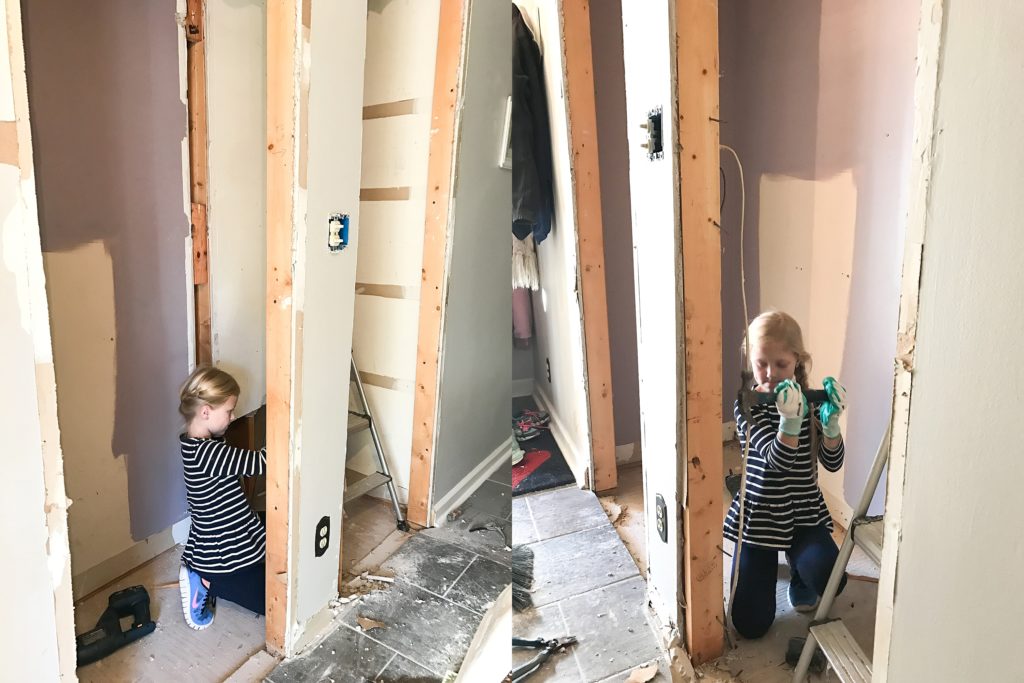
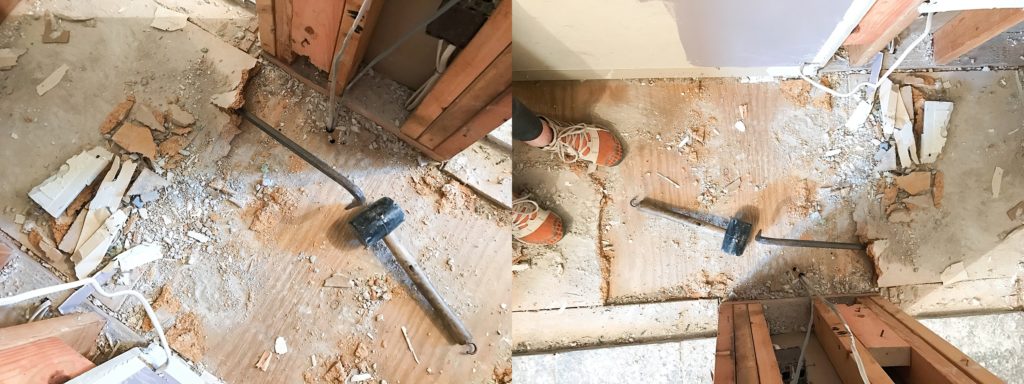
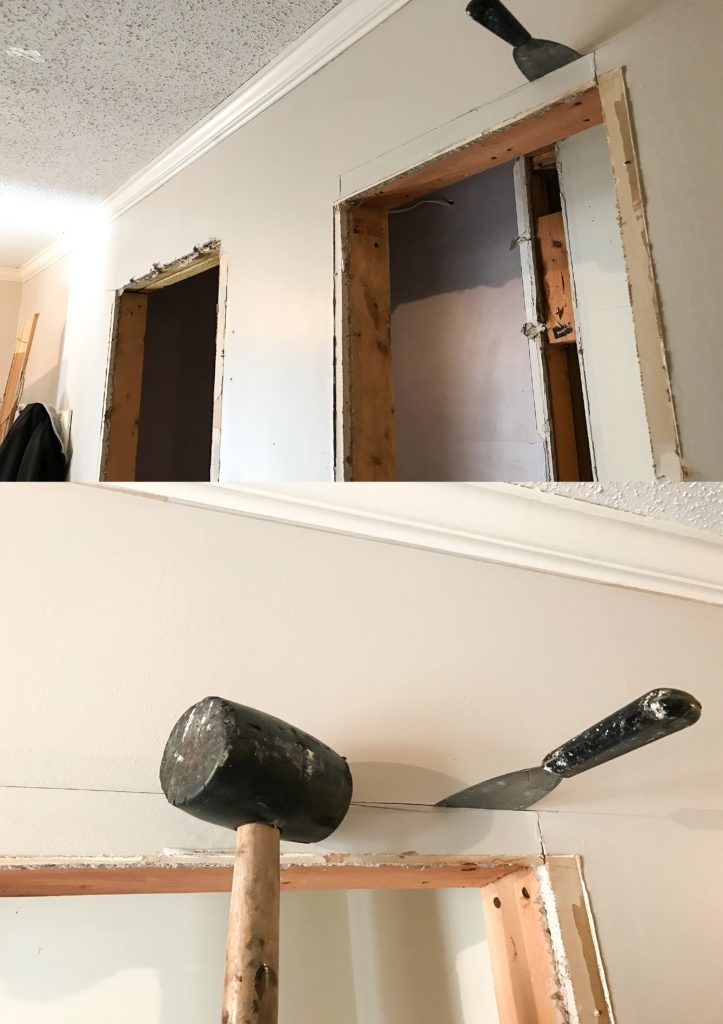
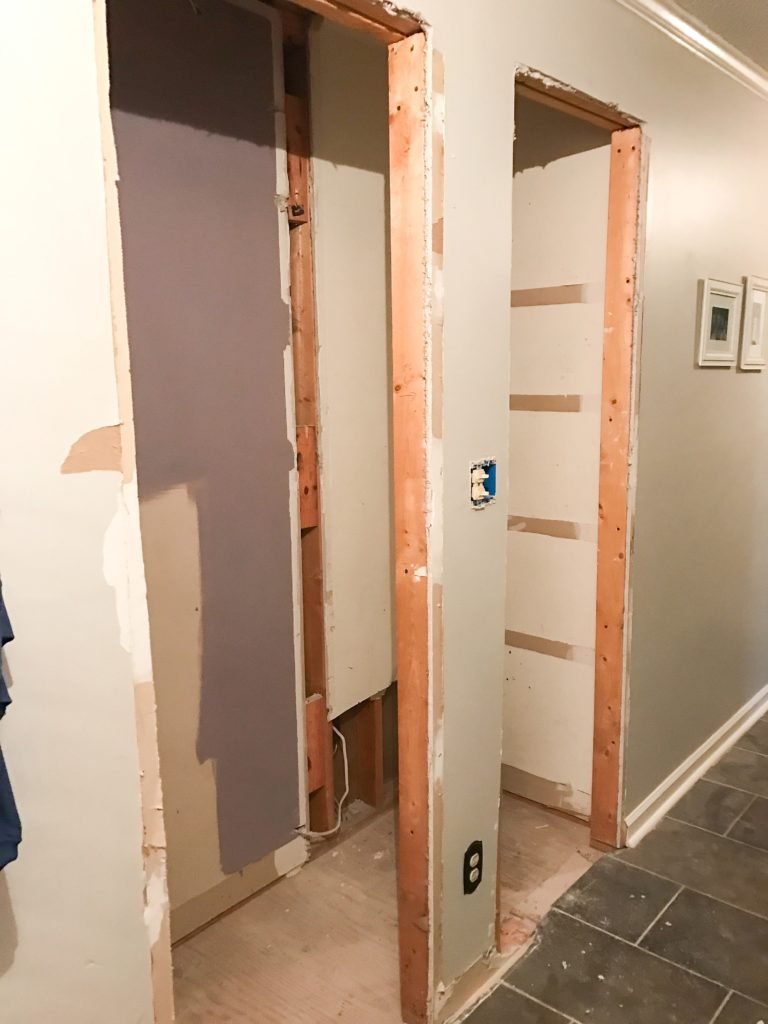
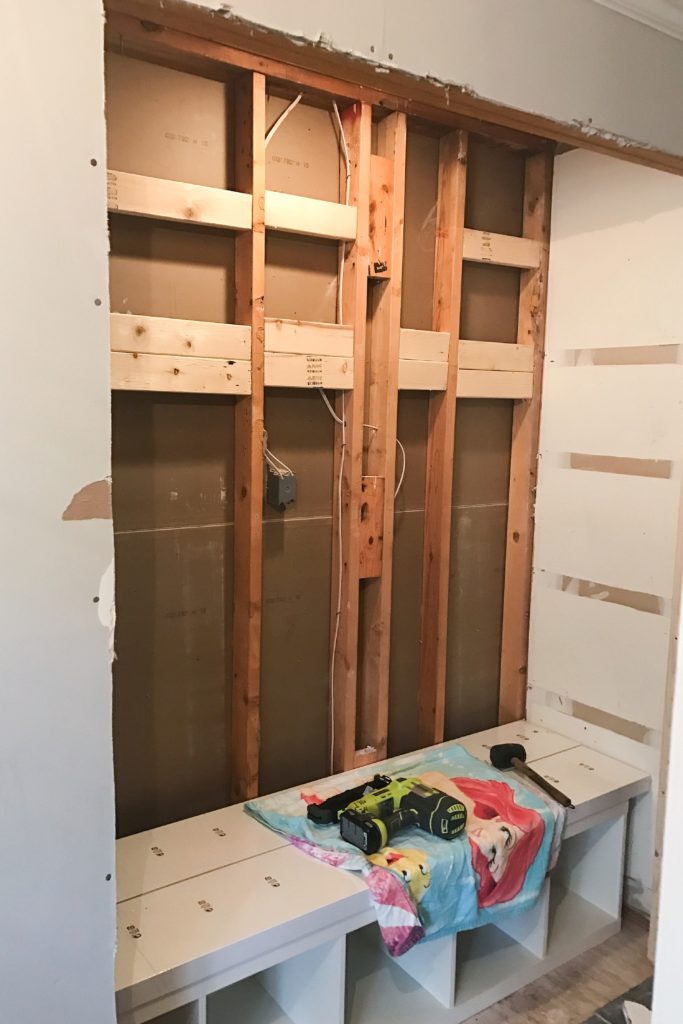
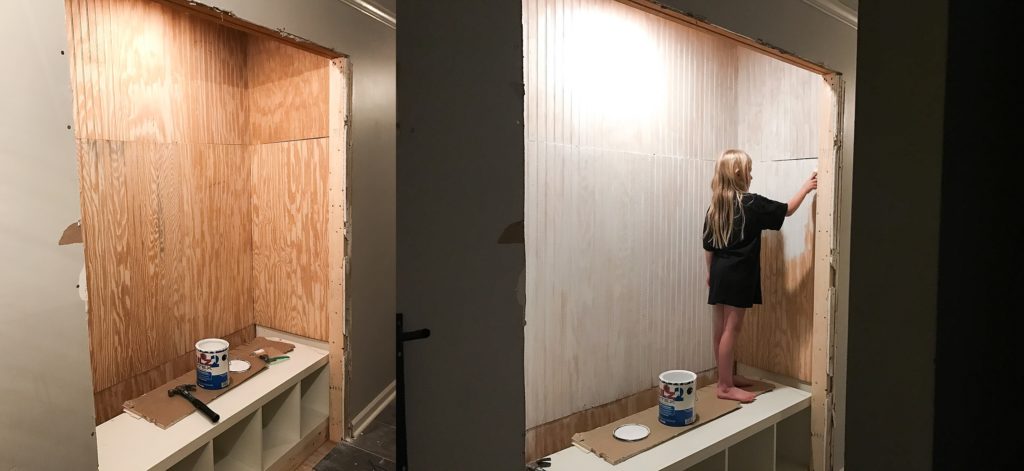
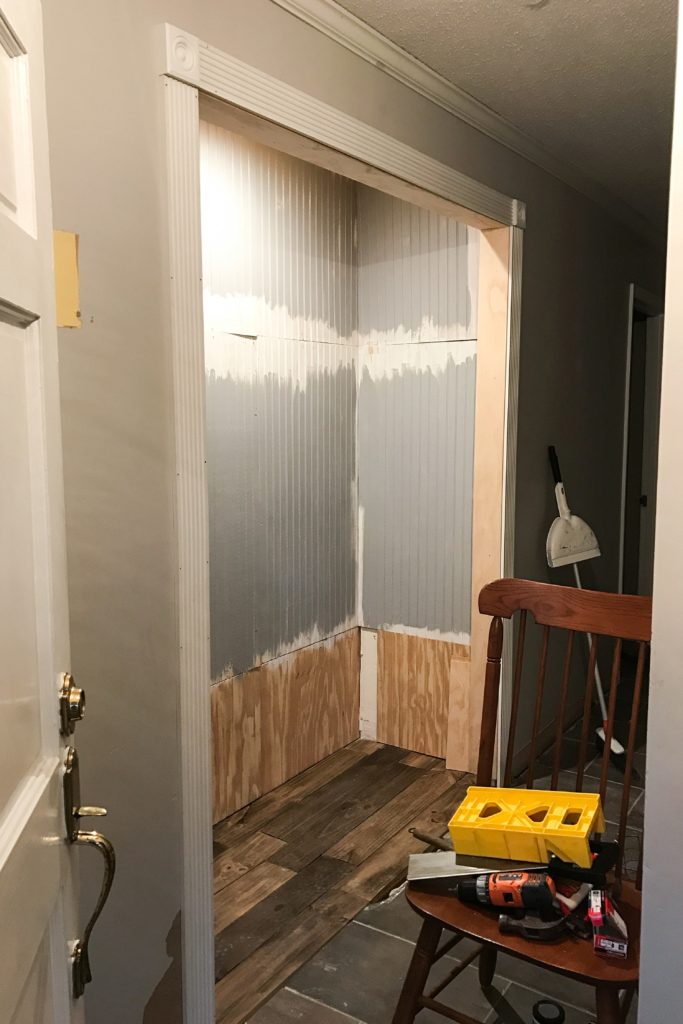
“So I found this cool idea on Pinterest” — me, after looking at ideas for over six months without mentioning a word of it to my husband. He glances down at the phone I have shoved in front of his face and says, ‘yeah- that looks nice’. Only, the words I actually hear are, go ahead honey, that looks nice and I totally support your decision to knock down a couple walls, call in an electrician, possibly a carpenter, and destroy our home for the better part of two weeks. So the next morning I clean out the closets, grab my hammer, and make my first hole, while he was at work. Which of course turns into the entire wall between the two closets is removed as well as a better part of all the drywall inside. I think day-one may also have brought on the realization that it was a load bearing wall… I had no fear! I knew it would be amazing, even if I needed a little help along the way 🙂
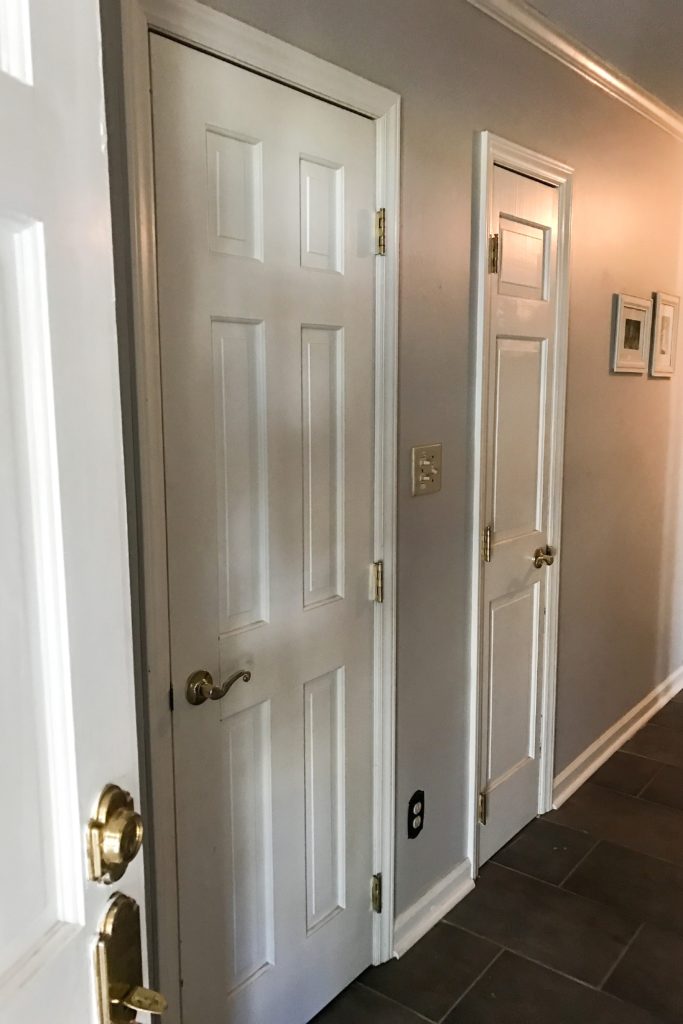
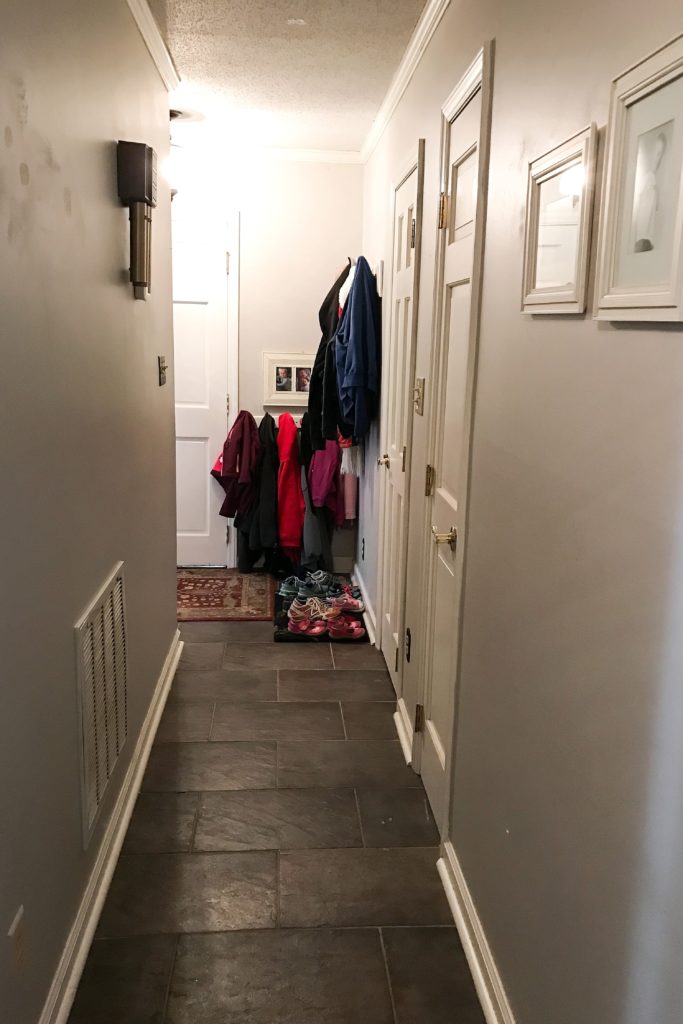
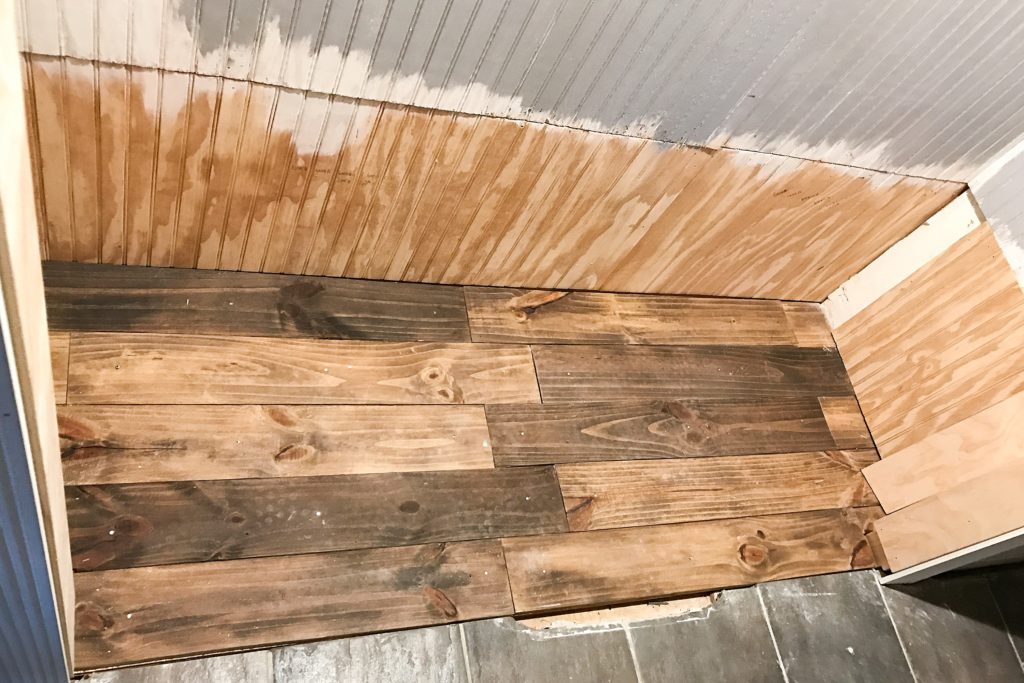
Step 1: always, always take a few before pictures so you can look back on the progress! It also helps to take photos along the way of products used in case you need them again in the future (especially paint colors!).

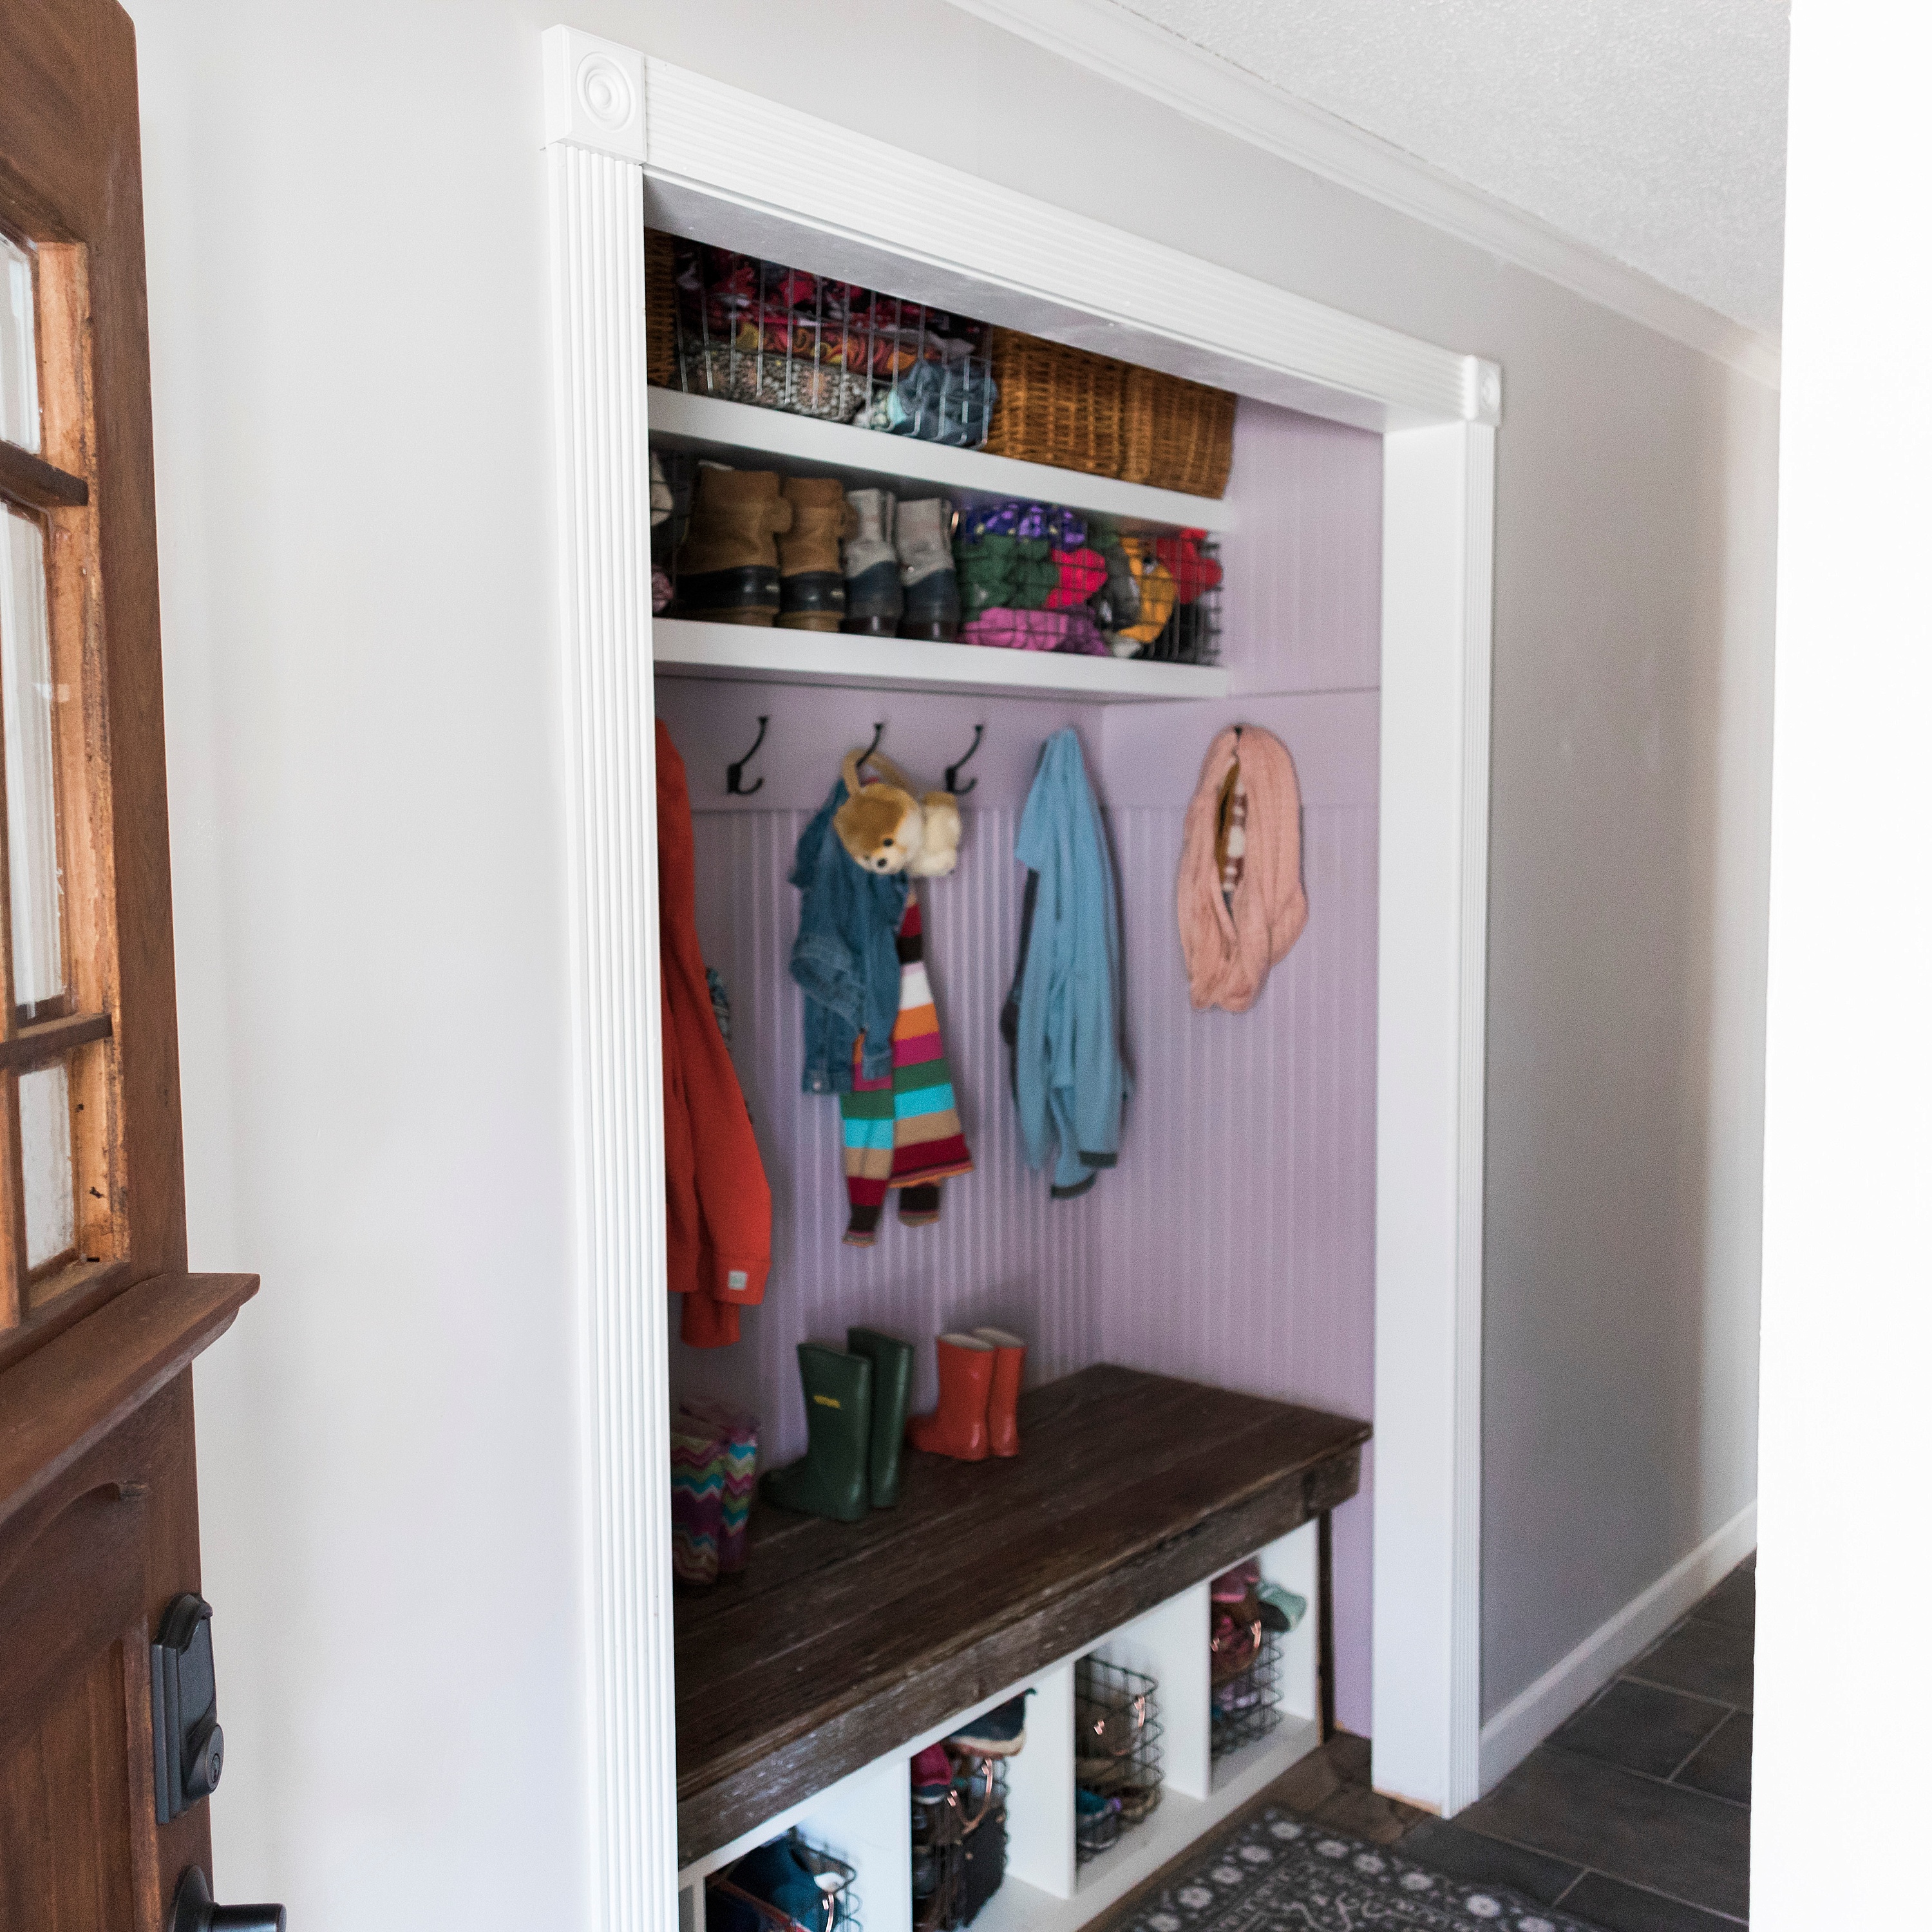
You can see the final results here!
